Configuring a VIP address across the NSX-T Manager Nodes
In this article, I will show you how to configure a VIP IP address across your NSX-T Manager Cluster Nodes.
The high–level steps
Below you will find the high-level steps on how to configure a VIP IP address across your NSX-T Manager Cluster Nodes.
- STEP 1) Verify if the NSX-T Manager Cluster is stable and has no VIP configured
- STEP 2) Configure the VIP IP address across your NSX-T Manager Cluster Nodes
- STEP 3) Use VIP address to log in and verify if VIP is configured correctly and what NSX-T Manager node was assigned
STEP 1〉 Verify if the NSX–T Manager Cluster is stable and has no VIP configured
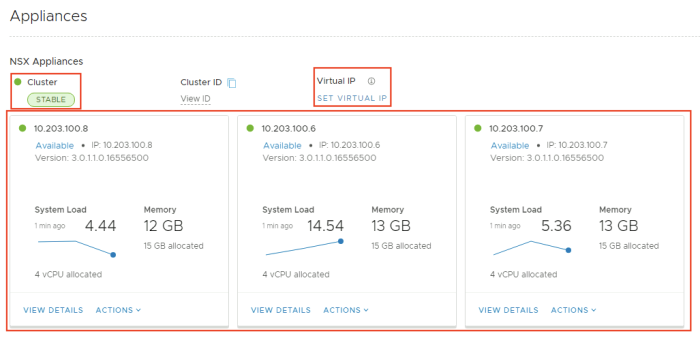
NSX-T GUI: System >> Configuration >> Applicances
Before you start with the configuration of the VIP address it is important to check that the NSX-T Manager Cluster is stable and that there is no VIP configured.
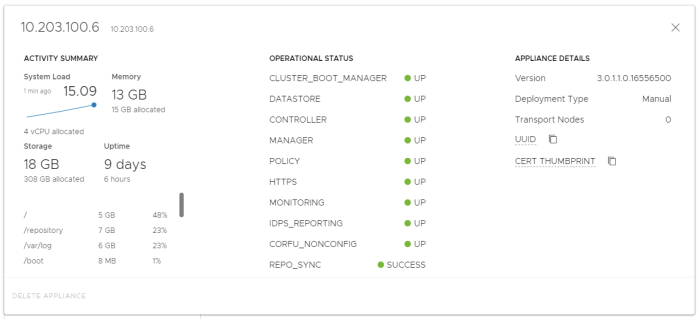
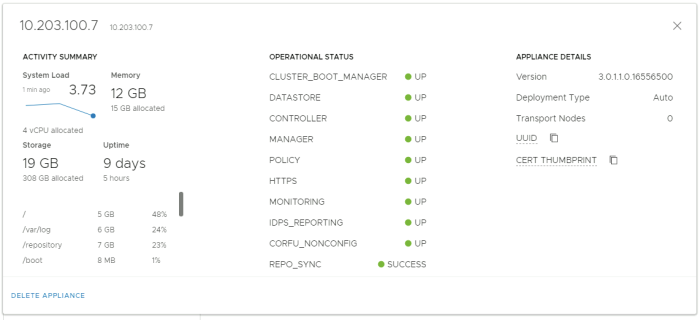
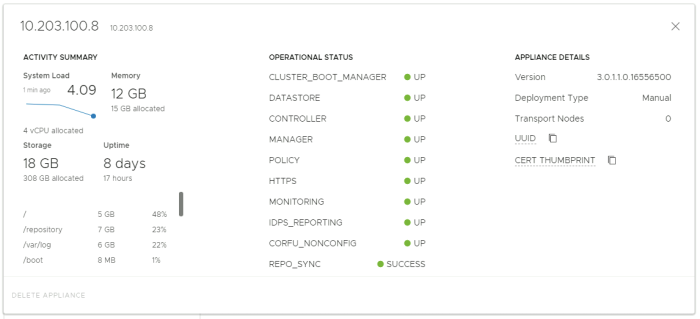
We can also verify the details of each NSX-T MAnager node separately.
The details of the first NSX-T Manager node (applicance):
The details of the second NSX-T Manager node (applicance):
The details of the third NSX-T Manager node (applicance):
STEP 2〉 Configure the VIP IP address across your NSX–T Manager Cluster Nodes
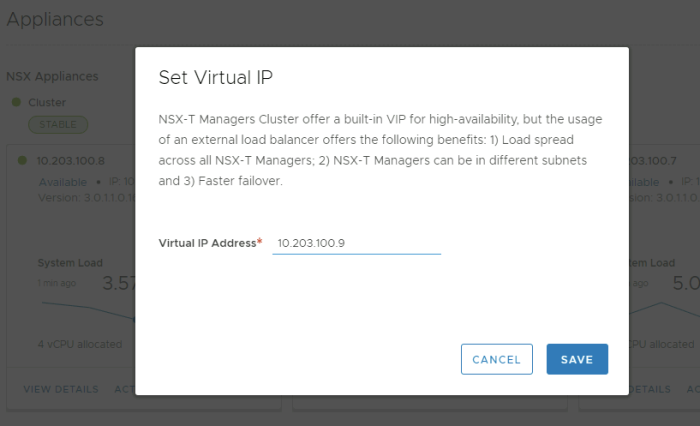
Now that the previous step has been completed you can click on "Set Virtual IP".
Type in the Virtual IP you want to assign.
The virtual IP address you assign needs to be in the same subnet as the other NSX-T Manager nodes.
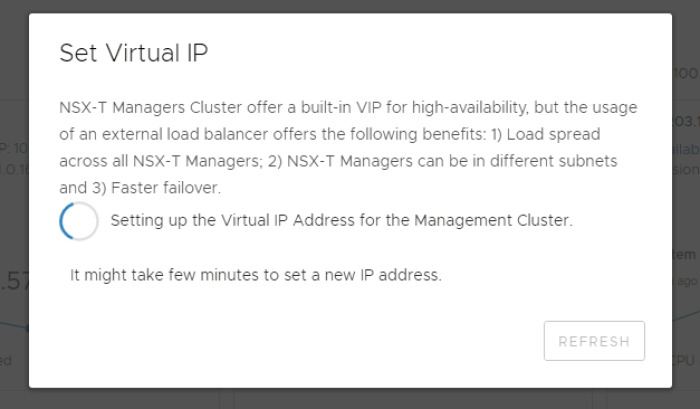
Wait for it to complete.
STEP 3〉 Use VIP address to log in and verify if VIP is configured correctly and what NSX–T Manager node was assigned
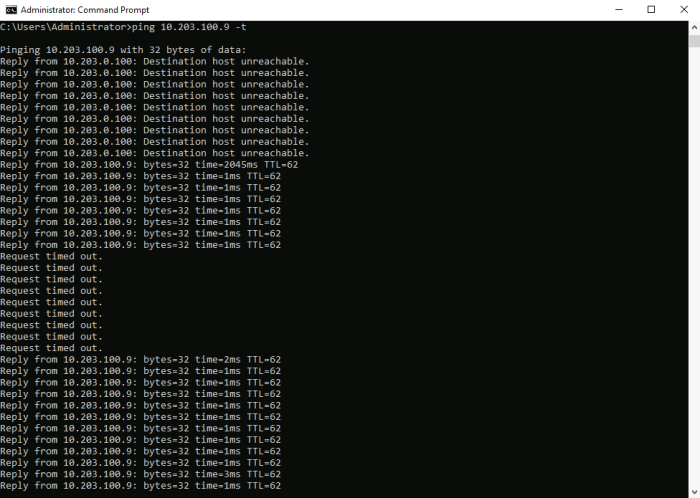
The VIP configuration may take a few minutes and the web session that you are using to configure the VIP may not work anymore.
You can do a quick ping test to check when the VIP address was reachable.
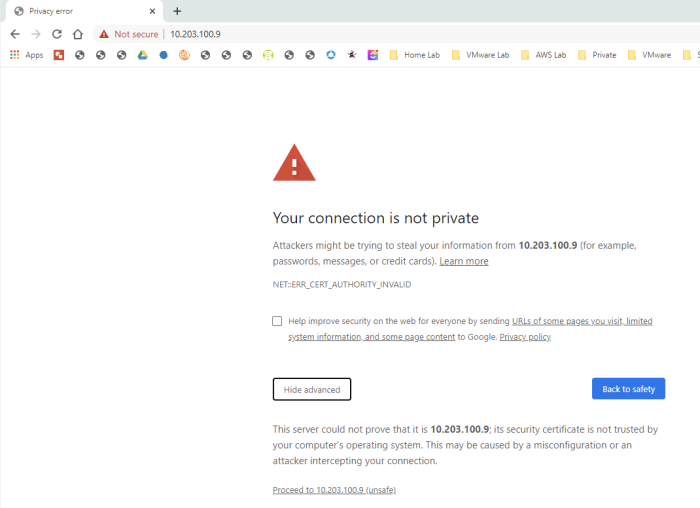
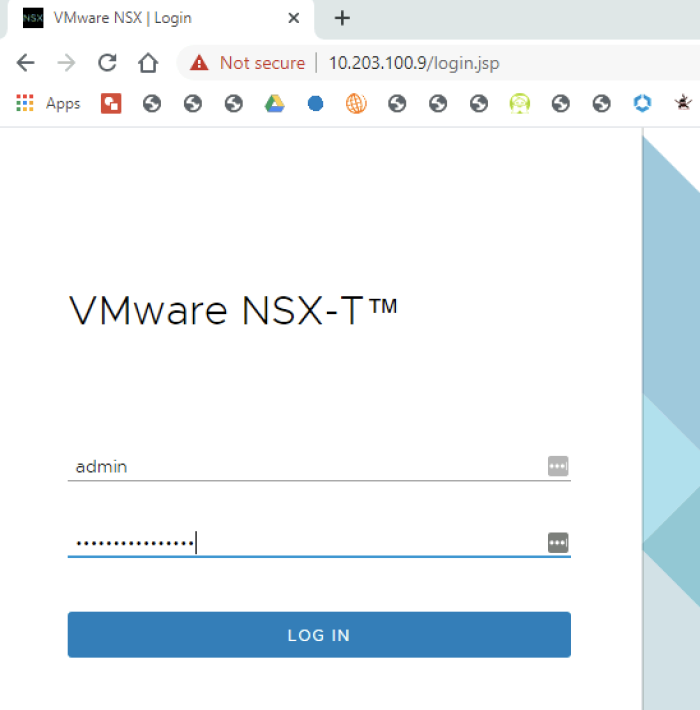
As soon as the VIP address was reachable you can open a new web browser screen, and you needed to accept the self-signed certificate to continue.
As this is seen as a new session you need to type in your credentials to log in again.
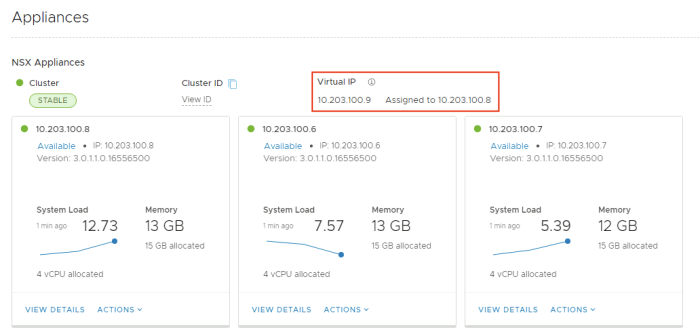
Now that you are logged in you can verify if the VIP address is configured.
Notice that the VIP address is bound on a single NSX-T Manager Node.
More information on how the VIP address works and operates from a technical perspective cn be found in the article: Create an NSX-T manager node cluster in section VIP IP address with the three-node NSX-T Manager cluster
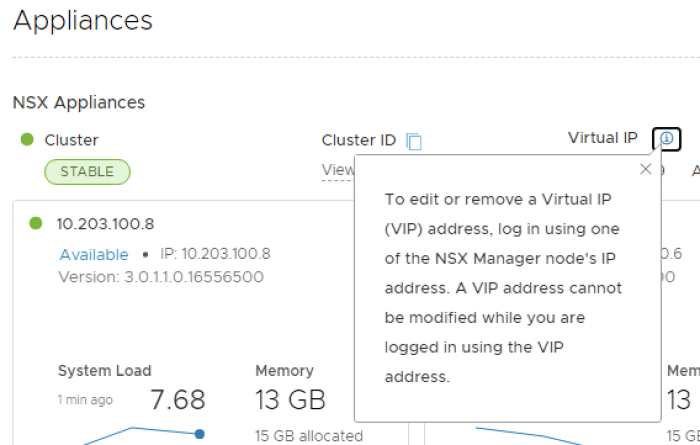
When you want to change the VIP address just make sure you are not logged in to the NSX-T GUI using the VIP address.
You can still use the IP address dedicated to the NSX-T Manager node to log in directly to the node.
I am always trying to improve the quality of my articles so if you see any errors, mistakes in this article or you have suggestions for improvement, please contact me and I will fix this.
