Create your first free (Linux) Compute instance using OCI (with your free OCI account)
In this article, I will be explaining how you create a free Oracle Instance (Workload / Virtual Machine) based on Linux.
Create a new Compute Instance
I am going to create a new (Linux) Compute Instance inside my new OCI Tenant.
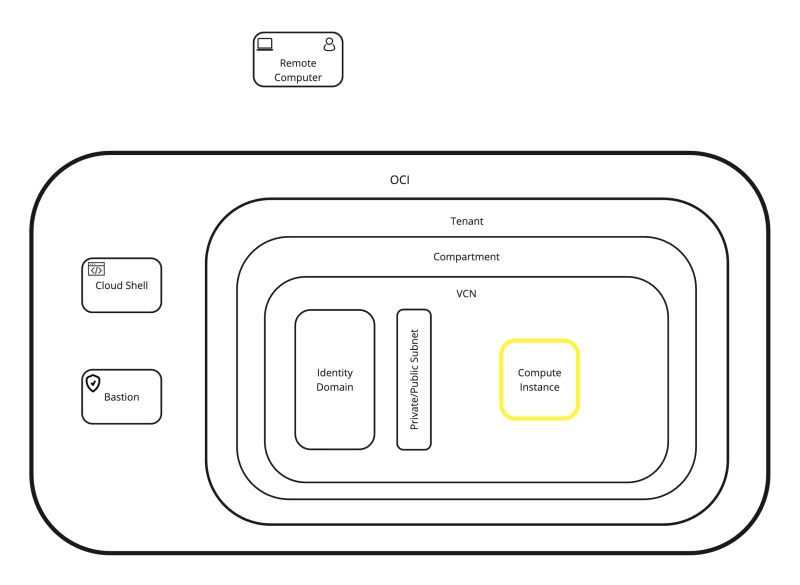
When you create (or use) a Free Trial OCI account there will be a default tenant, a default root compartment, and a VCN and internet Gateway will be created for you. In the diagram below I will be creating the yellow Compute Instance inside the VCN.
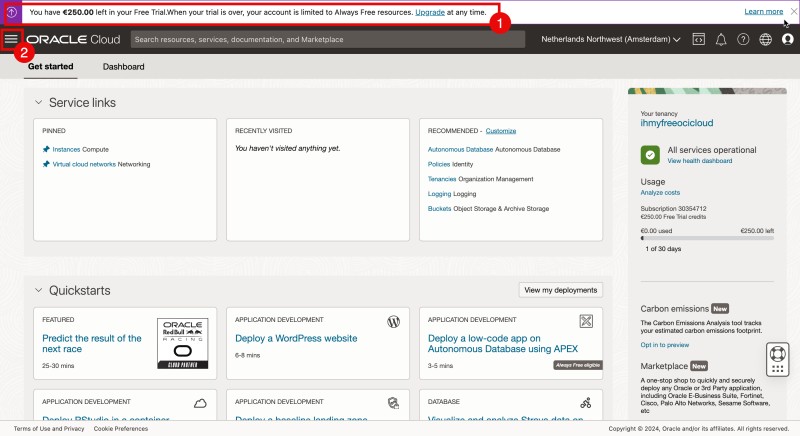
- When logging into the console notice that I am using OCI in Free Trail mode so there will be some limitations.
- Click on the hamburger menu in the upper left corner.
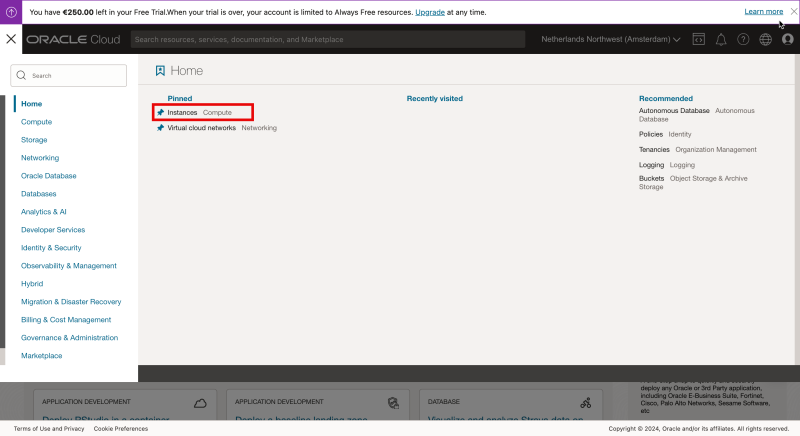
Select “Instances” from the home menu.
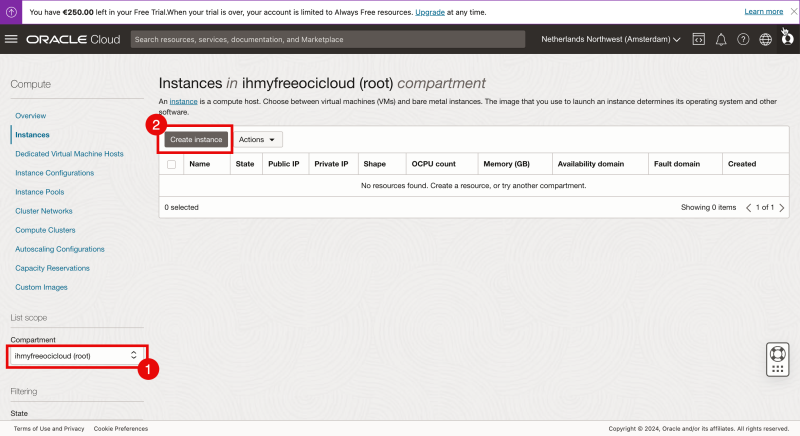
- Select the root compartment.
- Click on “Create Instance”.
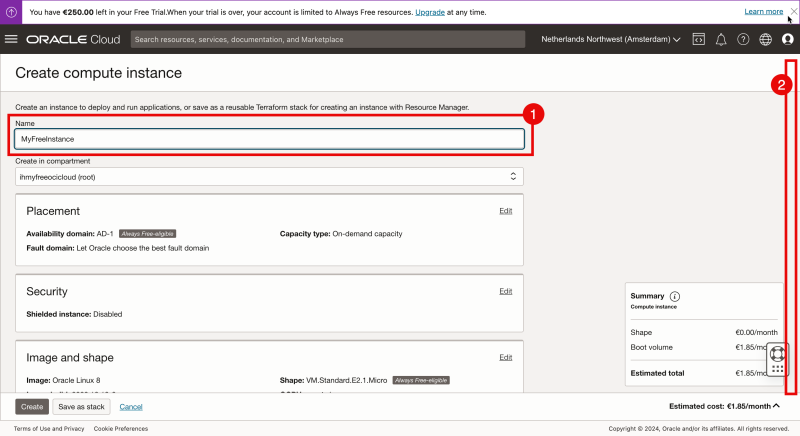
- Provide a Name for the new Instance.
- Scroll down to see the other options.
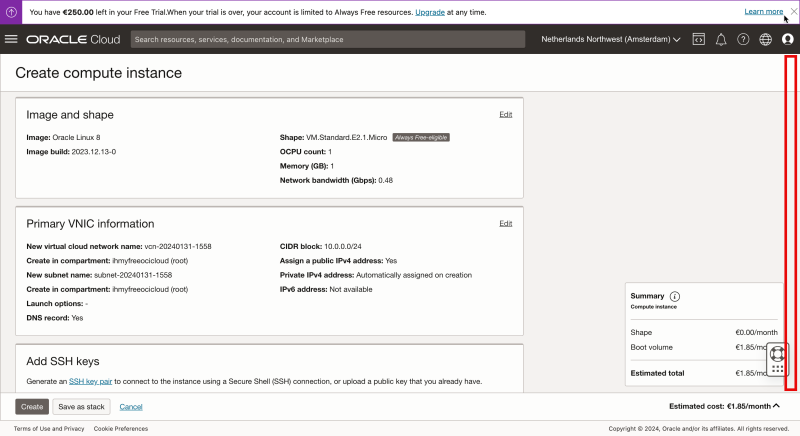
Review the options leave everything default for now and scroll down again.
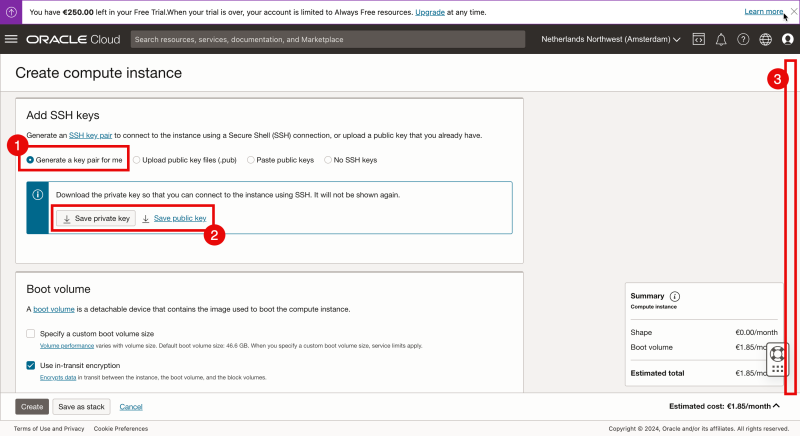
- In order the access and manage this Linux Instance you need to work with SSH Keys. For now, I will let OCI Generate a new SSH Key pair.
- Download the private and public keys on your local computer so I can use these to access and manage this Linux Instance (after creation).
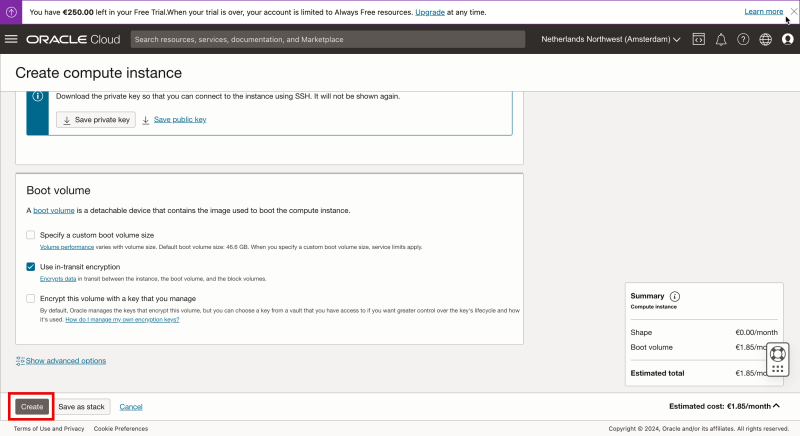
- Scroll down to review the other options
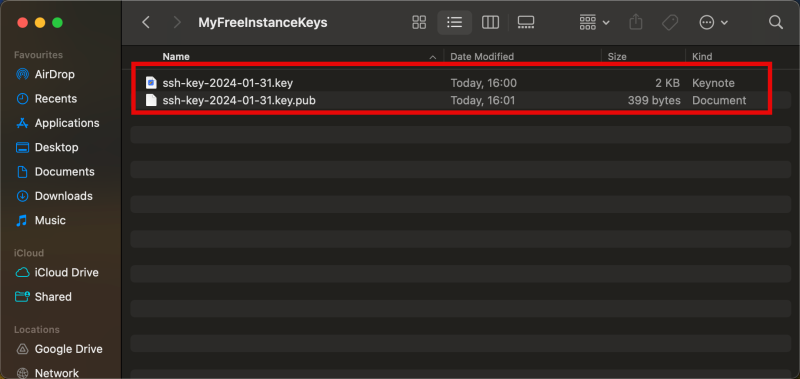
Make sure you download the downloaded private and public keys are your local computer so I can use these to access and manage this Linux Instance (after creation).
Click on “Create” to create the new Linux Instance.
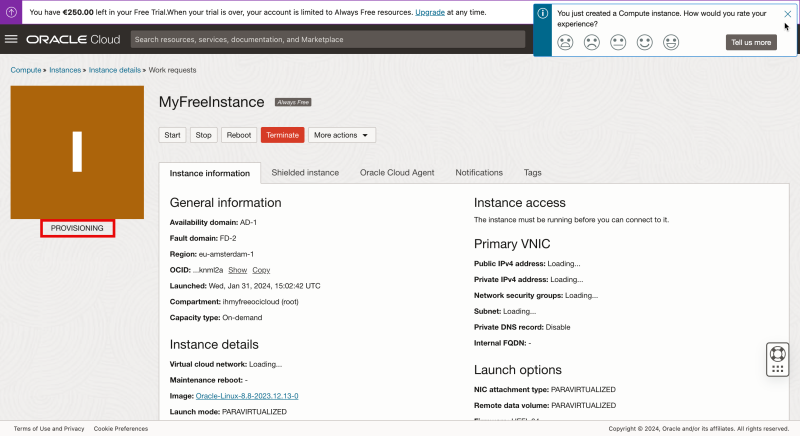
Review the status that will start with “PROVISIONING”.
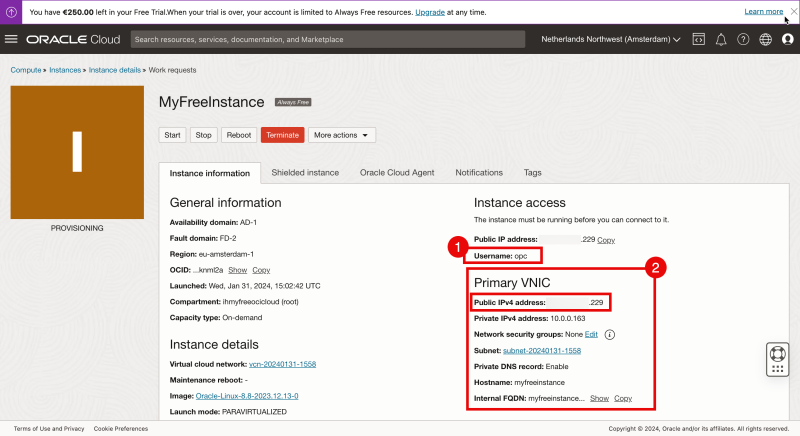
Within a few seconds, you will see that some information is populated that you will need to access the instance like the IP addresses and the username.
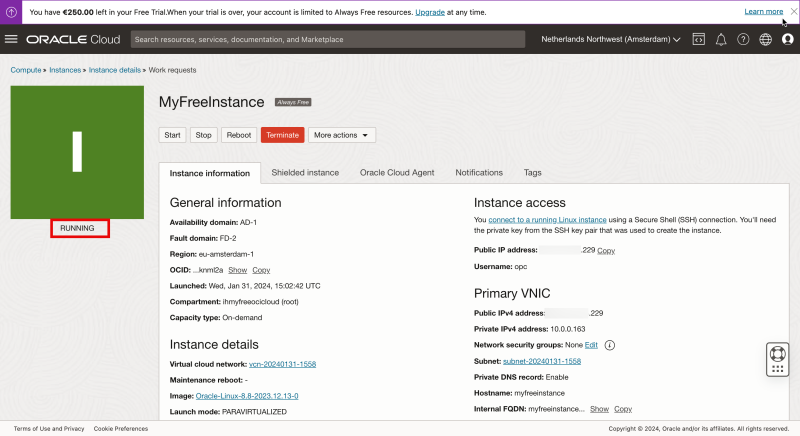
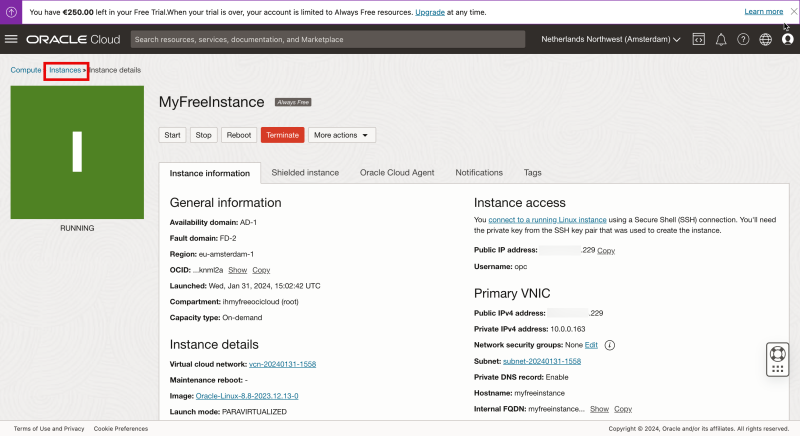
Eventually, the Instance status will be “RUNNING” and I can start logging in to the Instance to perform some management tasks and start installing my applications.
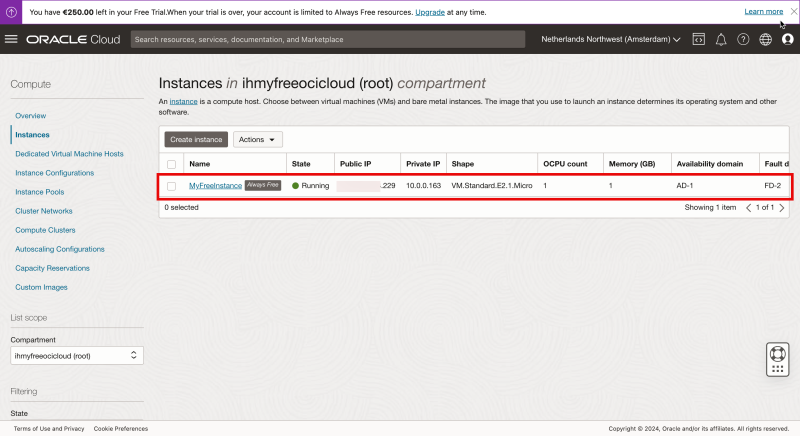
Use the breadcrumbs to go back to look at the instance overview.
In the Instances Overview I can see all my deployed instances.
Conclusion
In this article, I have explained how you create a Linux Compute Image using the OCI Console.
I was able to successfully create a new Linux Compute Image that I could use to install applications in a later phase.

