Lab:Configuring a Microsoft Server to be a Root Certificate Authority (CA)
In this lab I am working with the following software and versions:
| Software | Version | Filename |
|---|---|---|
| Windows Server | 2019 | en_windows_server_2019_updated_feb_2020_x64_dvd_de383770.iso |
- Configure a Microsoft Server to be a Root Certificate Authority (CA) so it can be used to signed SSL certificates (from the NSX Manager for example)
- Prepare the Microsoft Certificate Services so it can sign NSX Manager Node certificates
The Steps
- STEP 1: Configuring a Microsoft Server to be a Root Certificate Authority (CA)
- STEP 2: Export the root certificate
- STEP 3: Verification on the Microsoft CA Server
- STEP 4: Preparing the Microsoft CA Server for NSX-T Certificate Signing
STEP 1» Configuring a Microsoft Server to be a Root Certificate Authority 〈CA〉
Before I can start generating CSR's and signing these, I first need to have a CA server to sign the CSRs with. In this step, I am going to show you (one of many ways) how to set up a CA server that is based on Microsoft Windows 2019 Server.
⚠️ As a prerequisite I need to make sure that the Microsoft Windows 2019 Server is fully configured as an Active Directory Server.
⚠️ As a prerequisite I need to make sure that the Microsoft Windows 2019 Server is fully configured with the IIS (Web) Server.
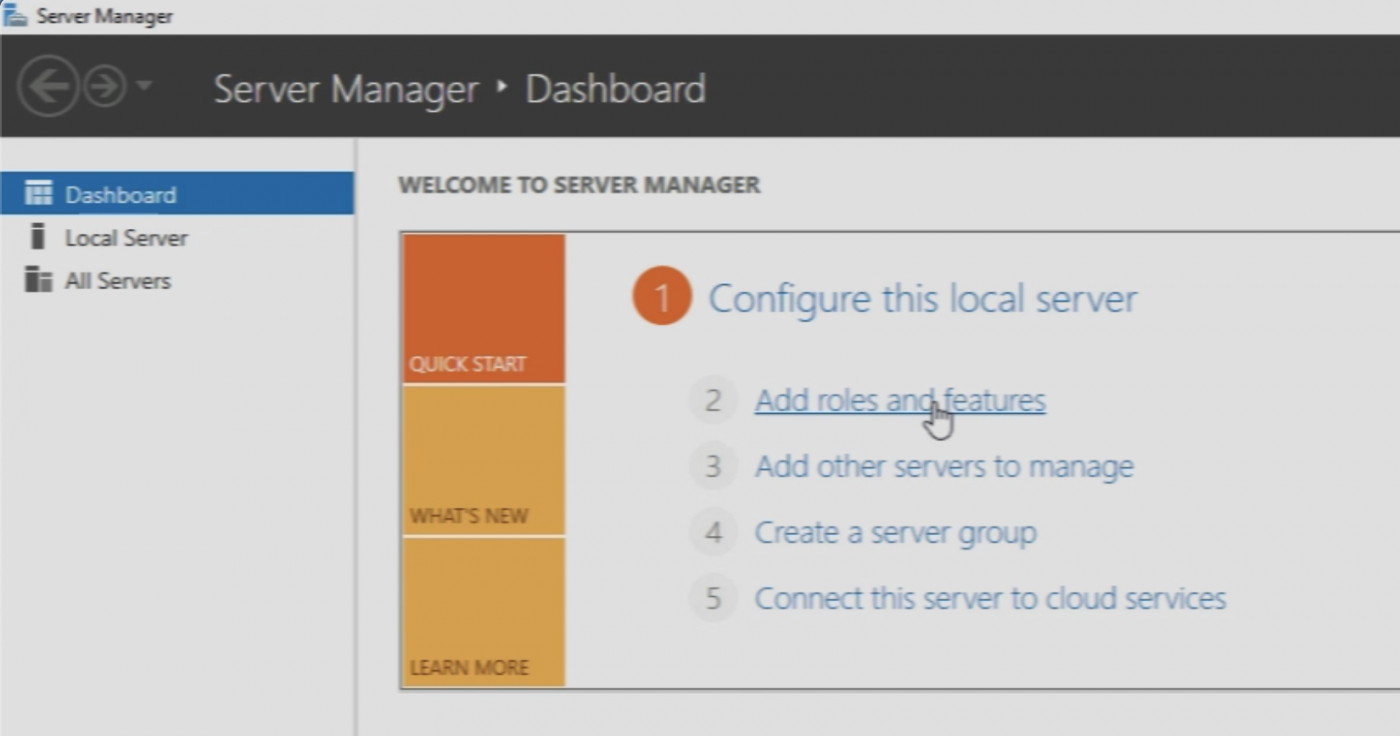
First, I click on “Add roles and features".
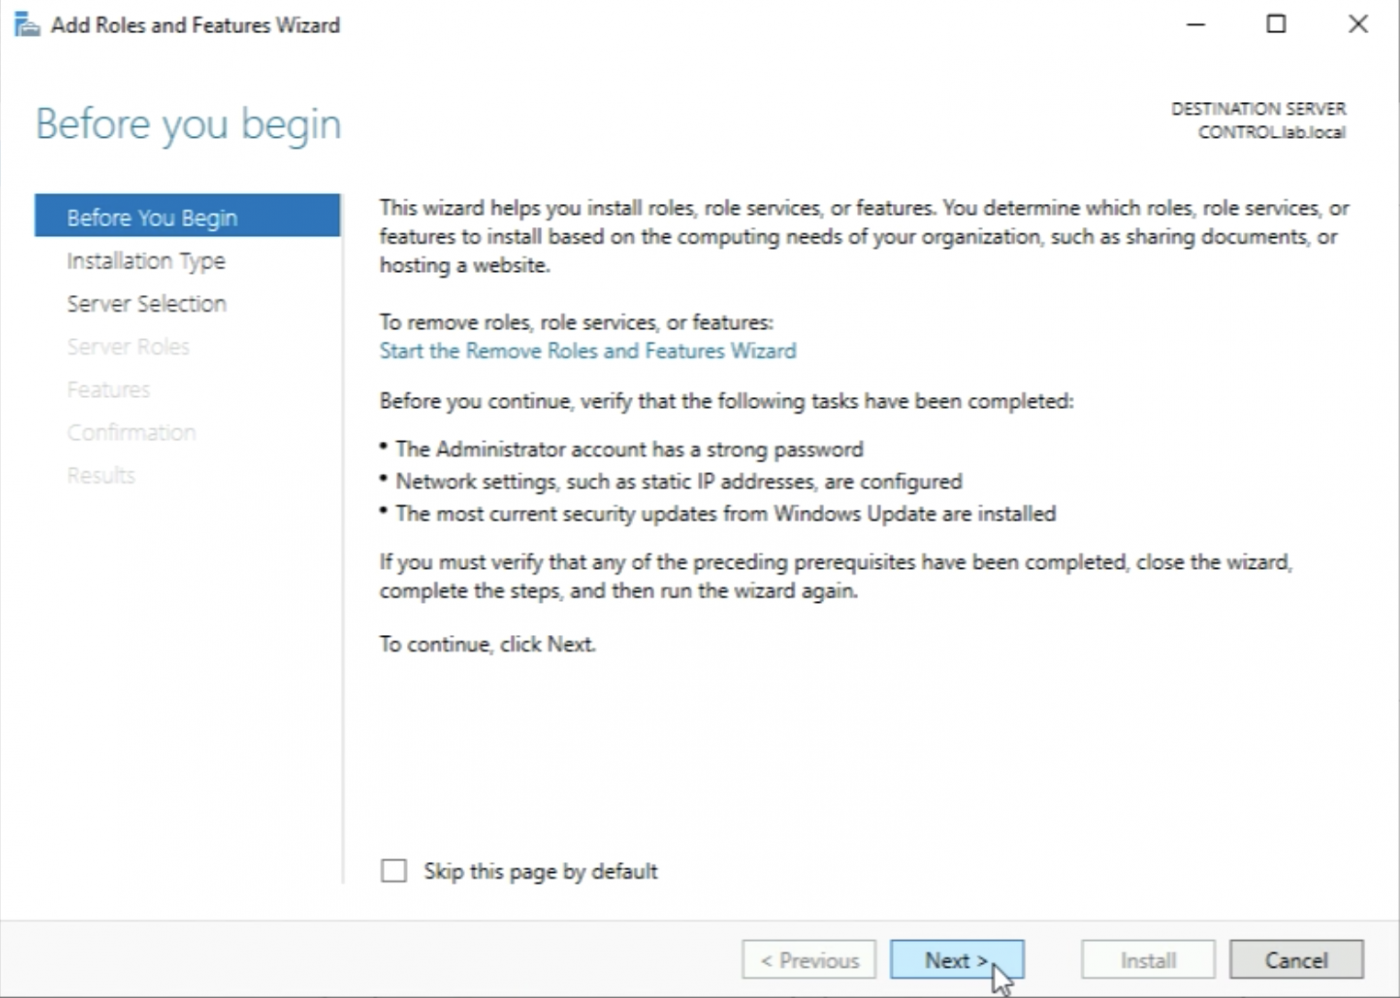
Leave the following settings default and click “Next >”.
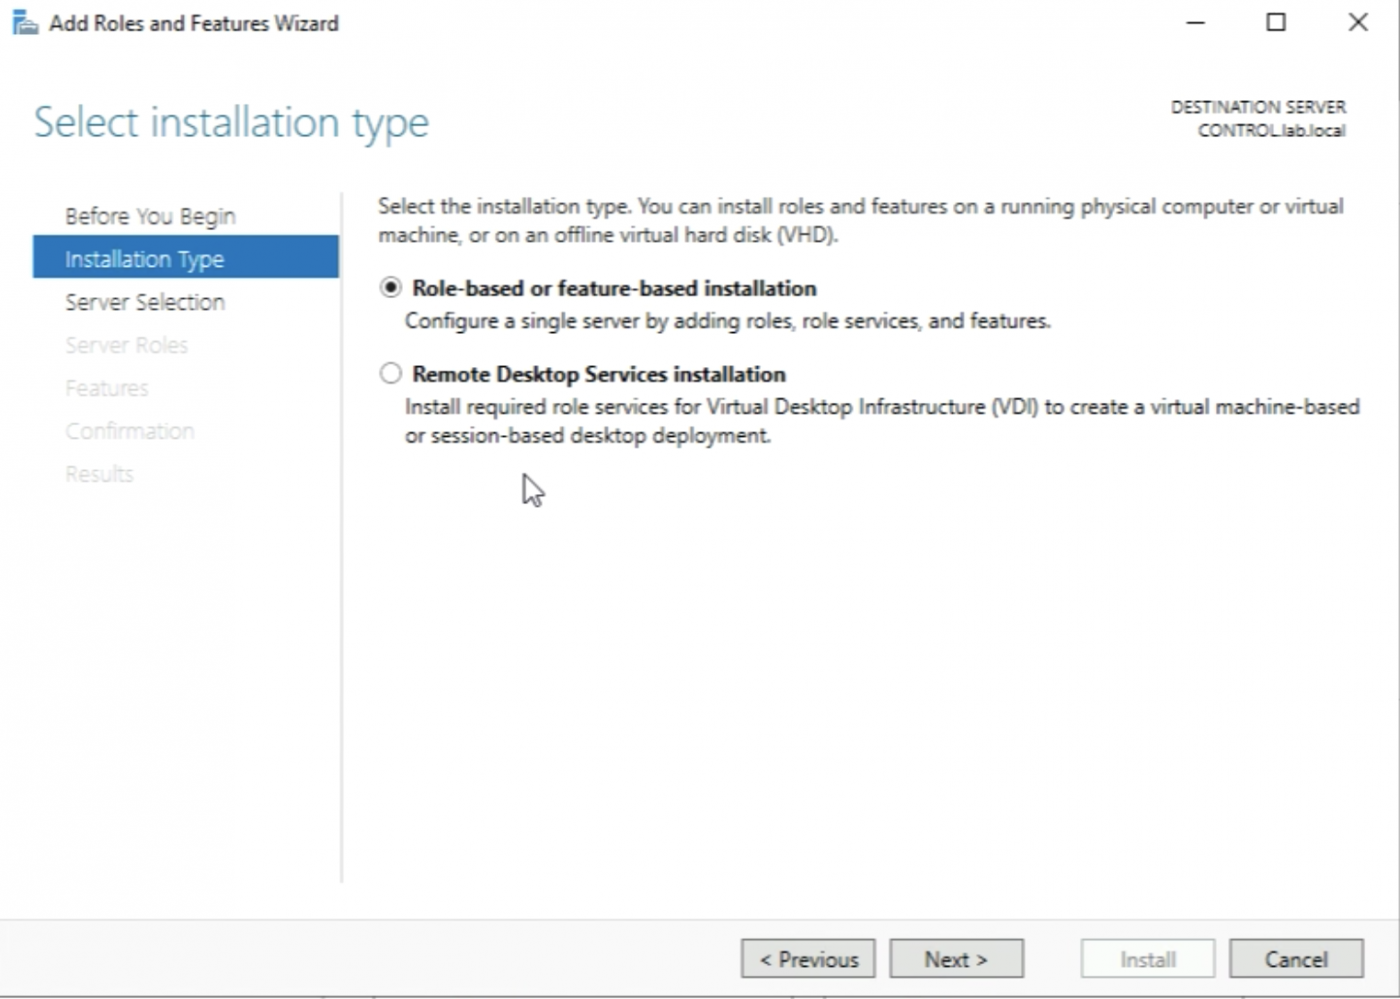
Leave the following settings default and click “Next >”.
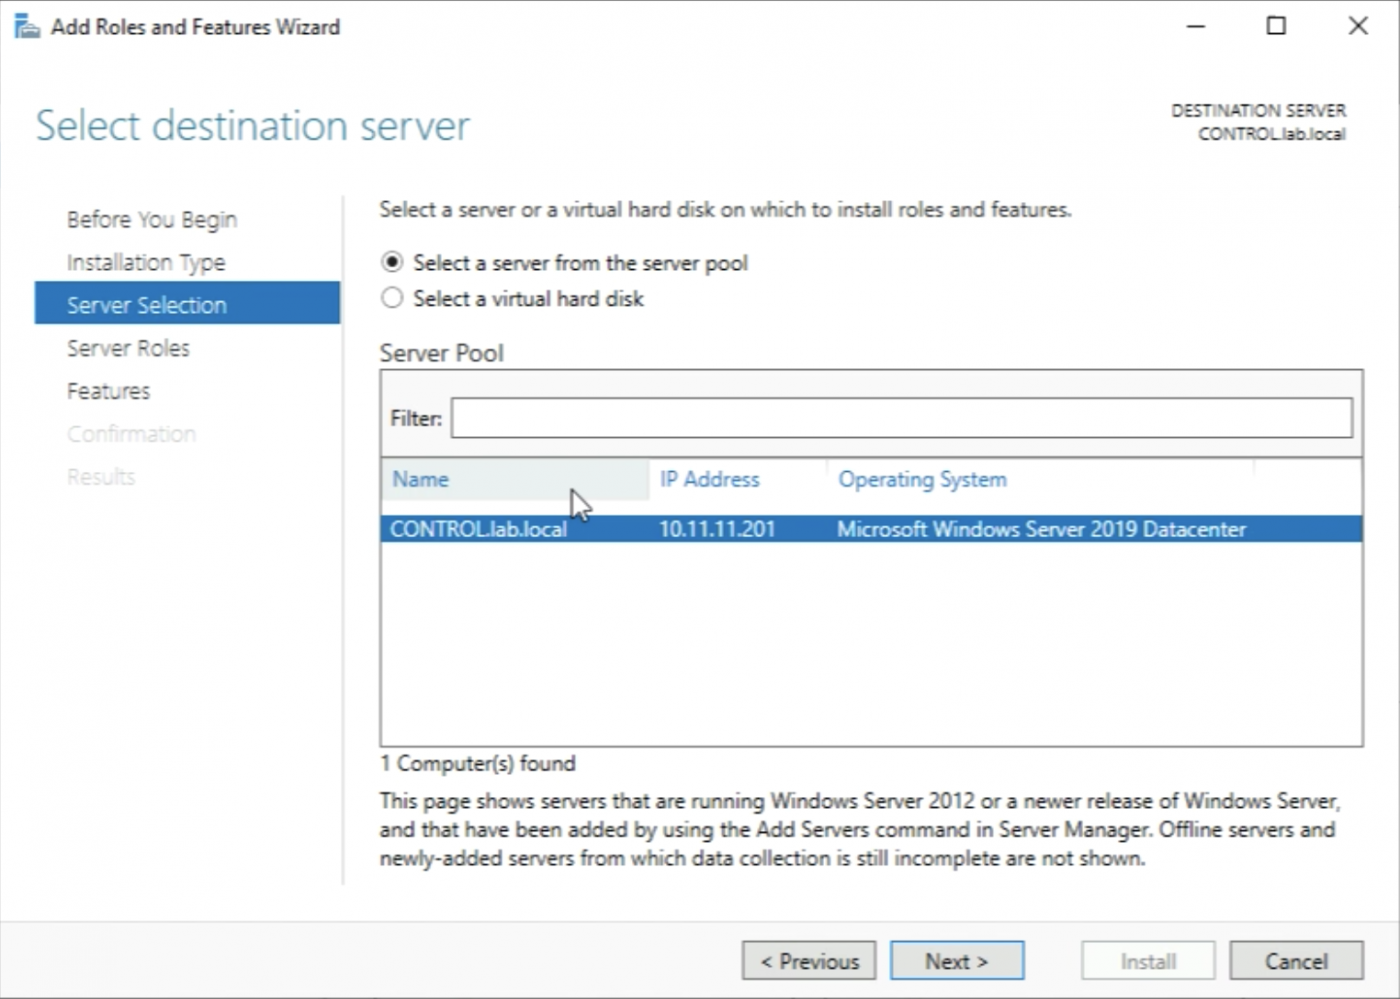
Leave the following settings default and click “Next >”.
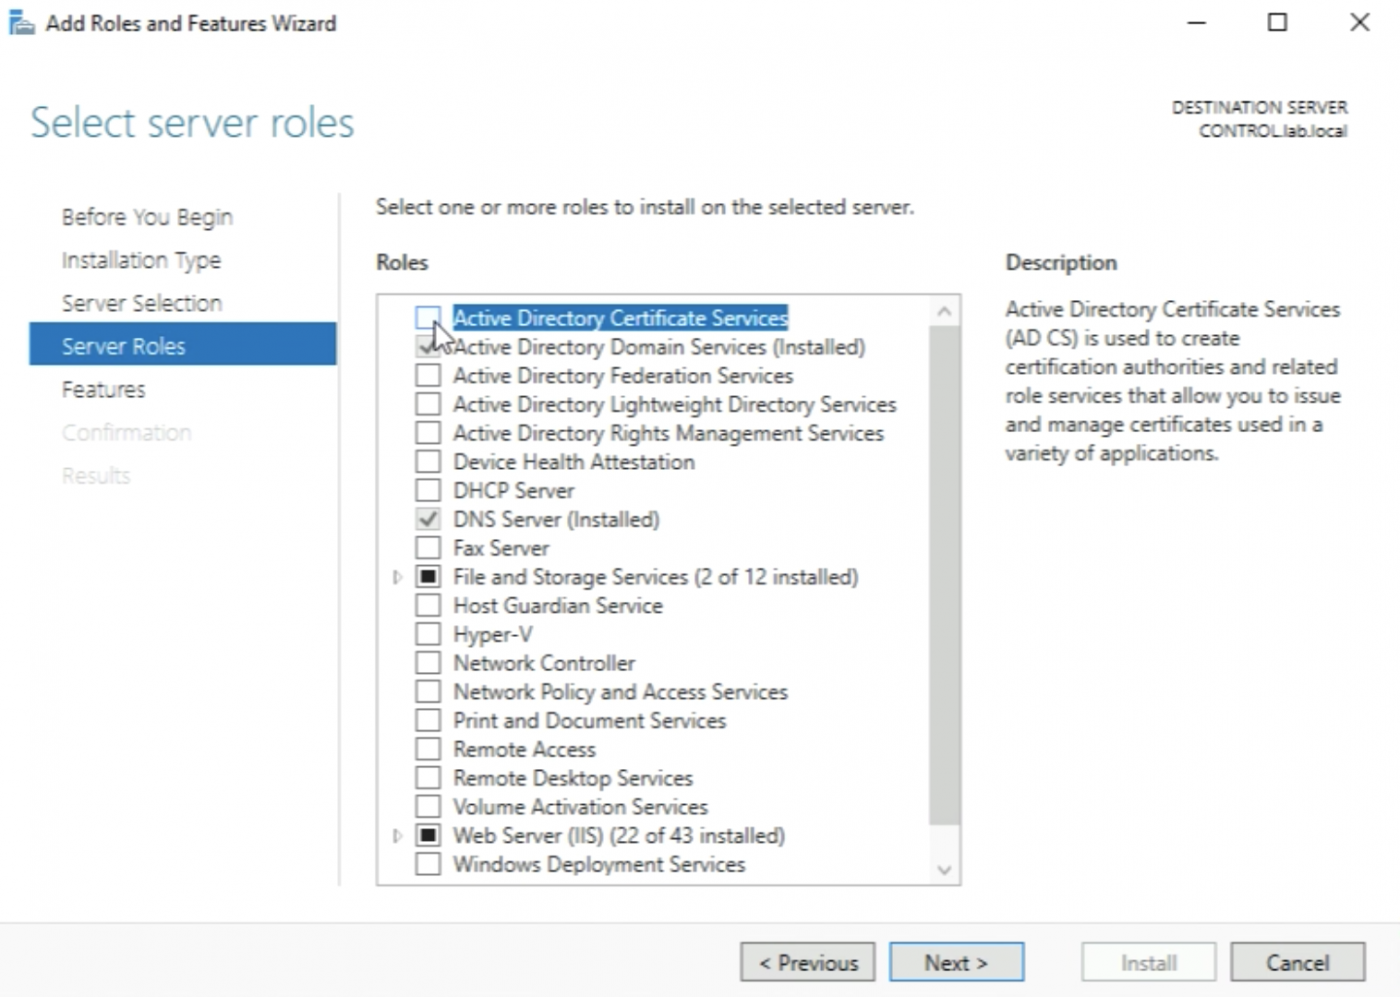
Make sure to select “Active Directory Certificate Services" and click “Next >”.
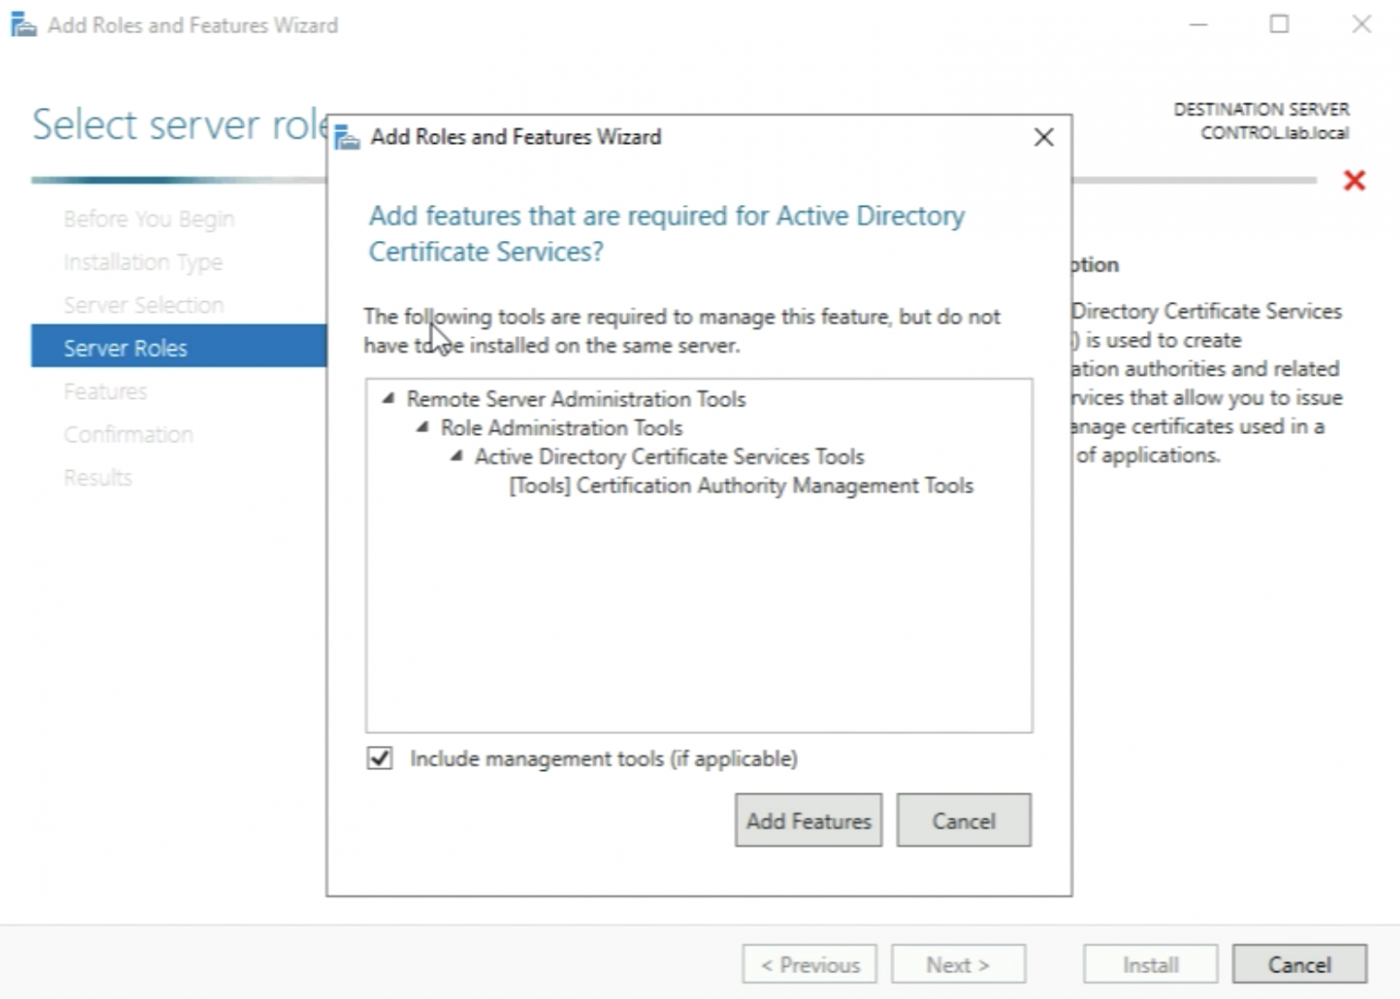
When I have selected the “Active Directory Certificate Services" checkbox the installation will ask me to add some additional tools that are required as a prerequisite. Go ahead and add these features.
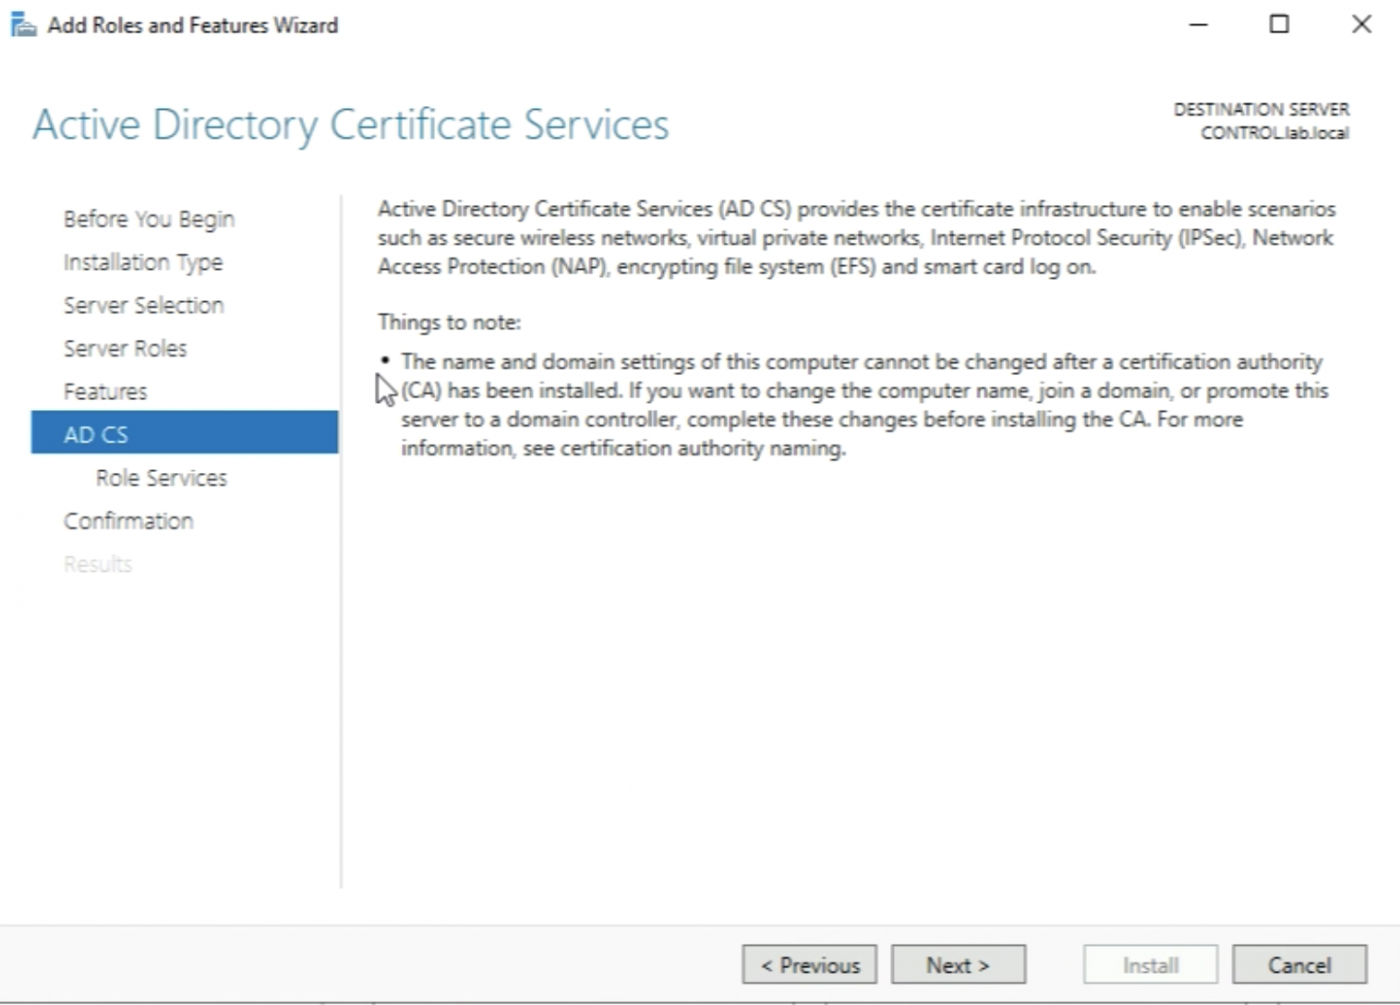
The “Active Directory Certificate Services" role is now selected and I can go ahead and click on “Next >”.

Leave the following settings default and click “Next >”.
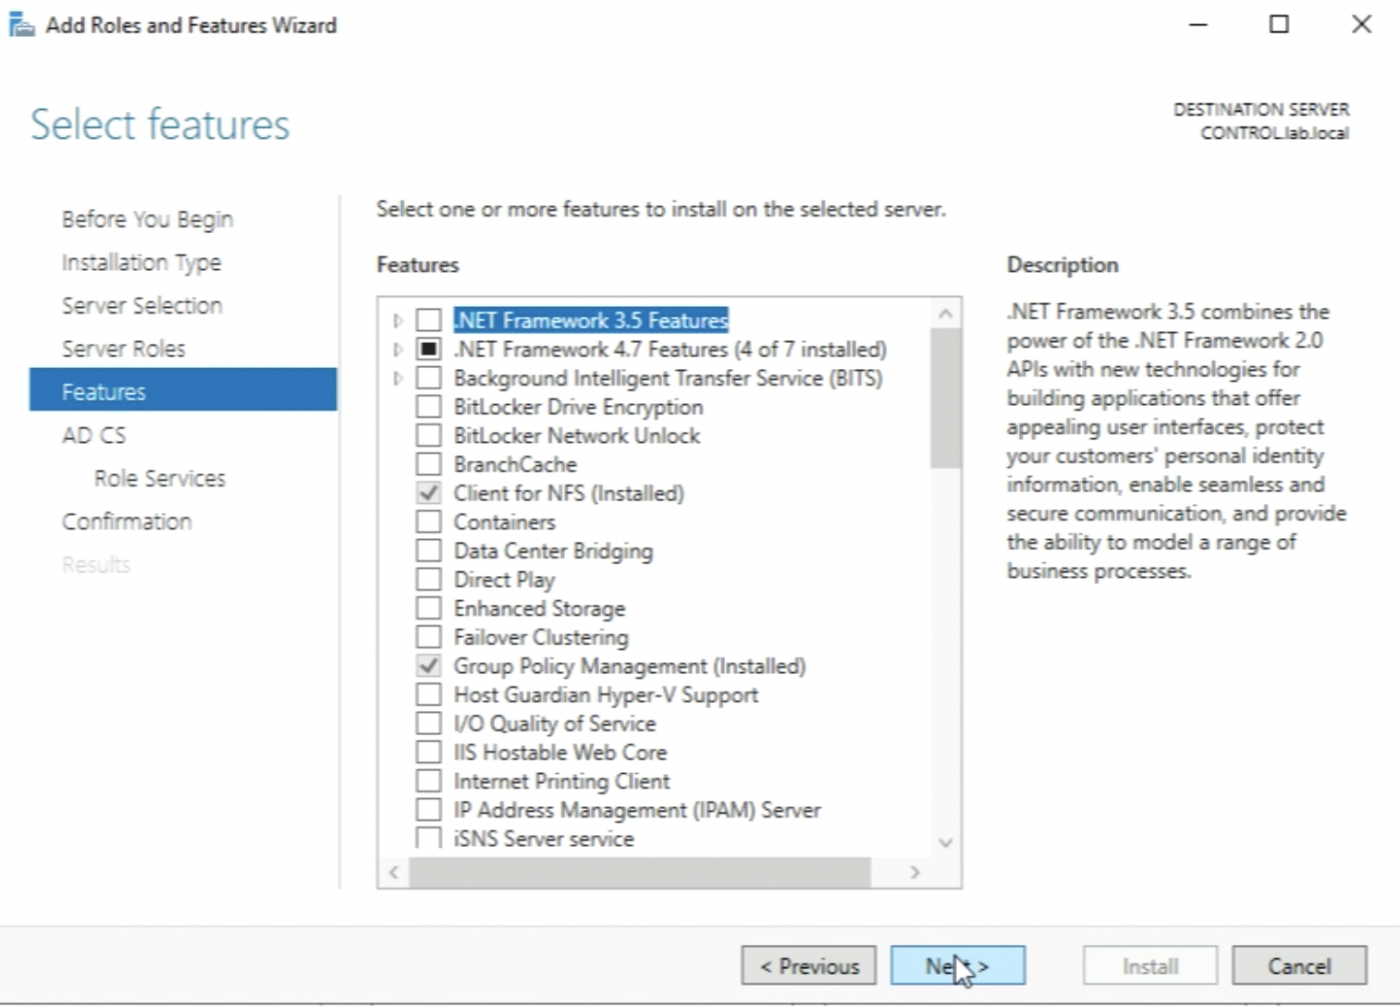
Leave the following settings default and click “Next >”.
The “Certification Authority” Role will already be selected for me by default, but before I click on “Next >” I need to select additional role services.
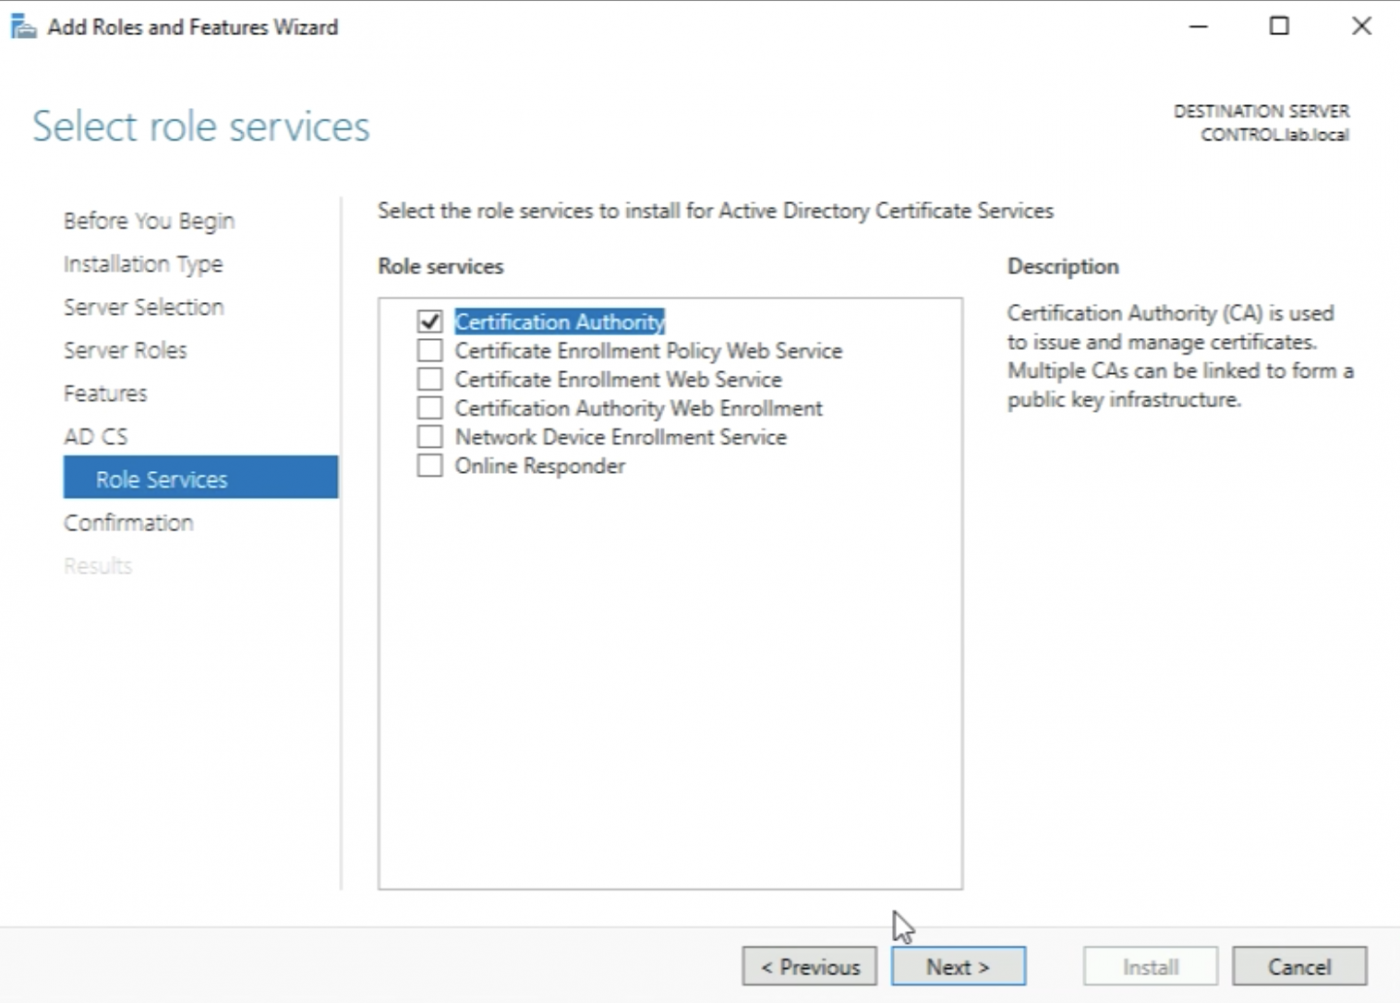
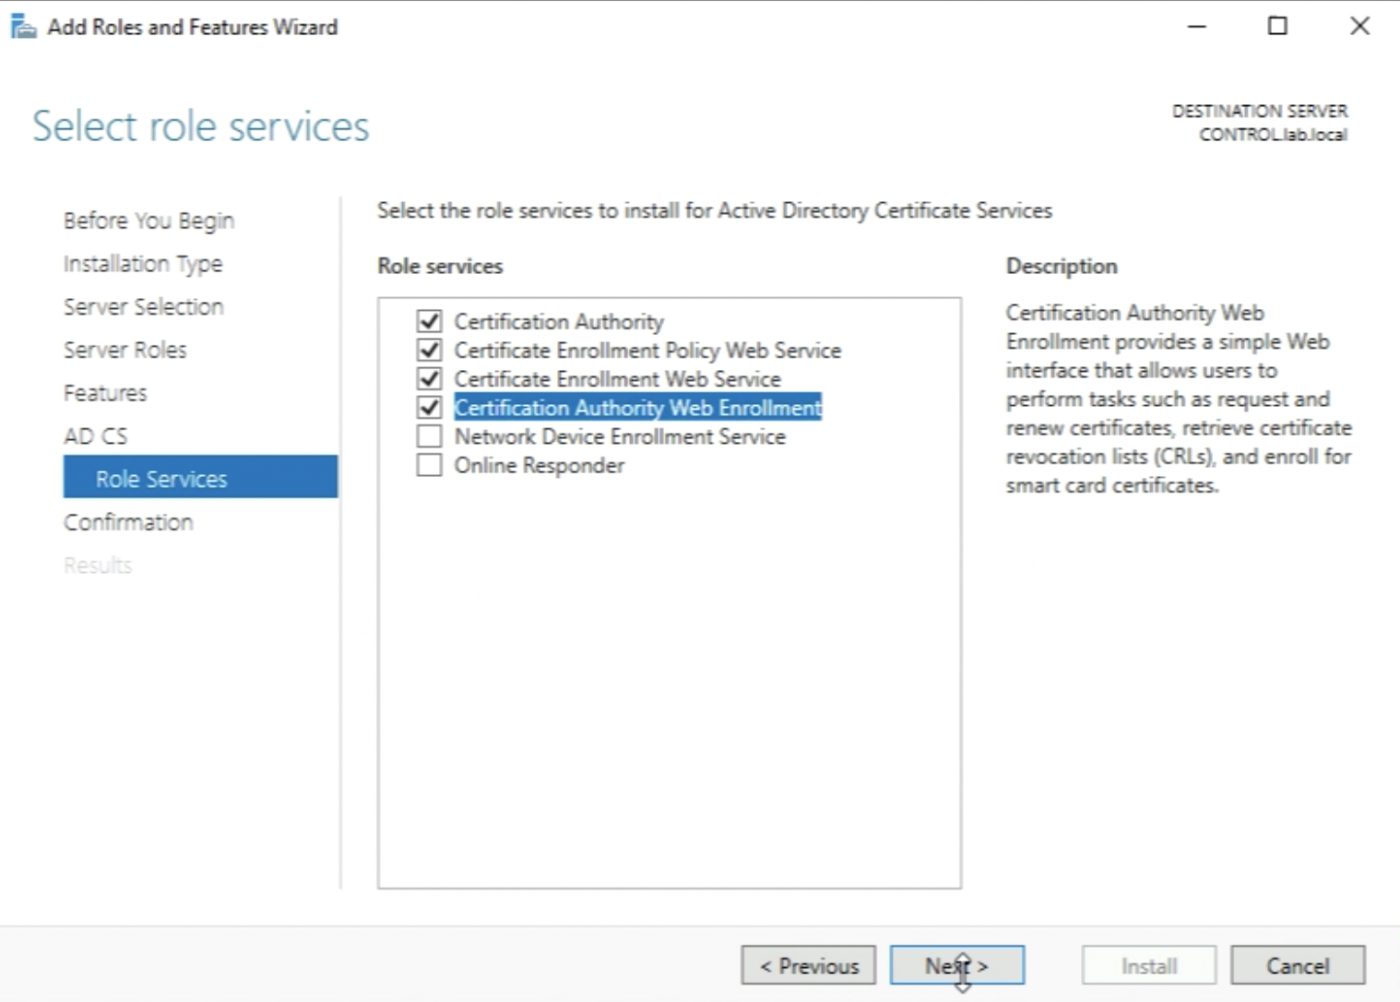
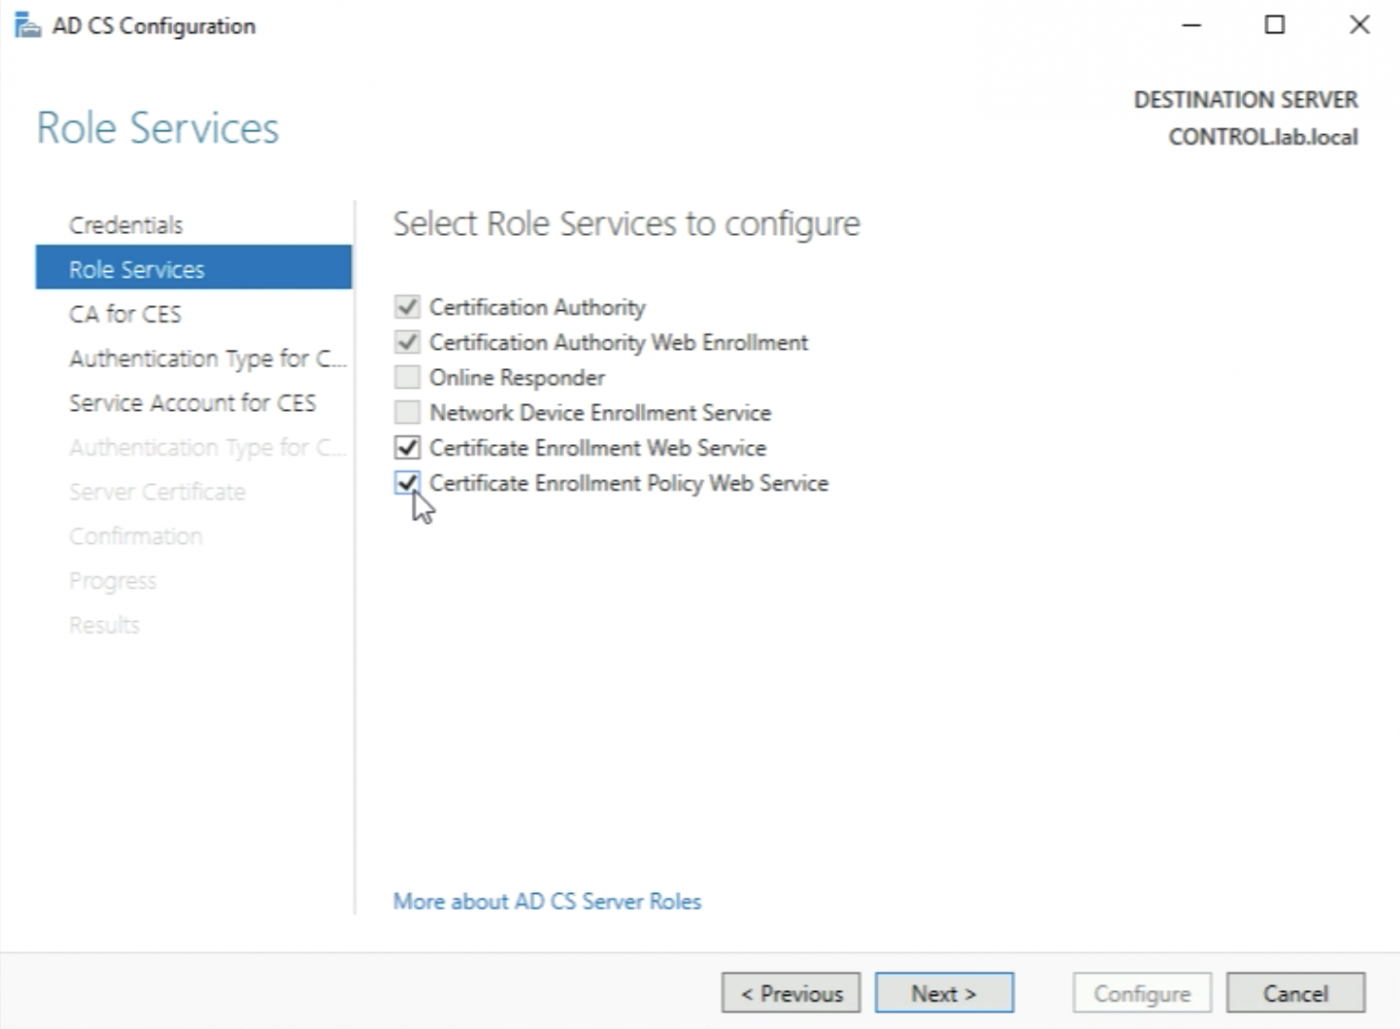
Select the following role services:
- Certificate Enrolment Policy Web Service
- Certificate Enrolment Web Service
- Certification Authority Web Enrollment
And click “Next >”.
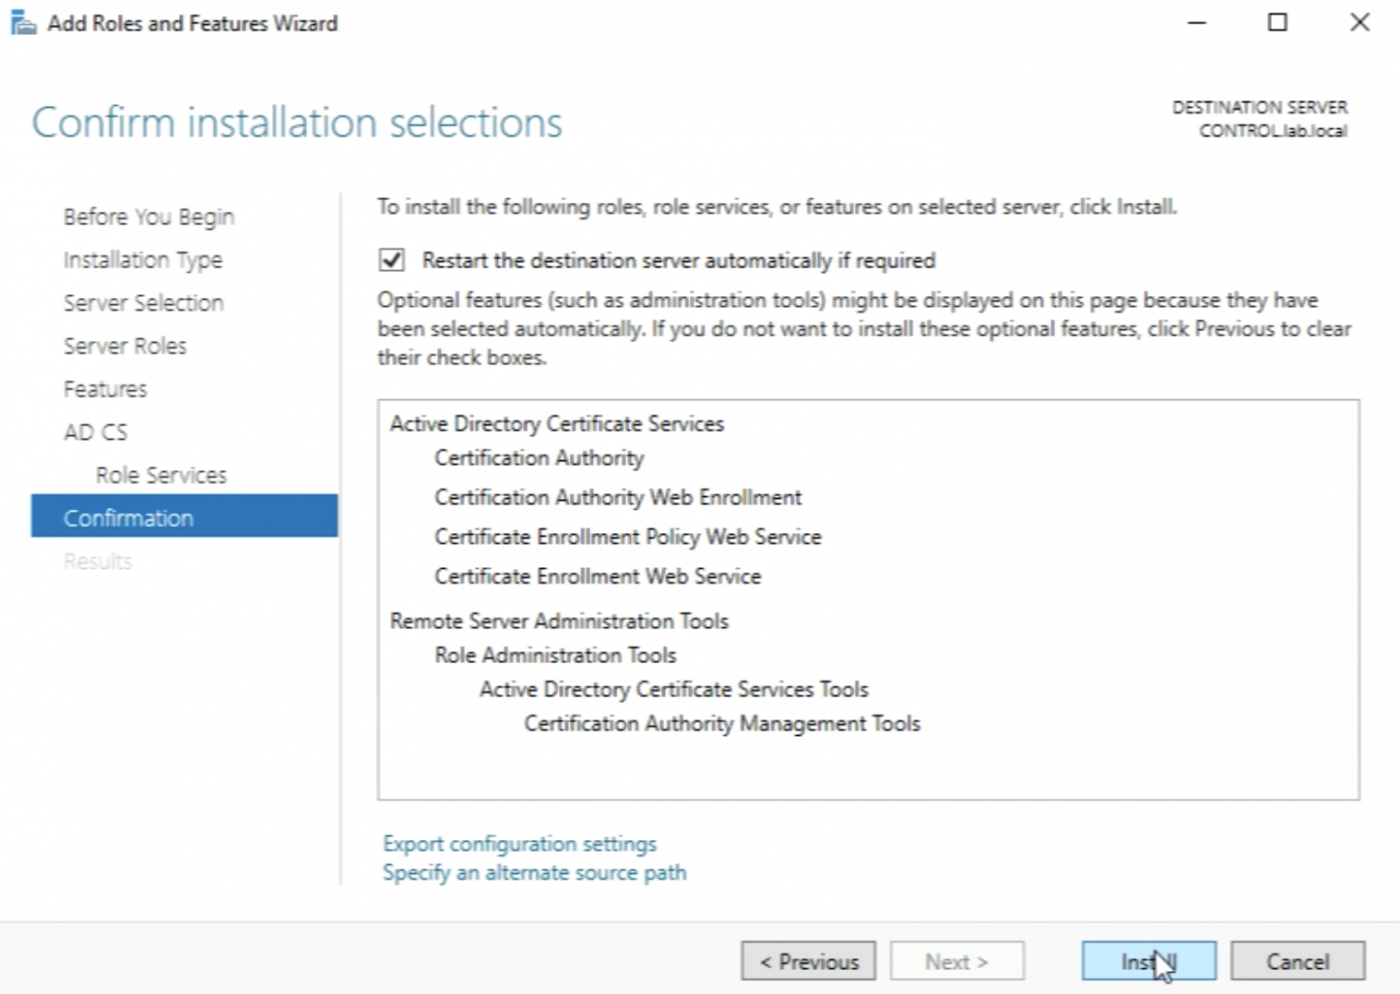
Check the box “Restart the destination server automatically if required" Click on “Install”.
The installation process will start and will finish and then I will be able to “Close” the window.
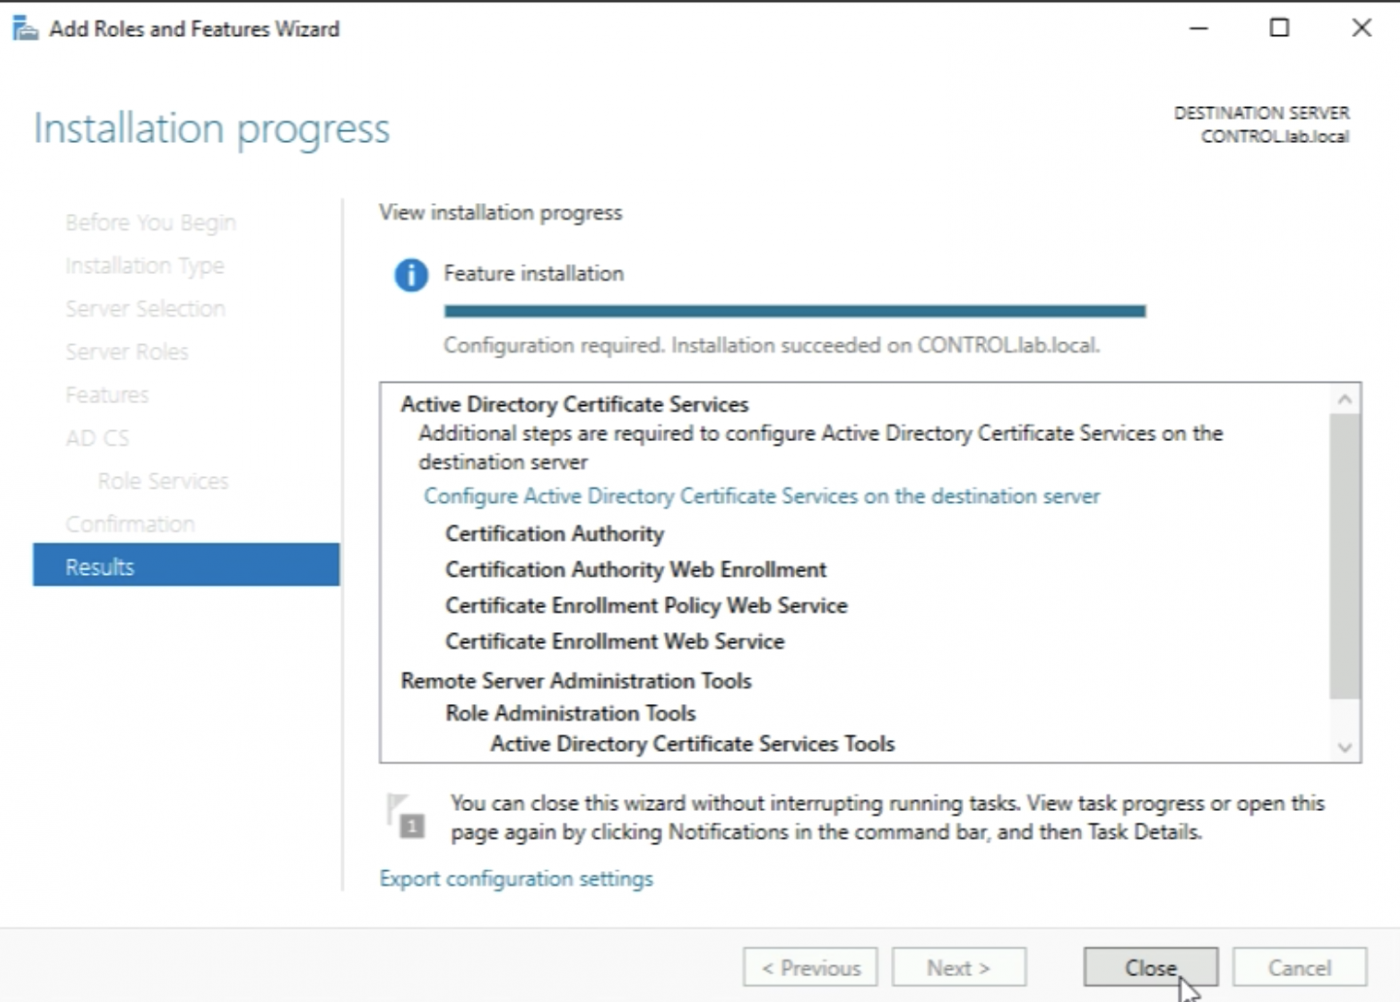
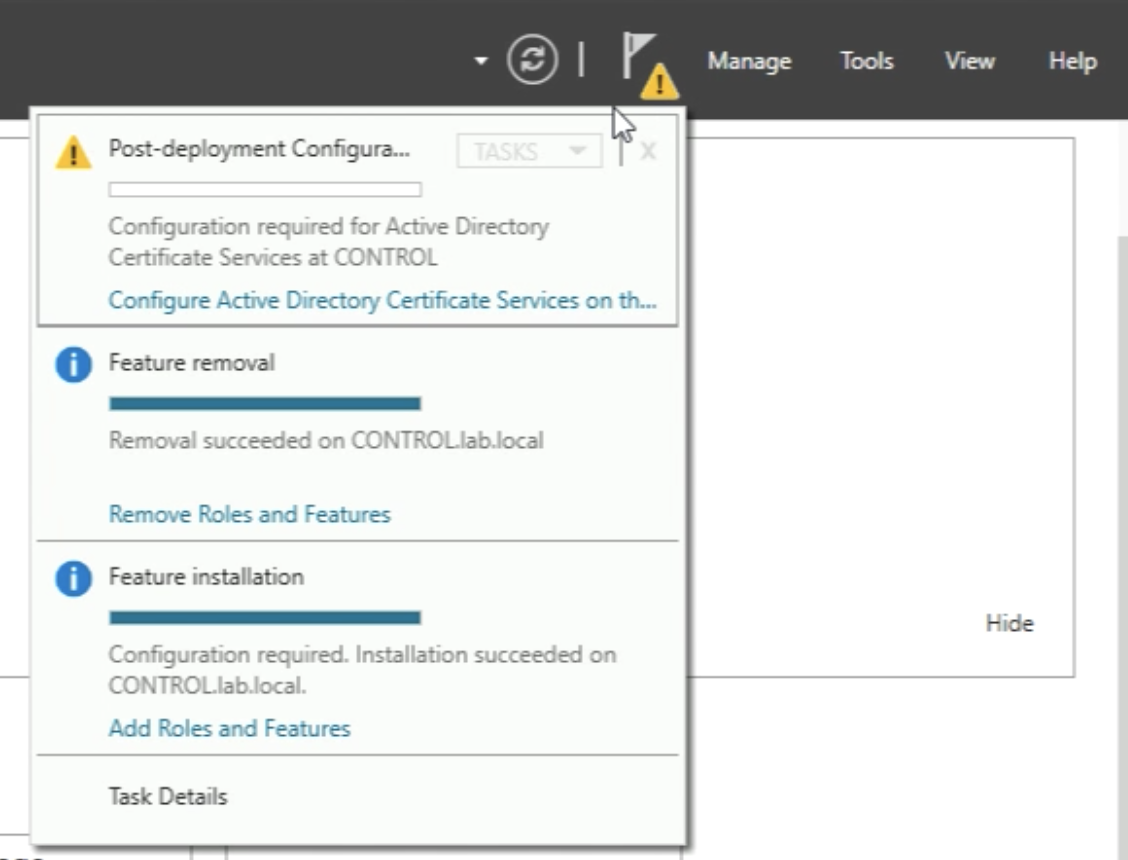
When the installation is done I need to do some additional "Post-deployment Configuration” so I need to look at the yellow exclamation mark in the upper right corner and click on “Configure Active Directory Certificate Services on this server”.
Leave the following settings default and click “Next >”.

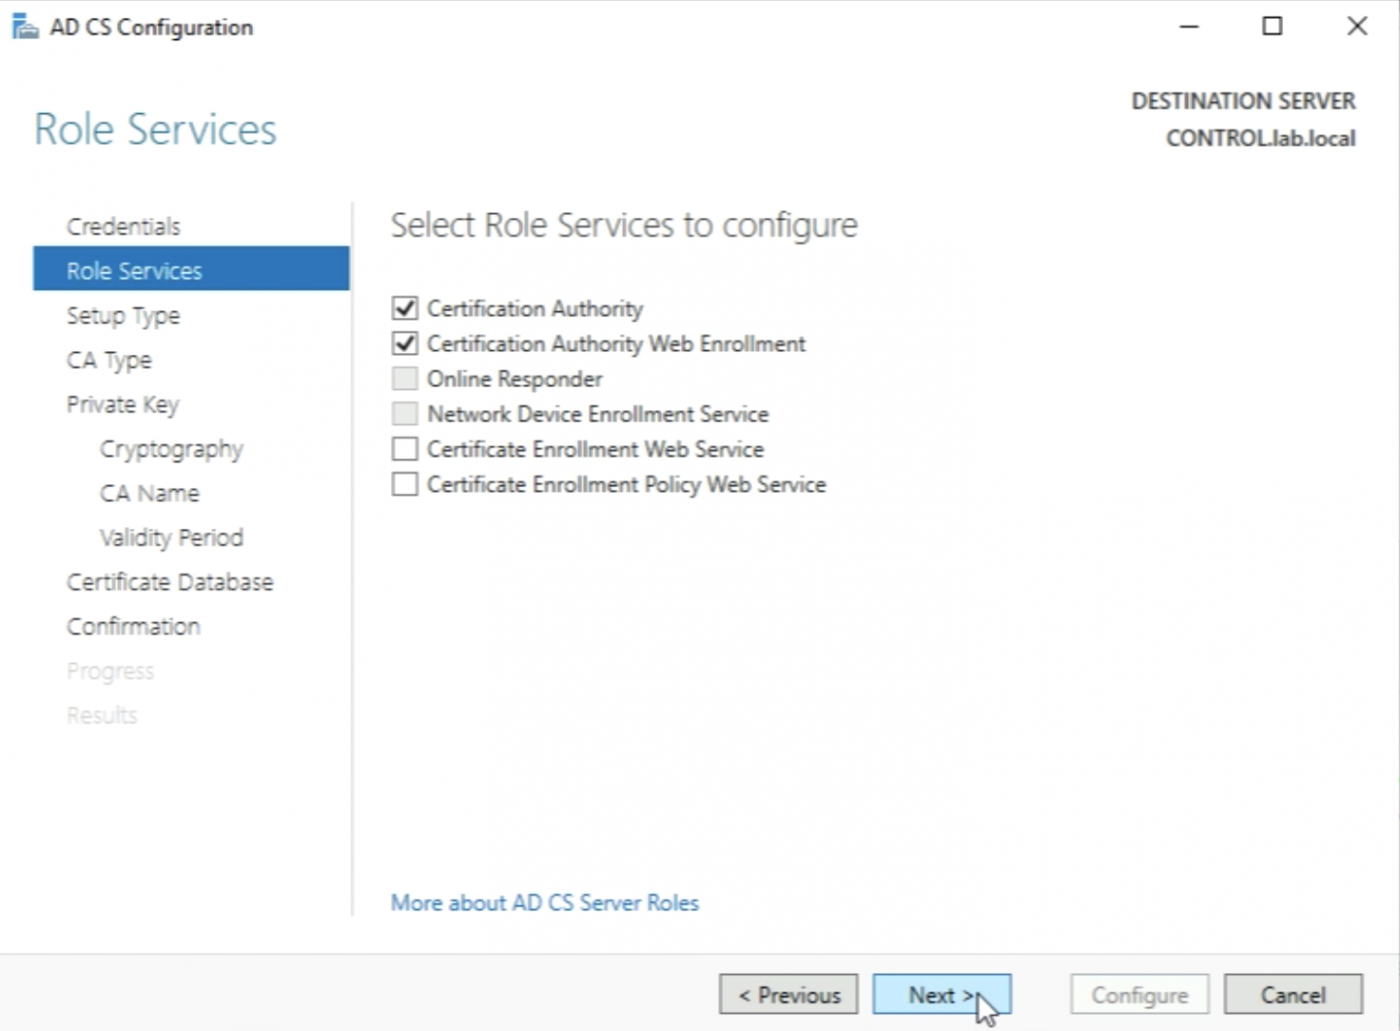
Make sure the “Certification Authority” and "Certification Authority Web-Enrollment” Role Services are selected and click on “Next >”.
🤘🏻 These two Role Services needs to be configured first before the others can be configured in a later stage.
Leave the following settings default and click “Next >”.
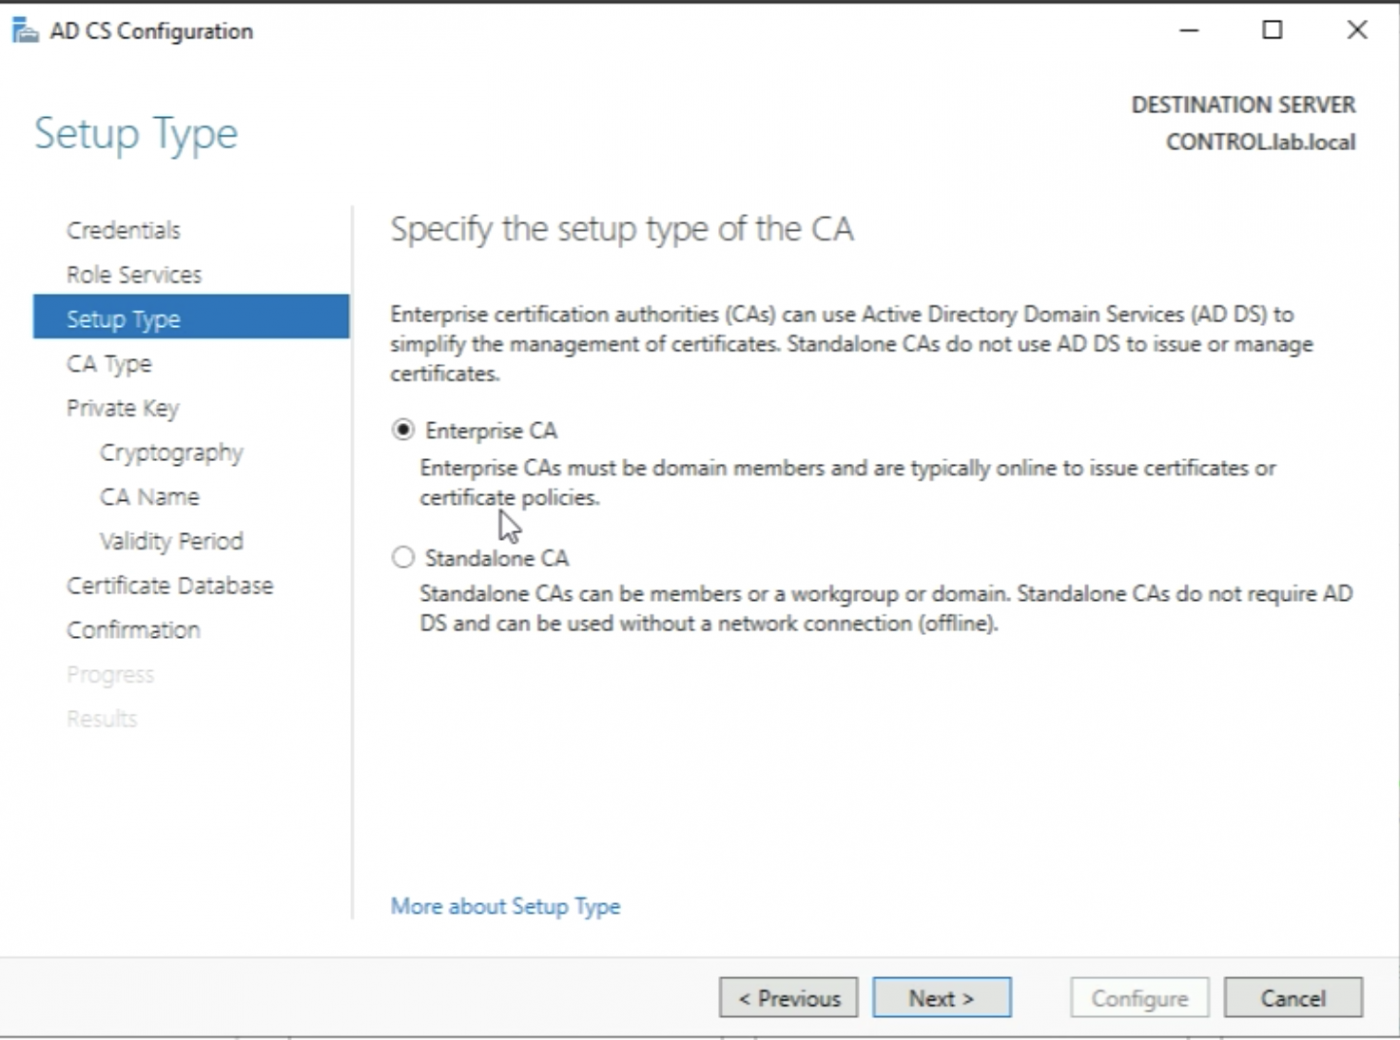
Leave the following settings default and click “Next >”.
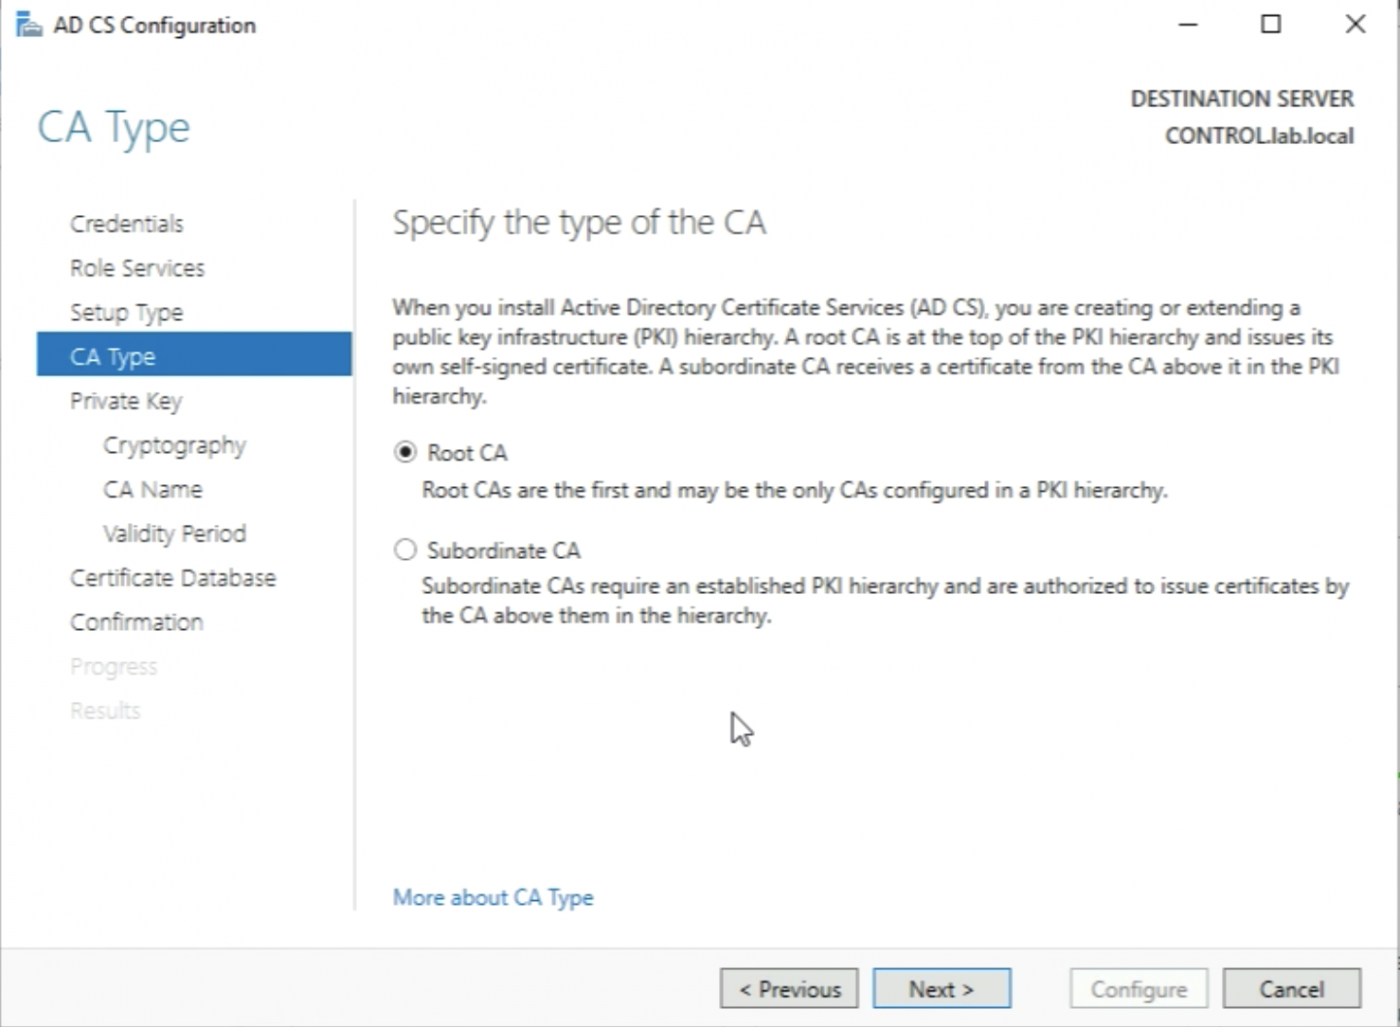
Leave the following settings default and click “Next >”.
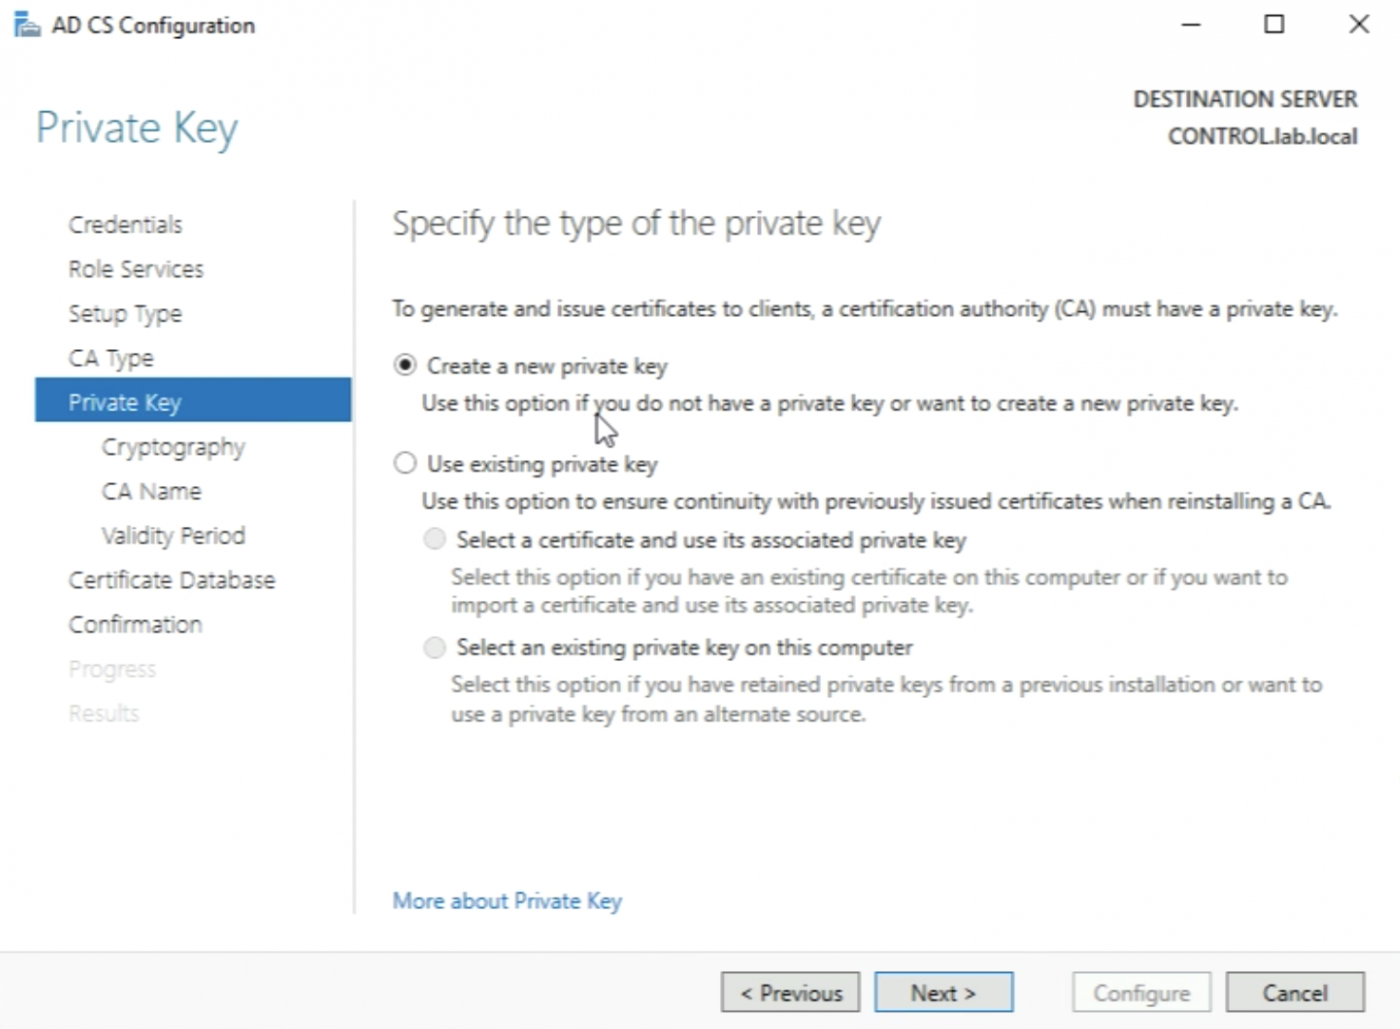
It is important that I create a private key for this new Root Certificate Authority (CA) here.
Leave the following settings default and click “Next >”.
Leave the following settings default and click “Next >”.
Leave the following settings default and click “Next >”.
Leave the following settings default and click on “Next >”.

Leave the following settings default and click on “Configure”.
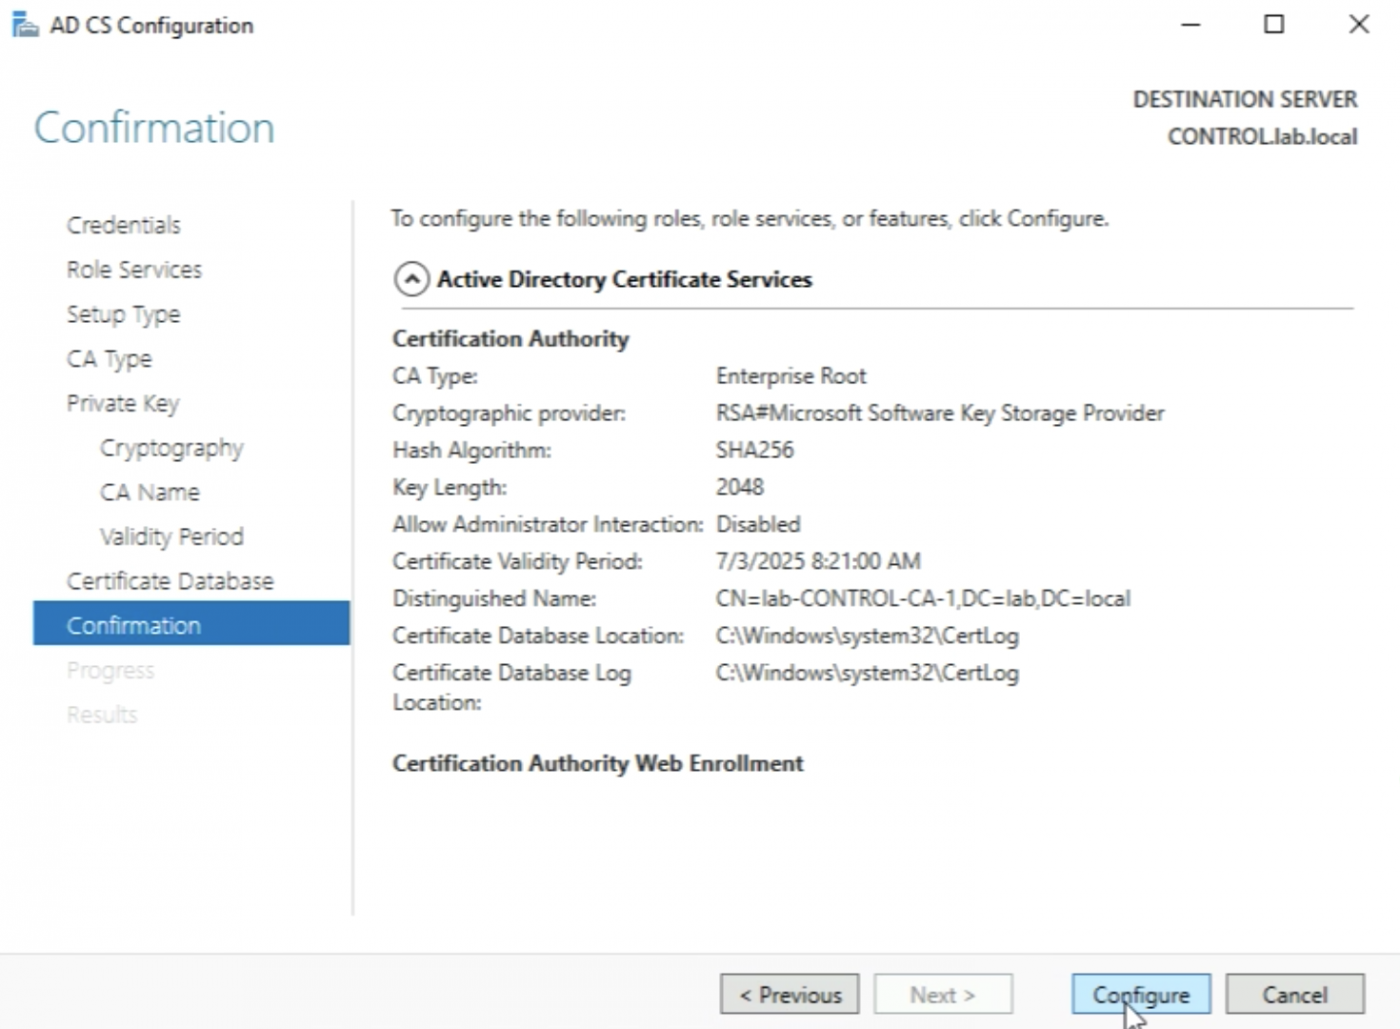
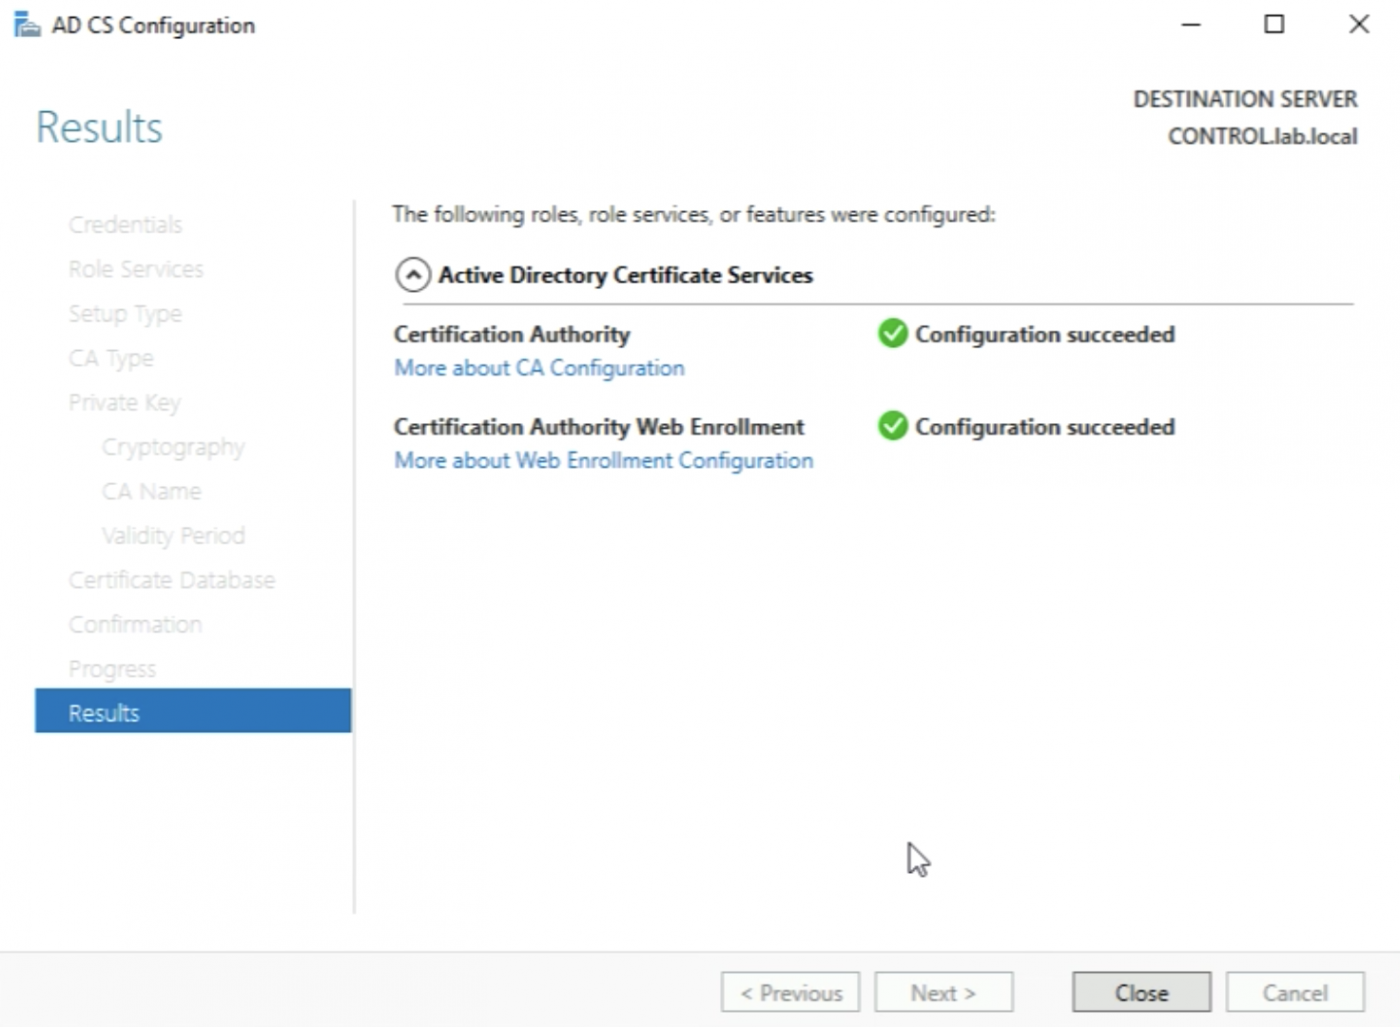
When the selected services are configured and the below messages are displaced that the Configuration is succeeded I can click on “Close”.
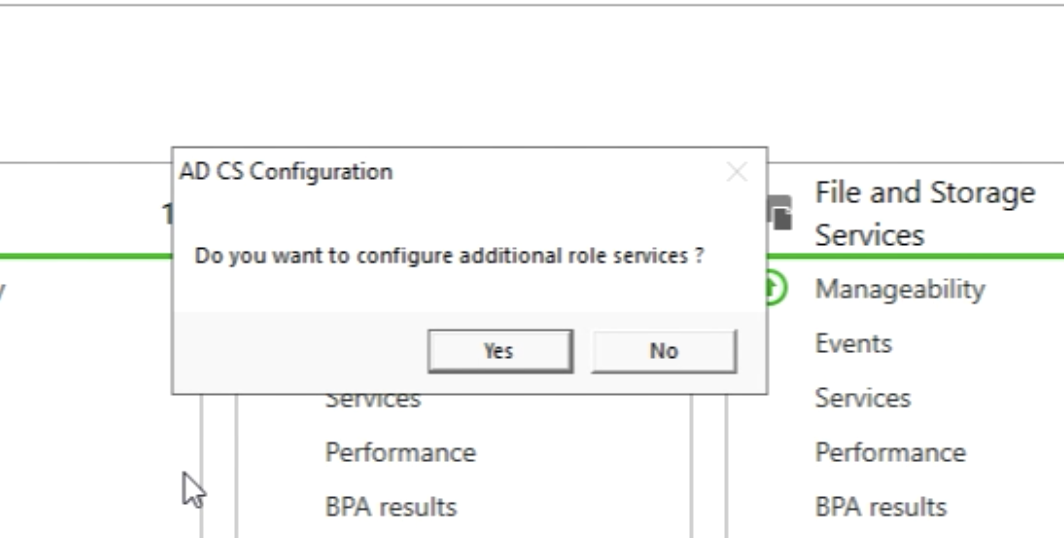
Now it’s time to configure the additional role services. SO click on “Yes” when I get the below question to configure additional role services.
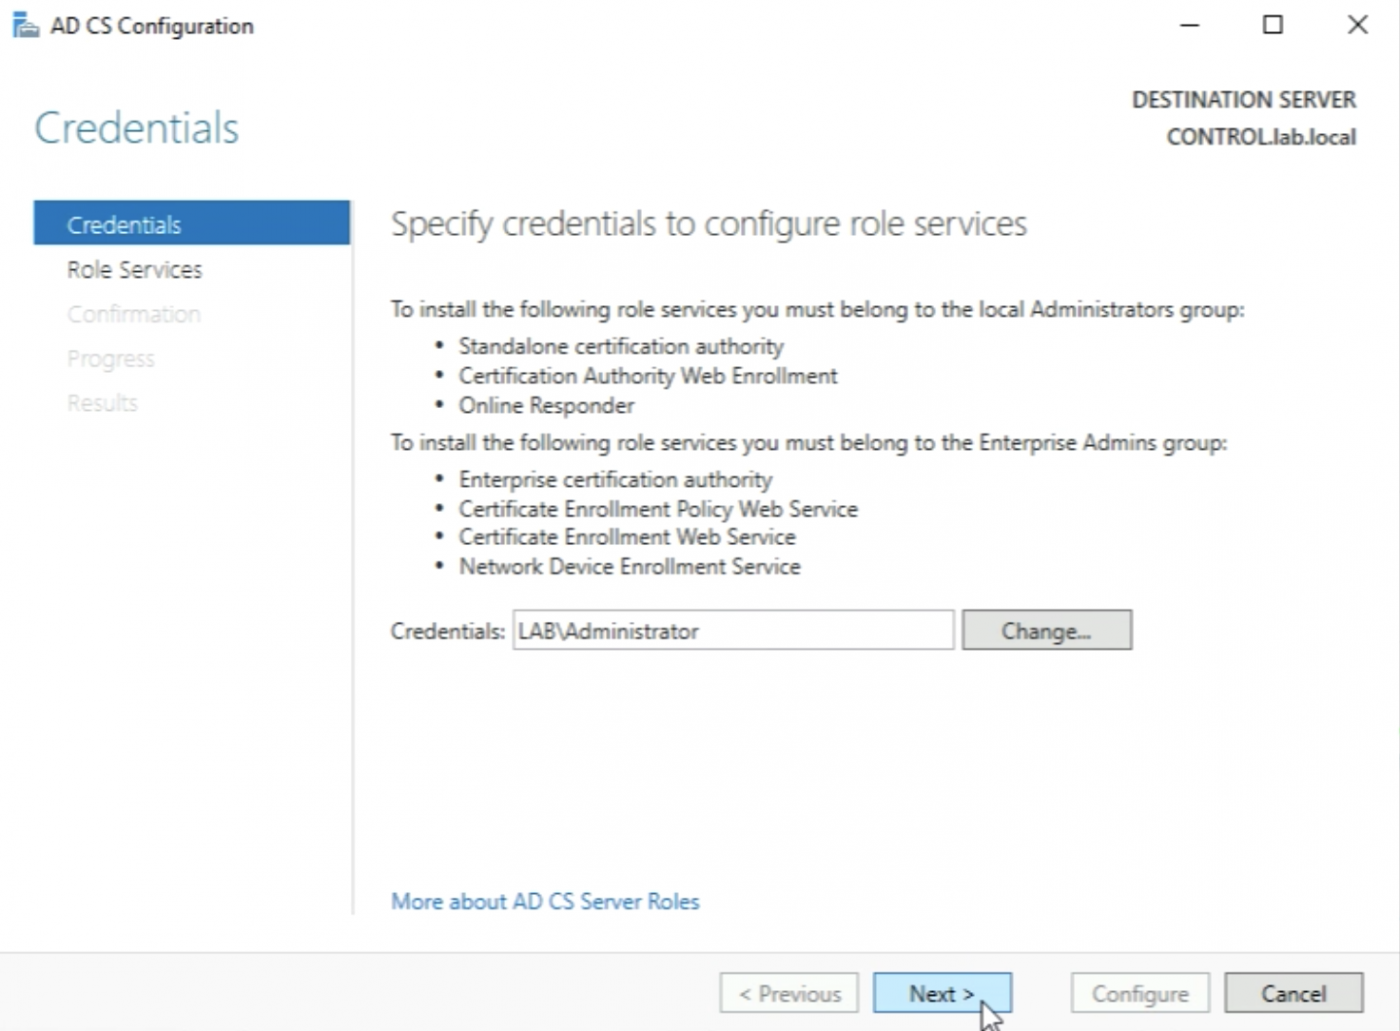
Leave the following settings default and click on “Next >”.
Now select to configure the following additional "Role Services":
- Certificate Enrolment Web Service
- Certificate Enrolment Policy Web Service
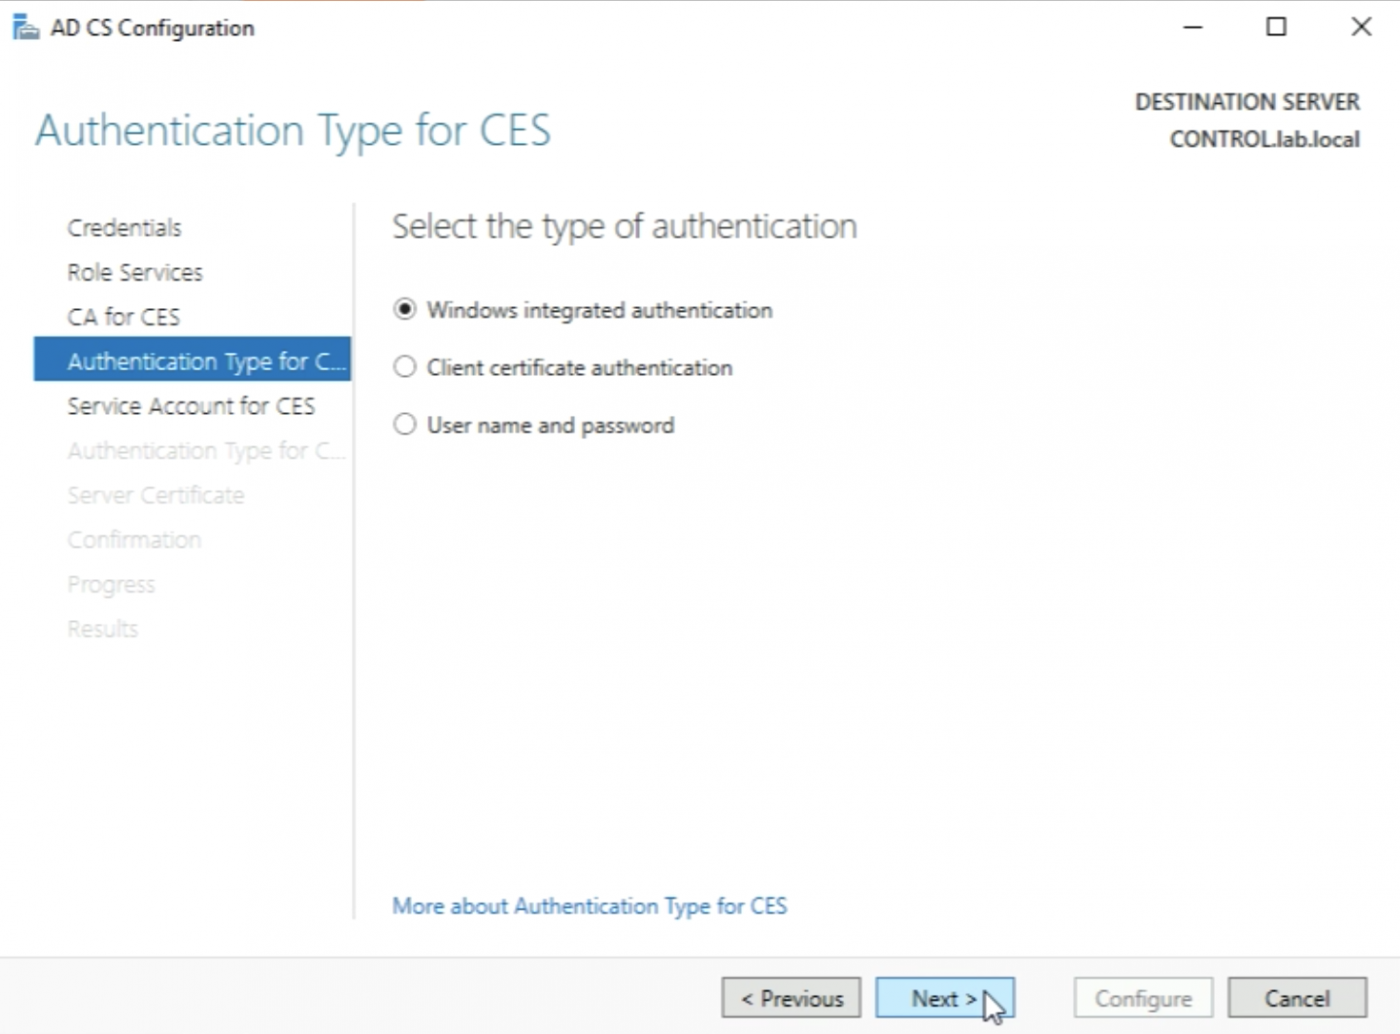
Leave the following settings default and click on “Next >”.

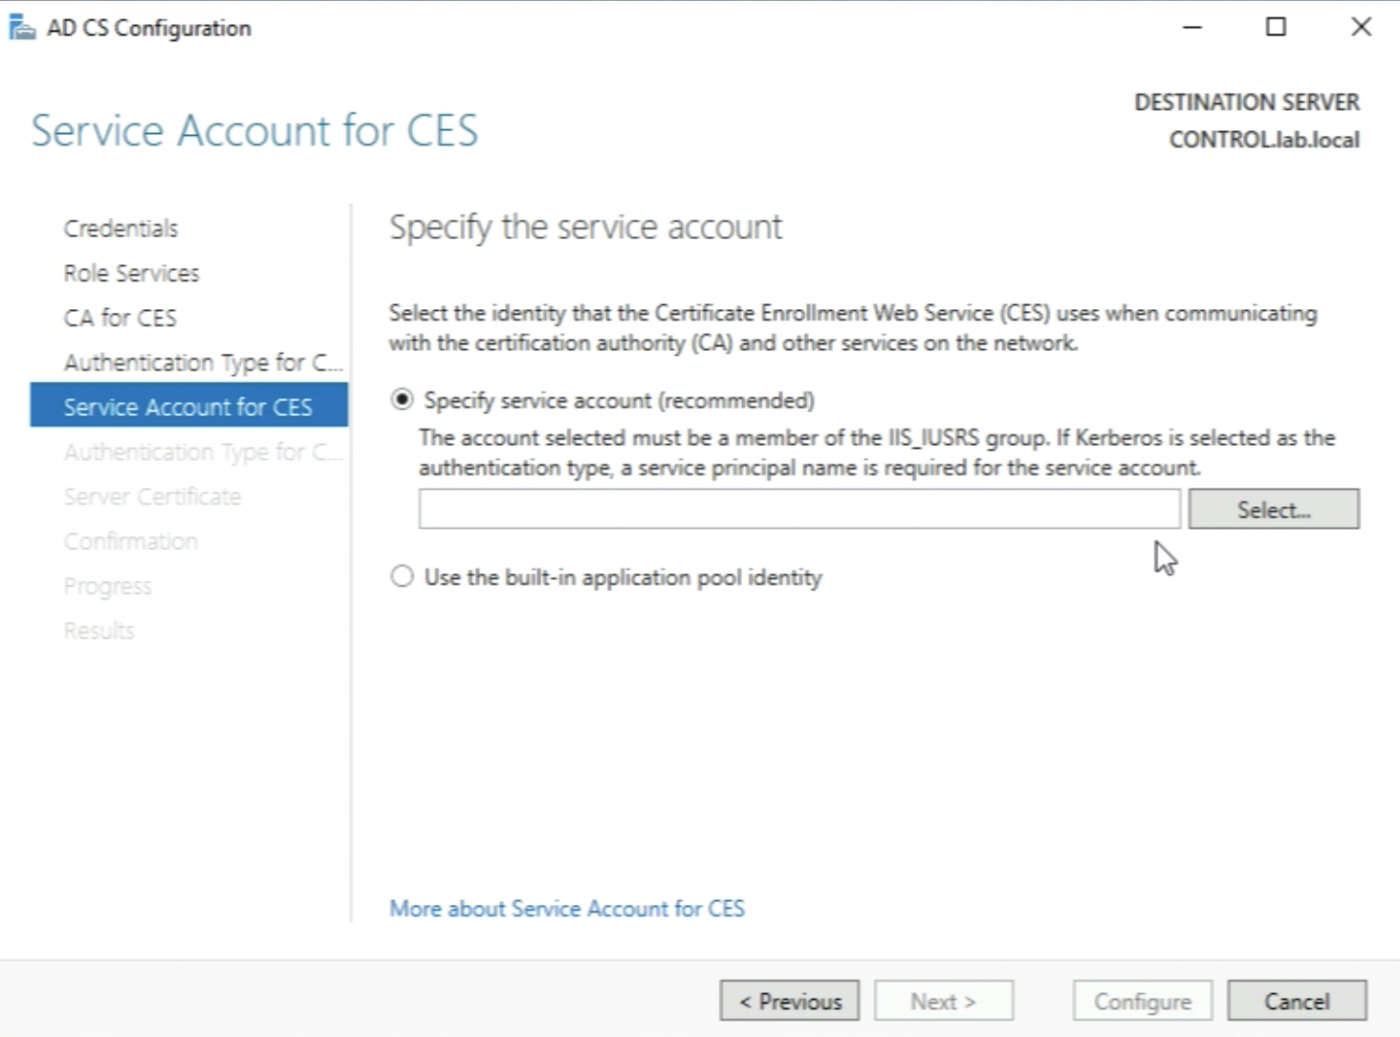
Leave the following settings default and click on “Next >”.
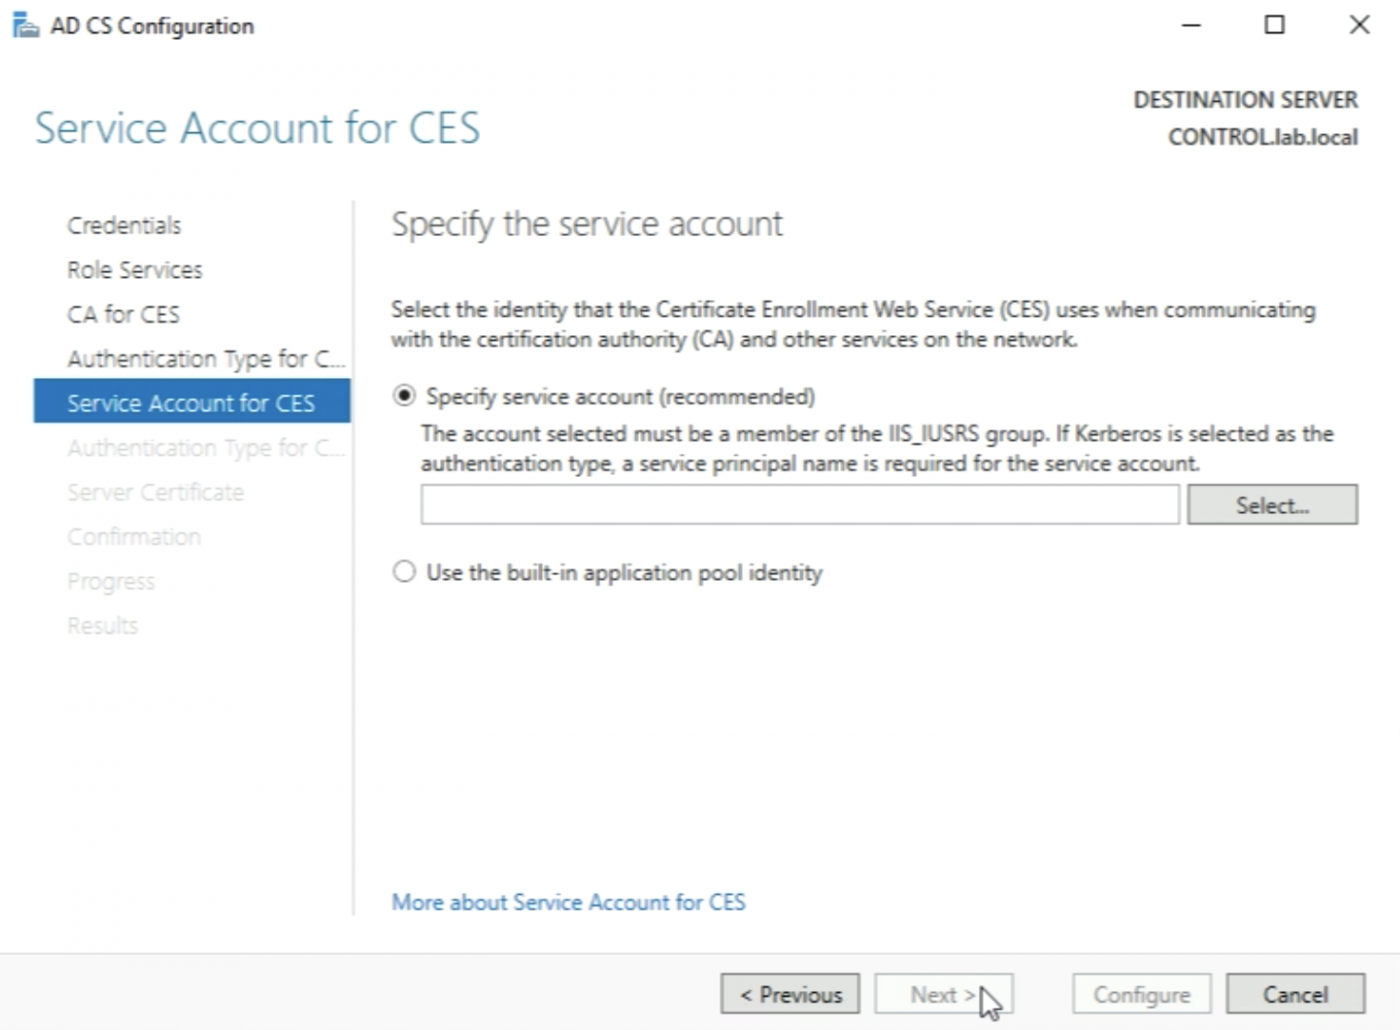
I need to specify a service account here that is a member of the IIS_IUSRS group. I currently have no account (or user) that is part of this group so I need to add this group to an account.
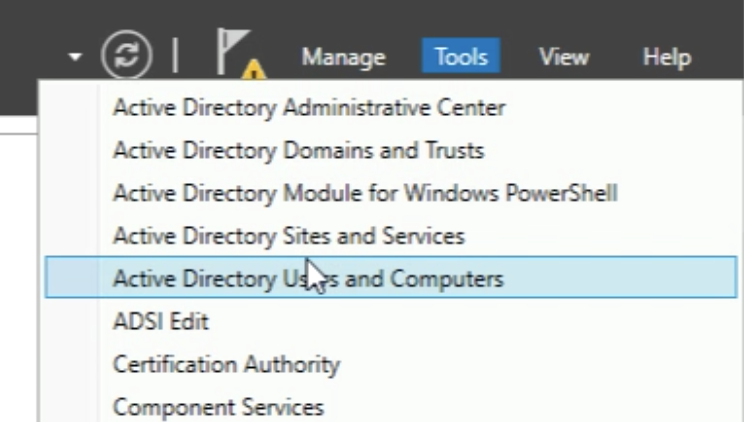
In order to assign the group to the account, I need to open the "Active Directory Users and Computers” Management Console.
I need to select the account I want to use as a service account and go to the properties. In my case, I will select the "Administrator account".
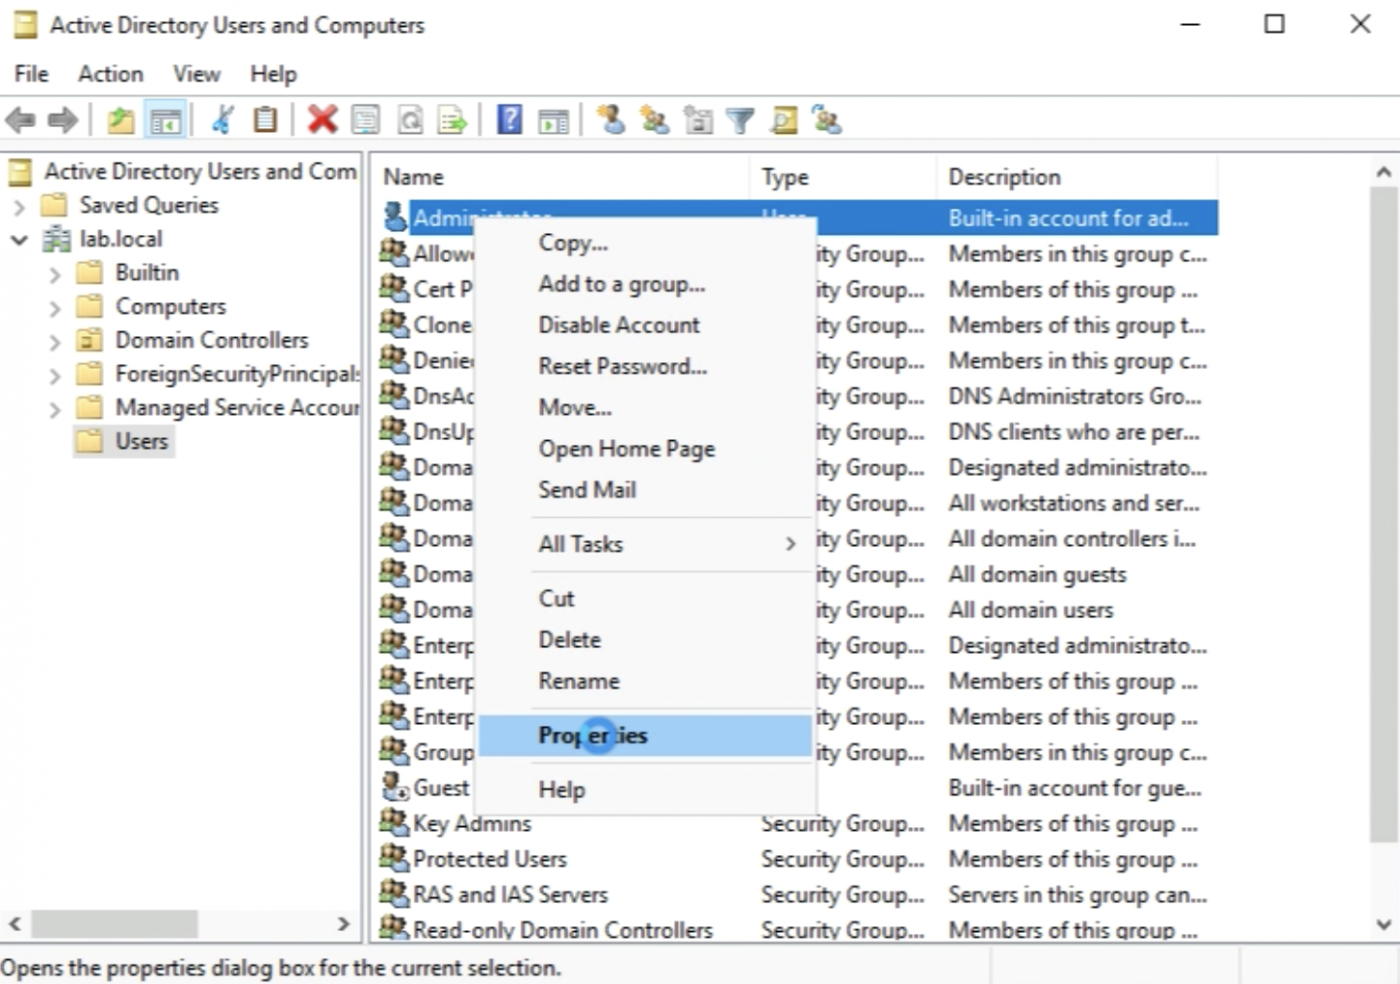
Browse to the “Member of” tab.
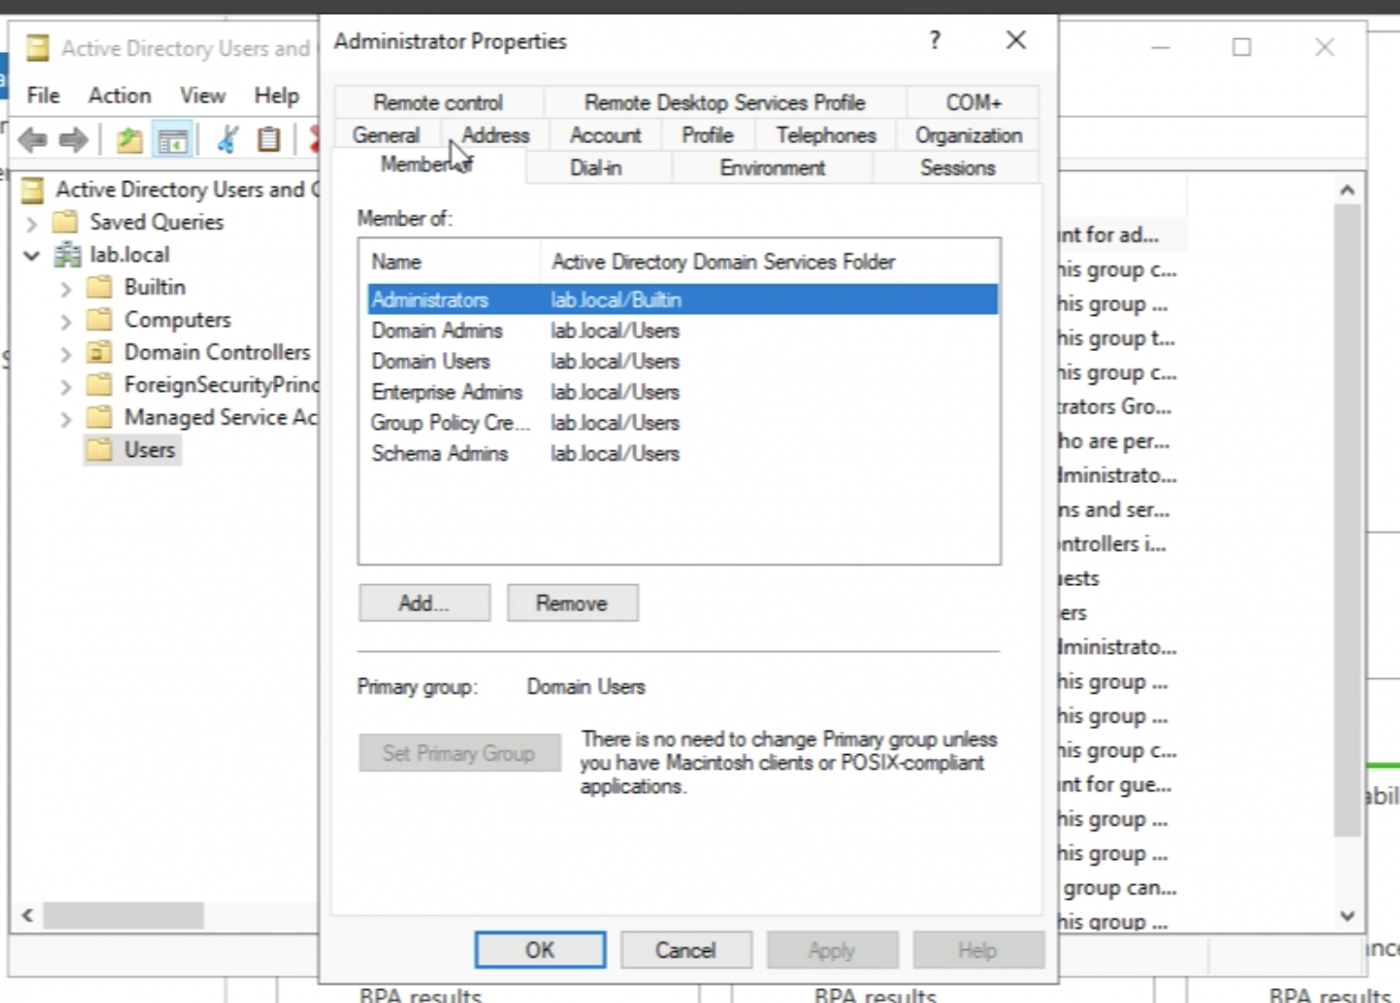
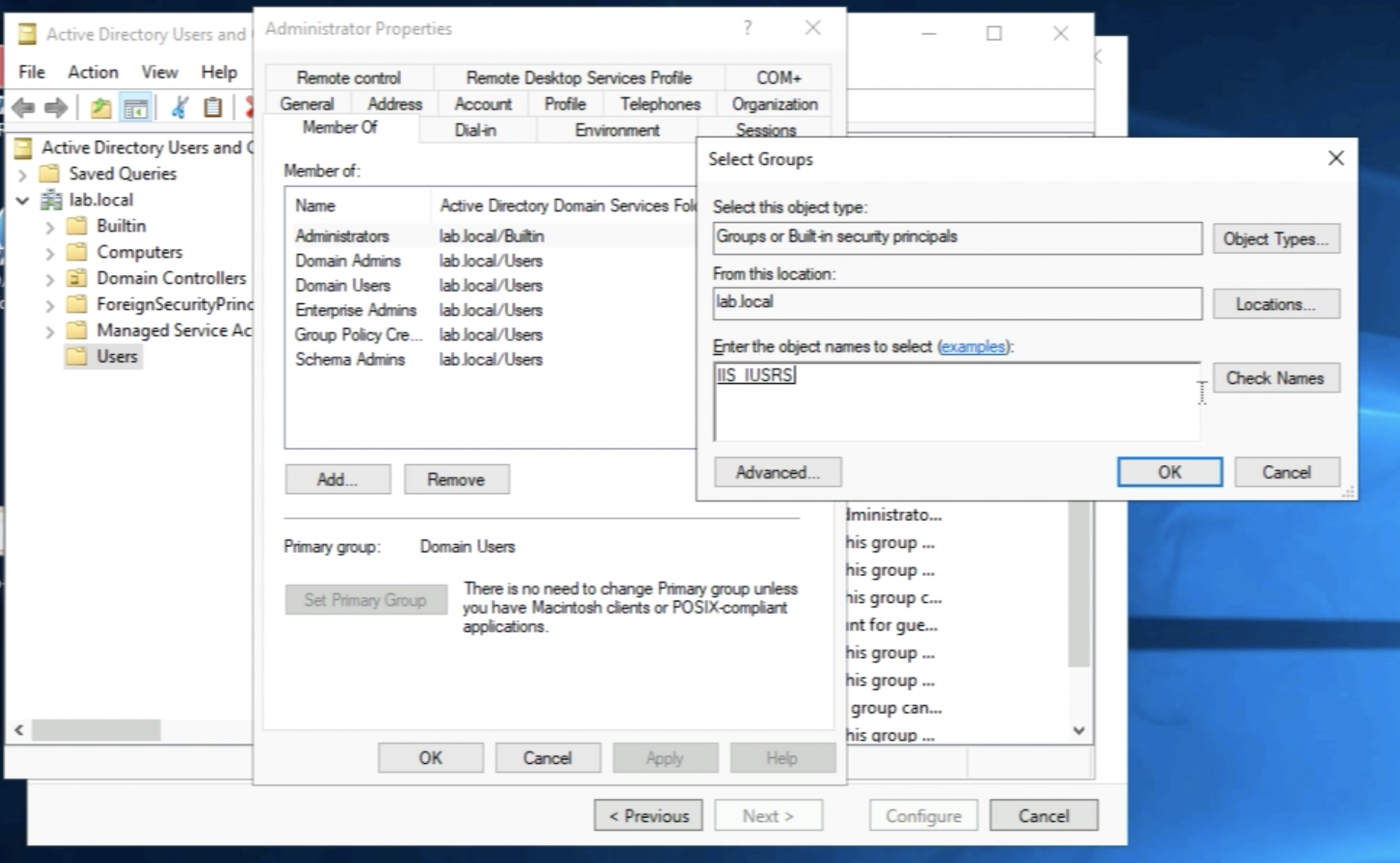
Add the IIS_IUSRS group to the "Administrator" account.
Make sure the IIS_IUSRS is listed in the "Member Of" list of the account.
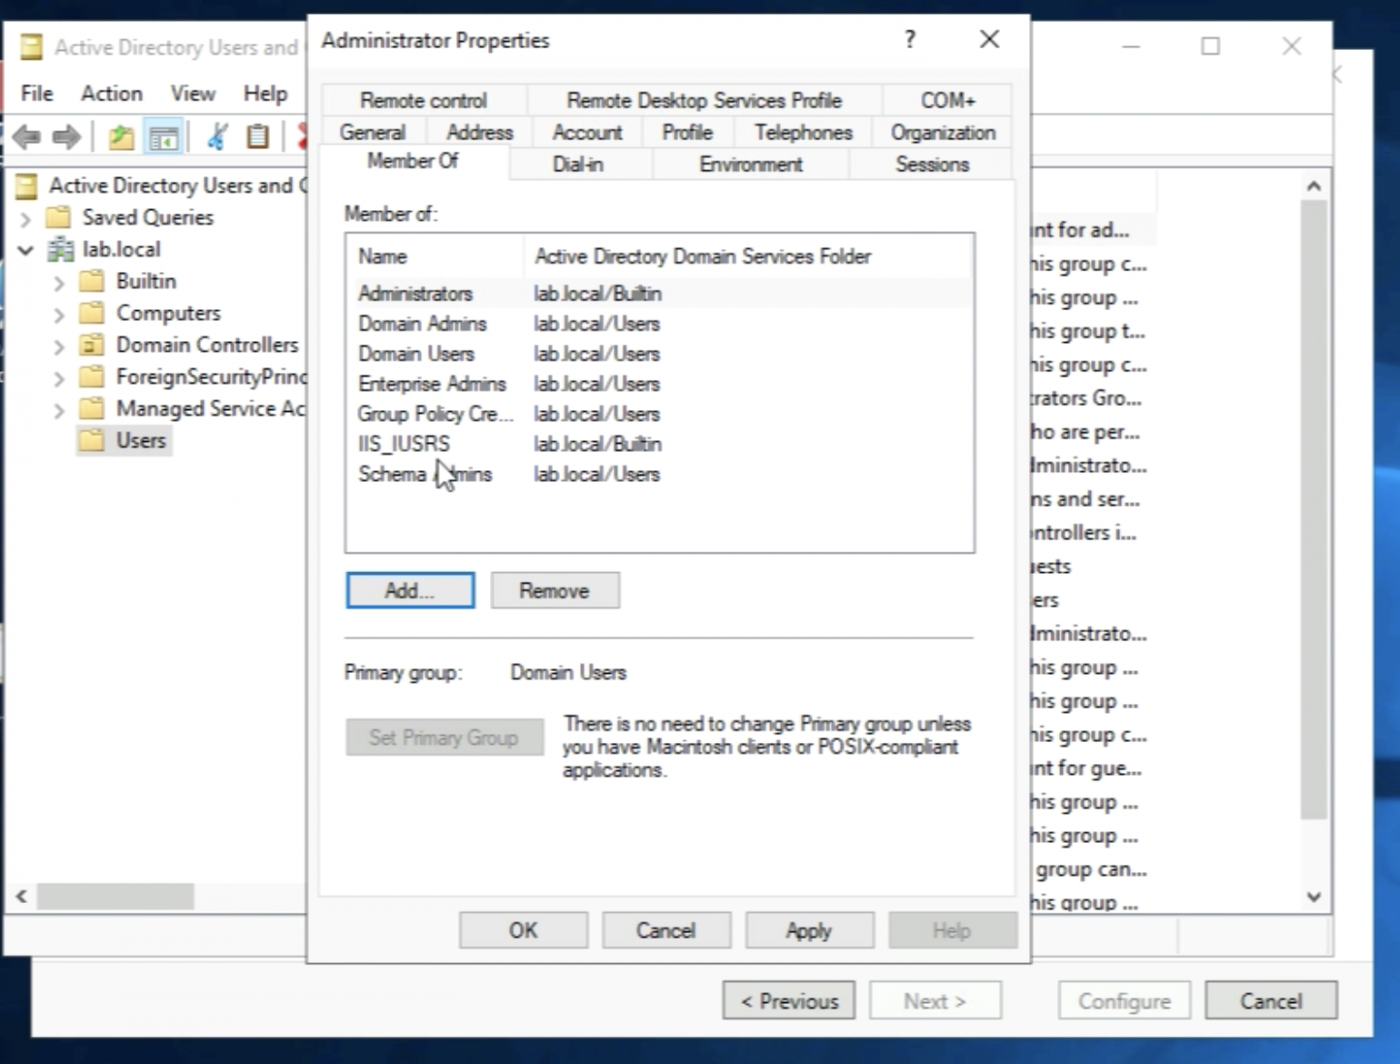
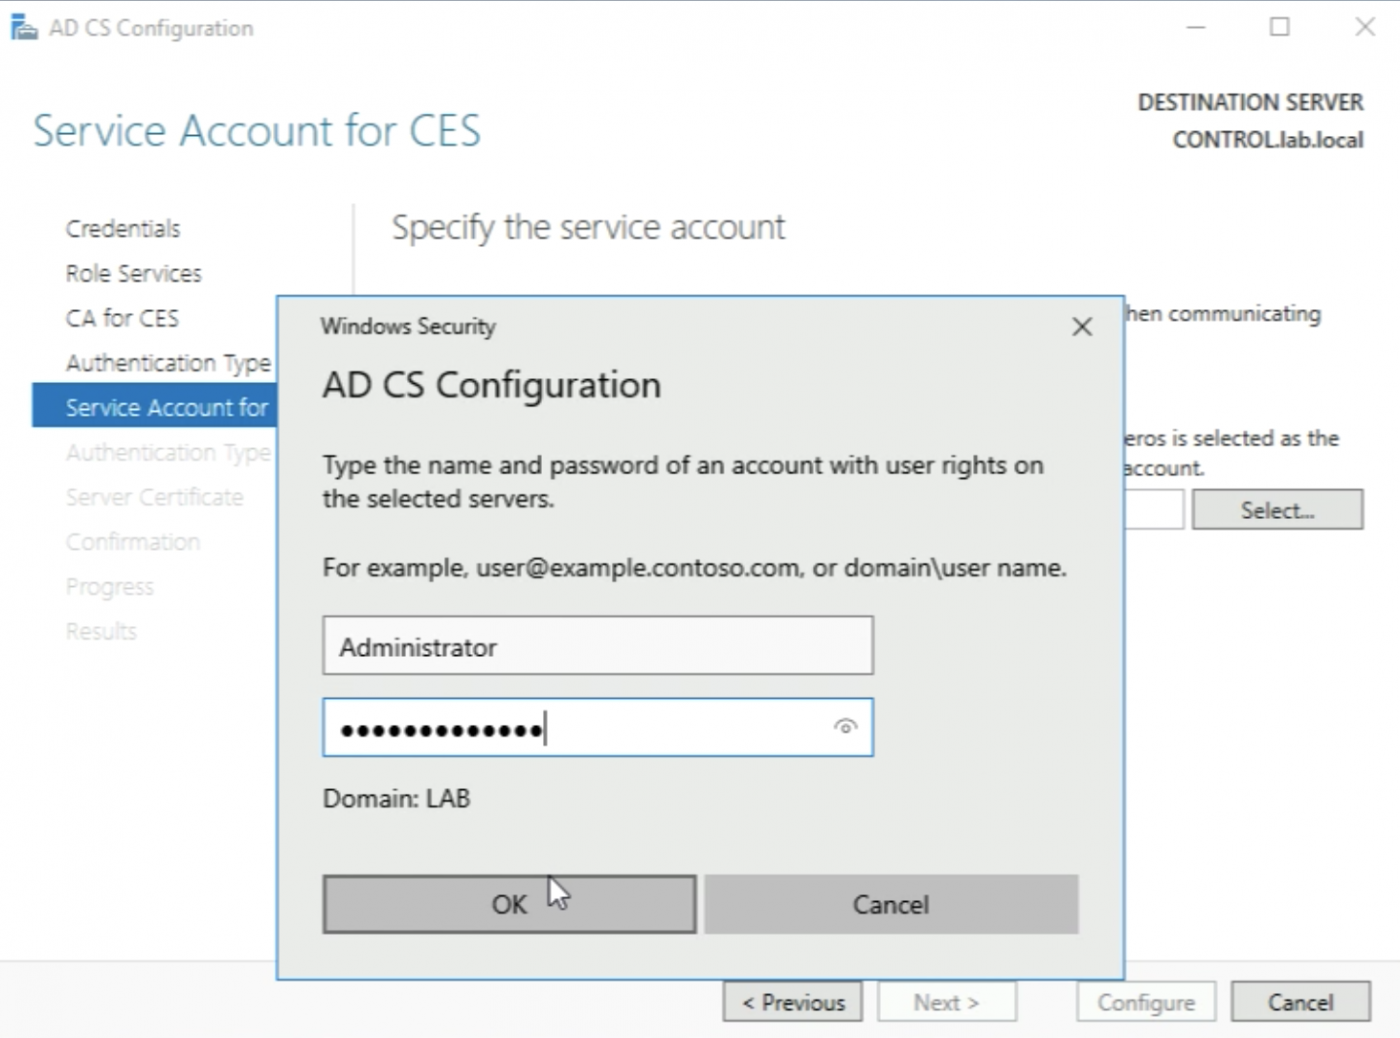
Now that the account has the proper rights I can click on select.
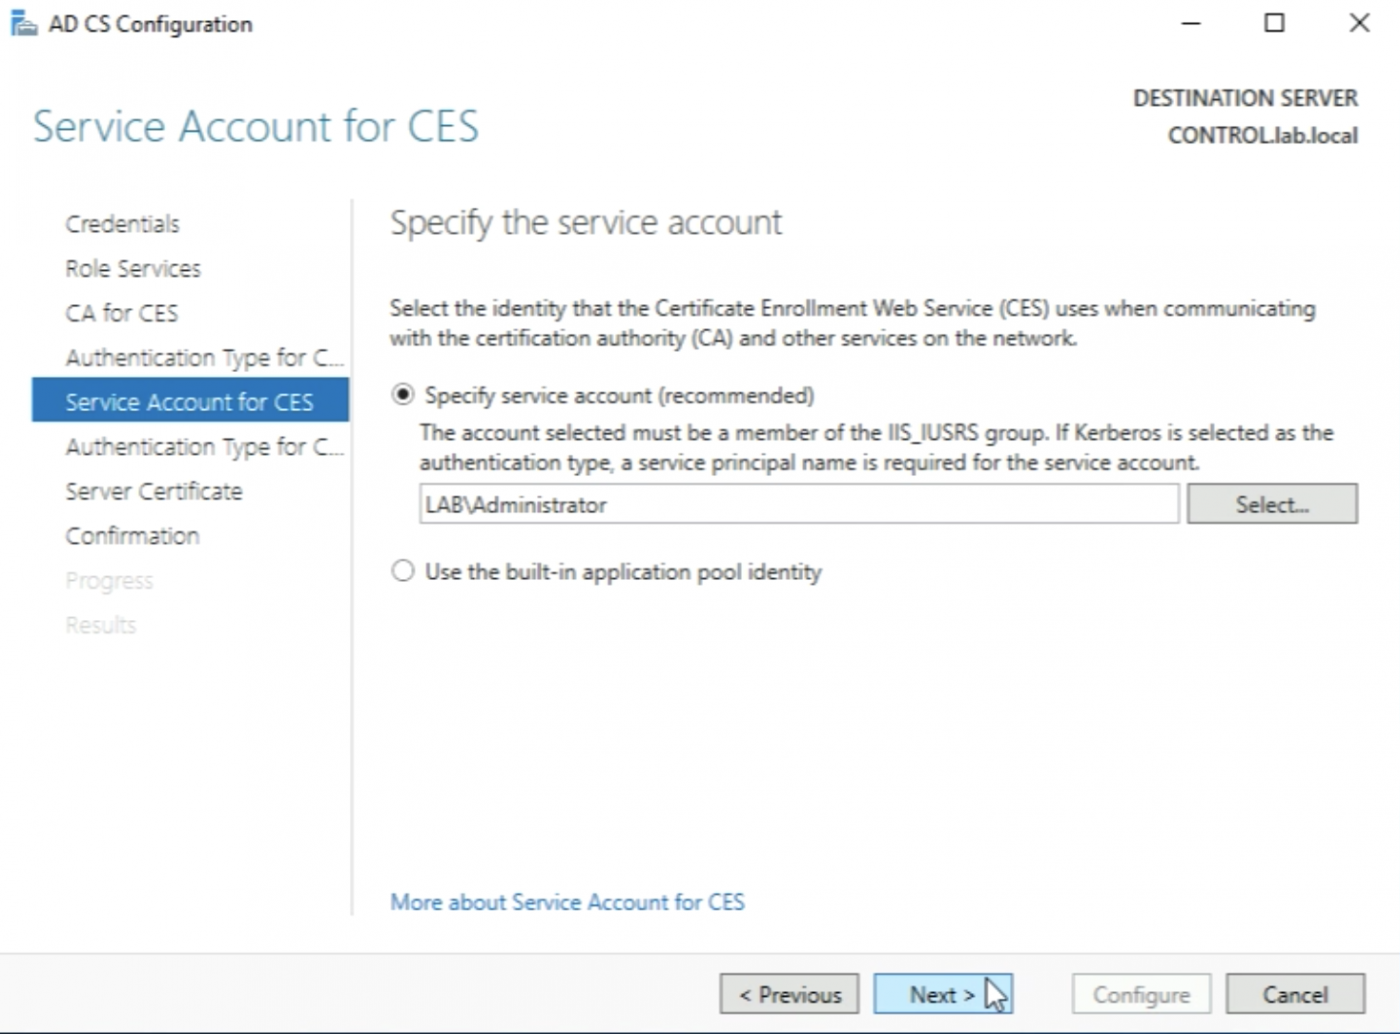
I need to type in the credentials of the service account (in my case the Administrator account) and click on “OK”.
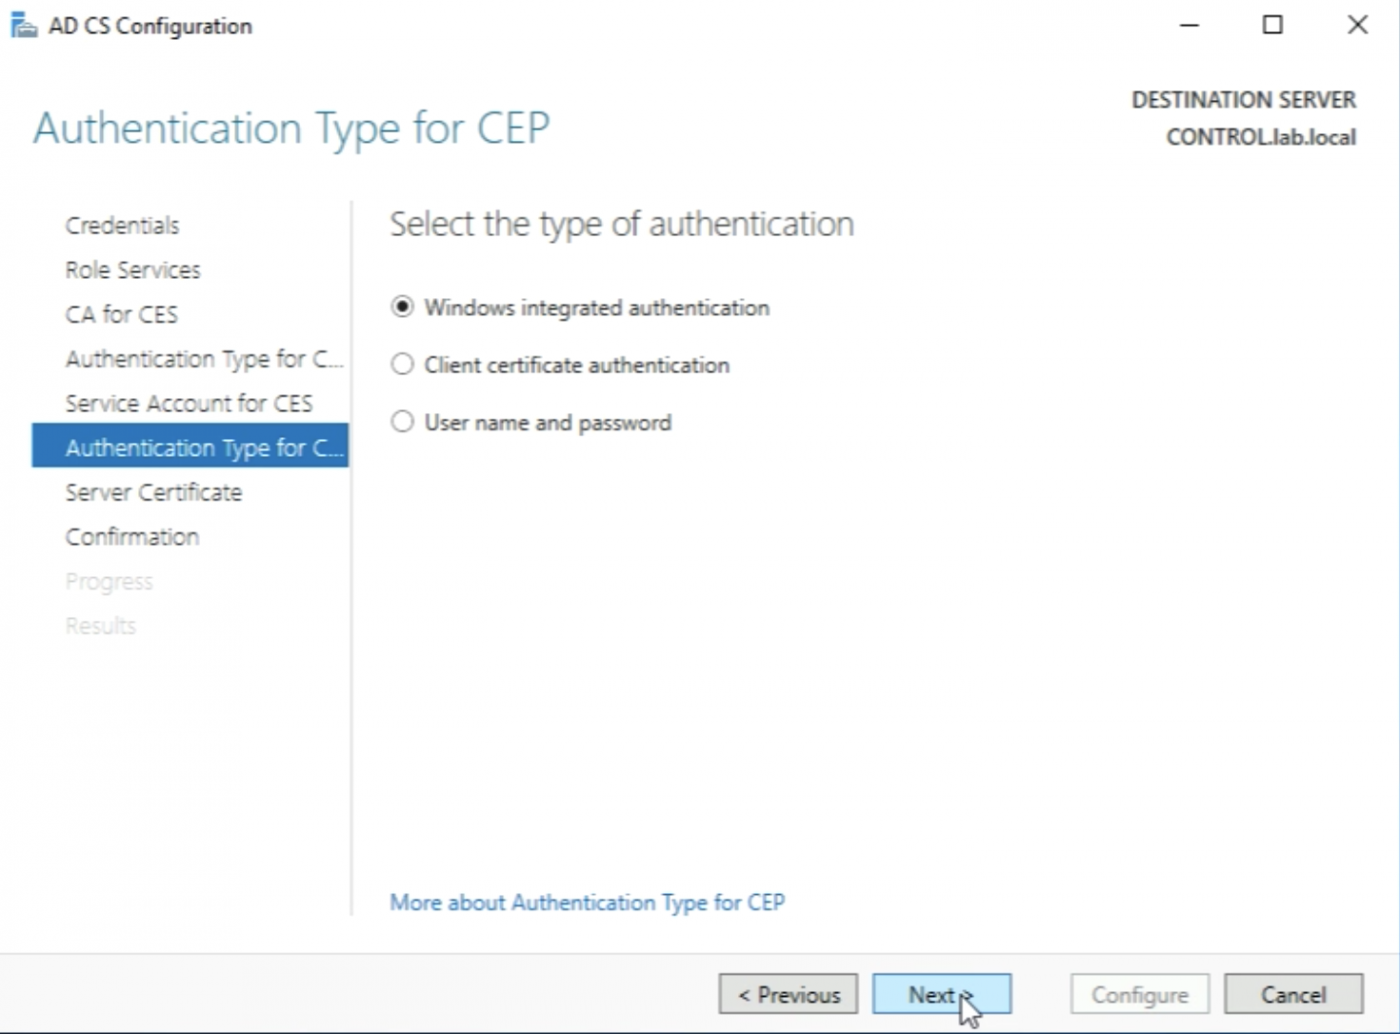
Click on “Next >” when the service account is specified.
Leave the following settings default and click on “Next >”.
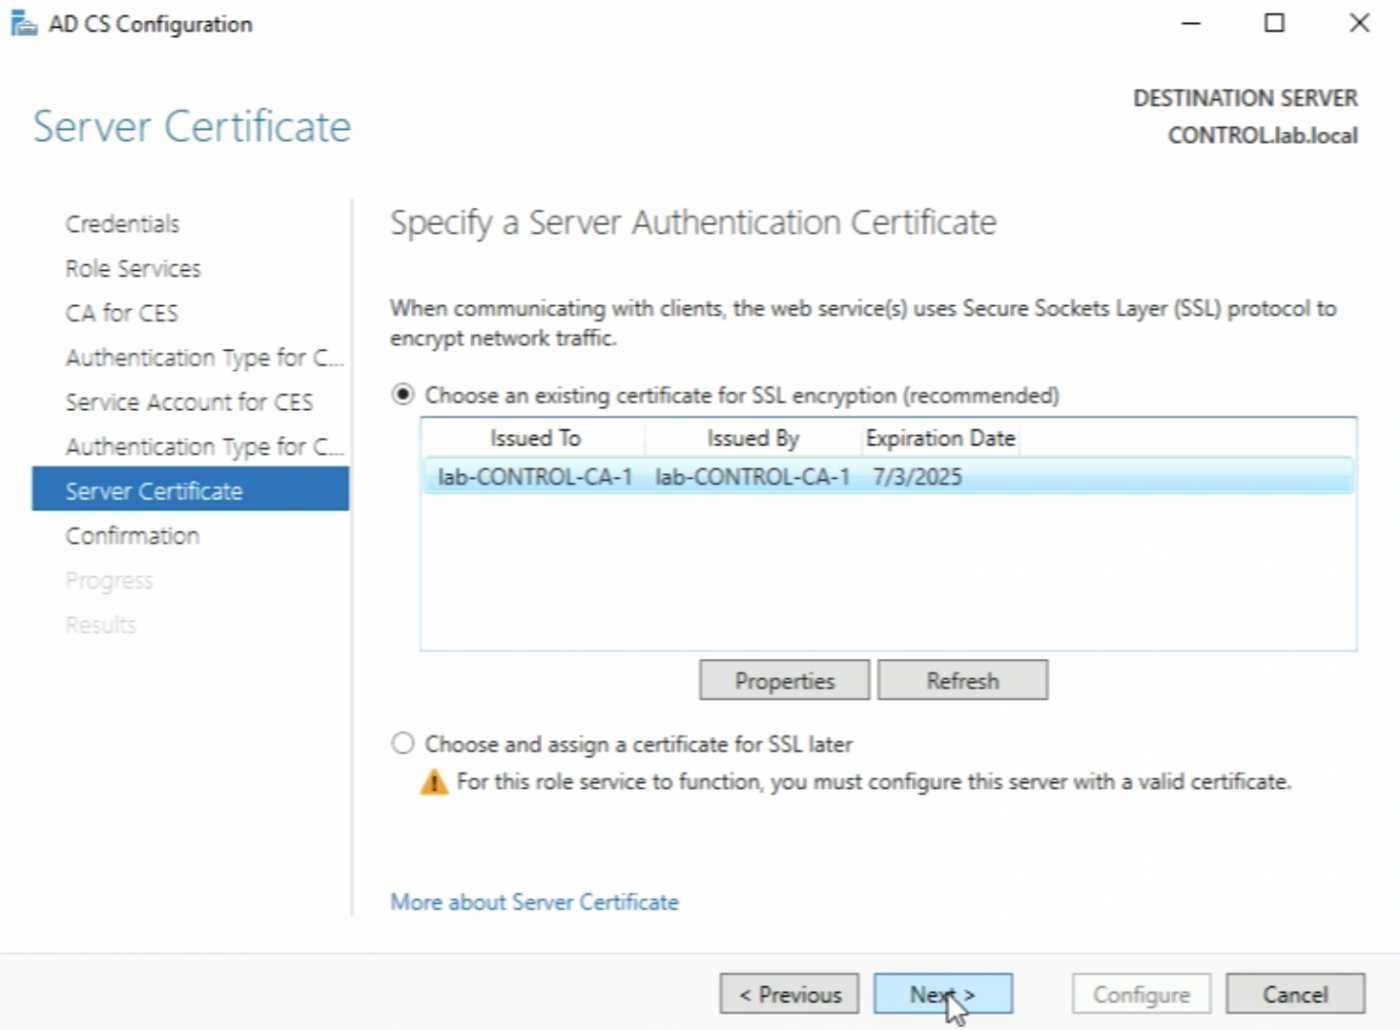
Make sure I select the “certificate" for SSL encryption first before I can click on “Next >”.
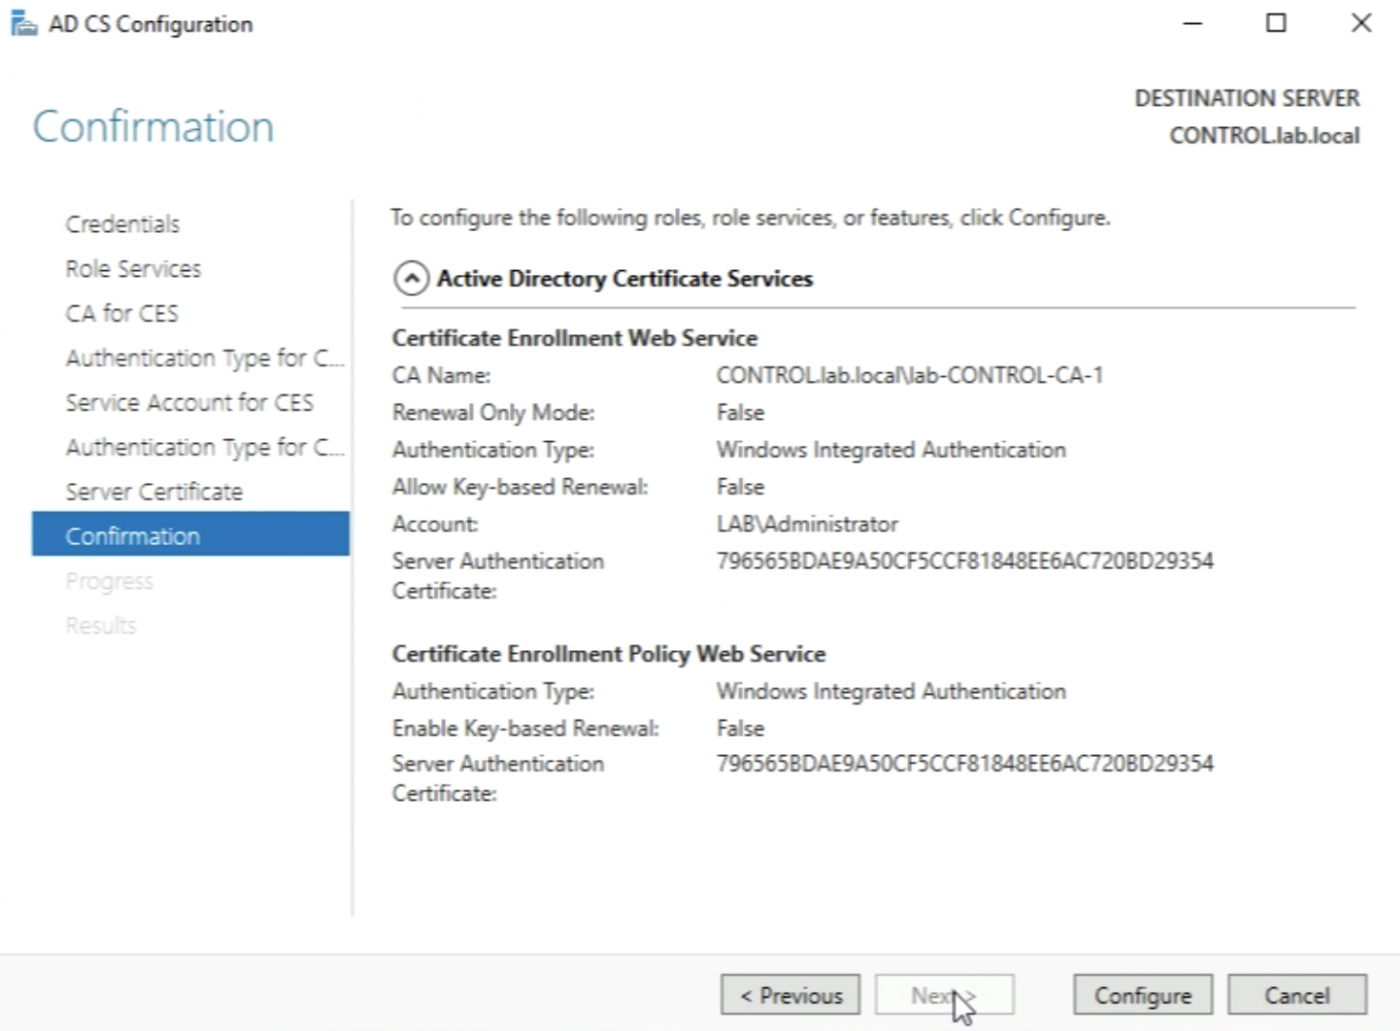
Click on “Configure”.
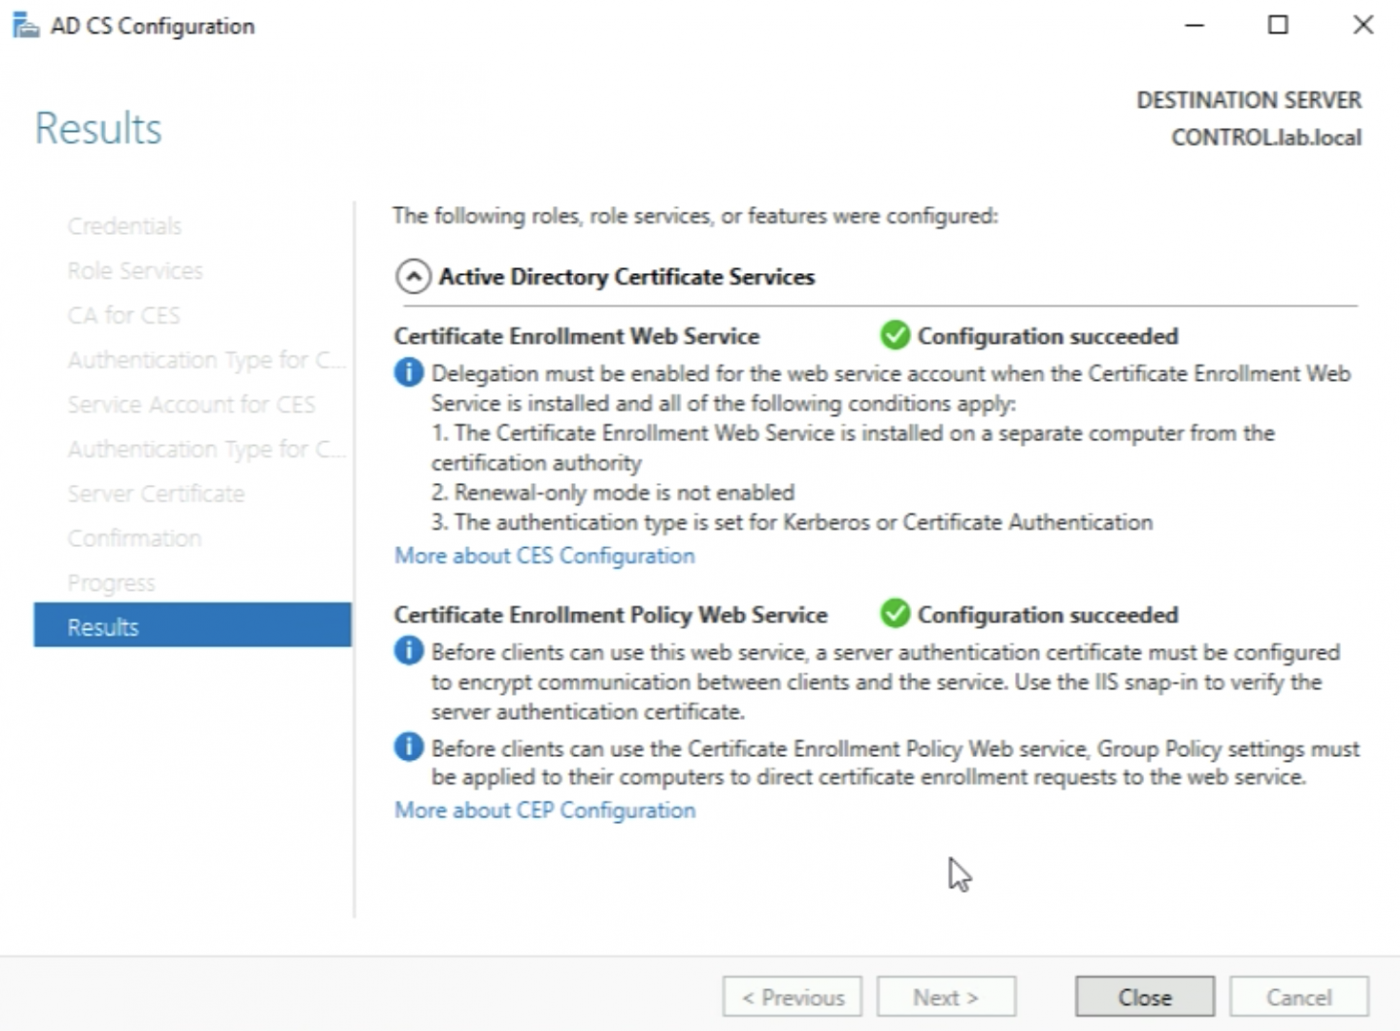
When I see the message “Configuration succeed" click on Close.
Now I have installed on configured the CA Server with its underlying Roles and Services completely.
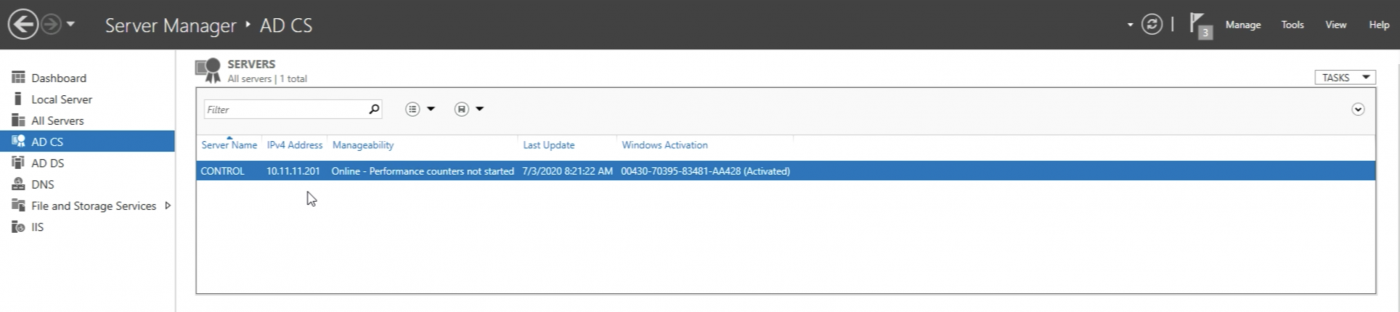
Now I can verify is the “AD CS" option appears in the Server Manager menu. I can click on it.
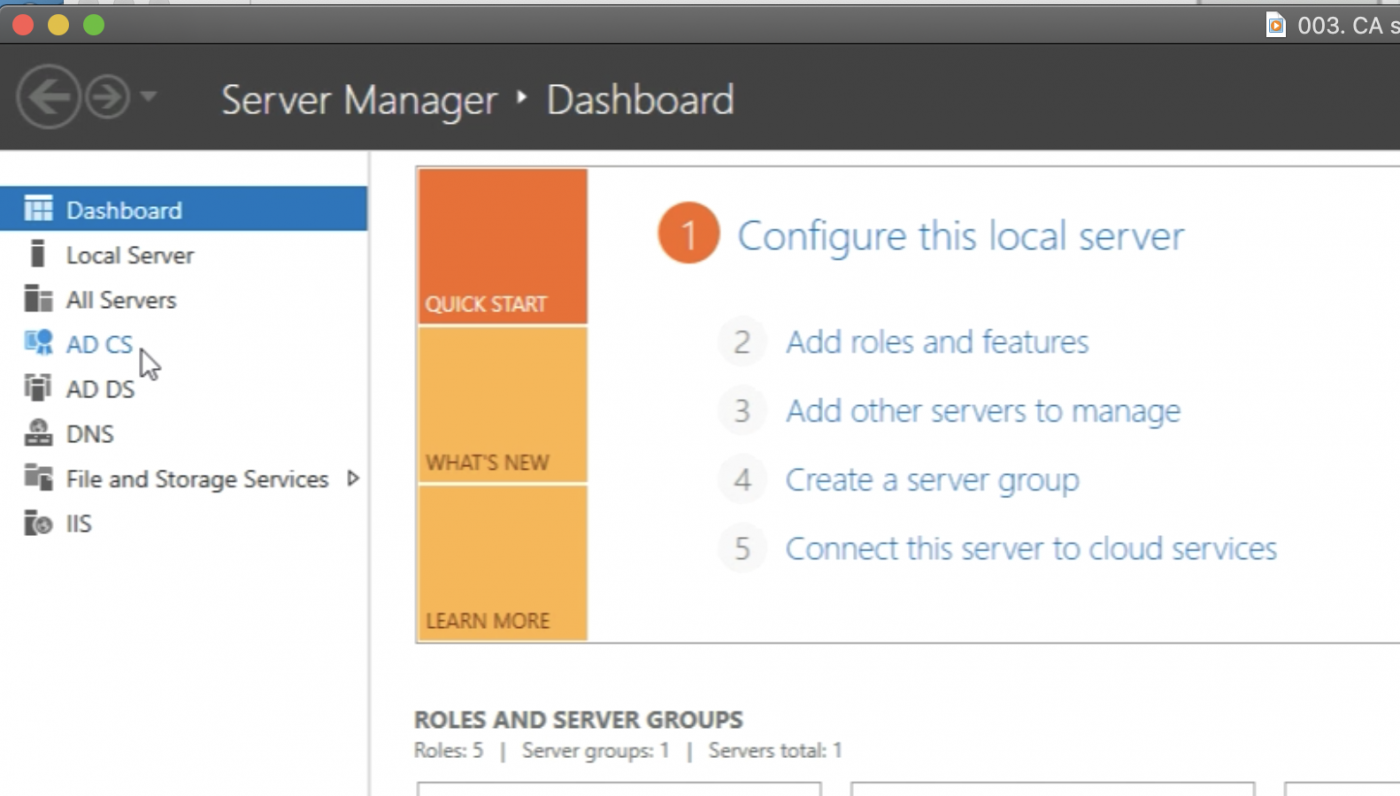
When I click on it I can see that the AD server is online and activated.
STEP 2» Export the root certificate
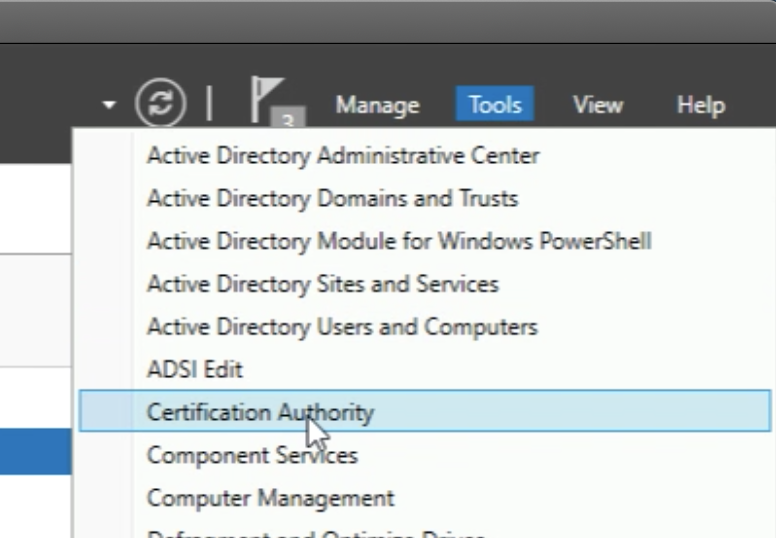
I should also be able to open the "Certification Authority" Management Console.
I will need this later to do some additional preparation before I can start signing the CSRs for the NSX-T Manager Nodes.
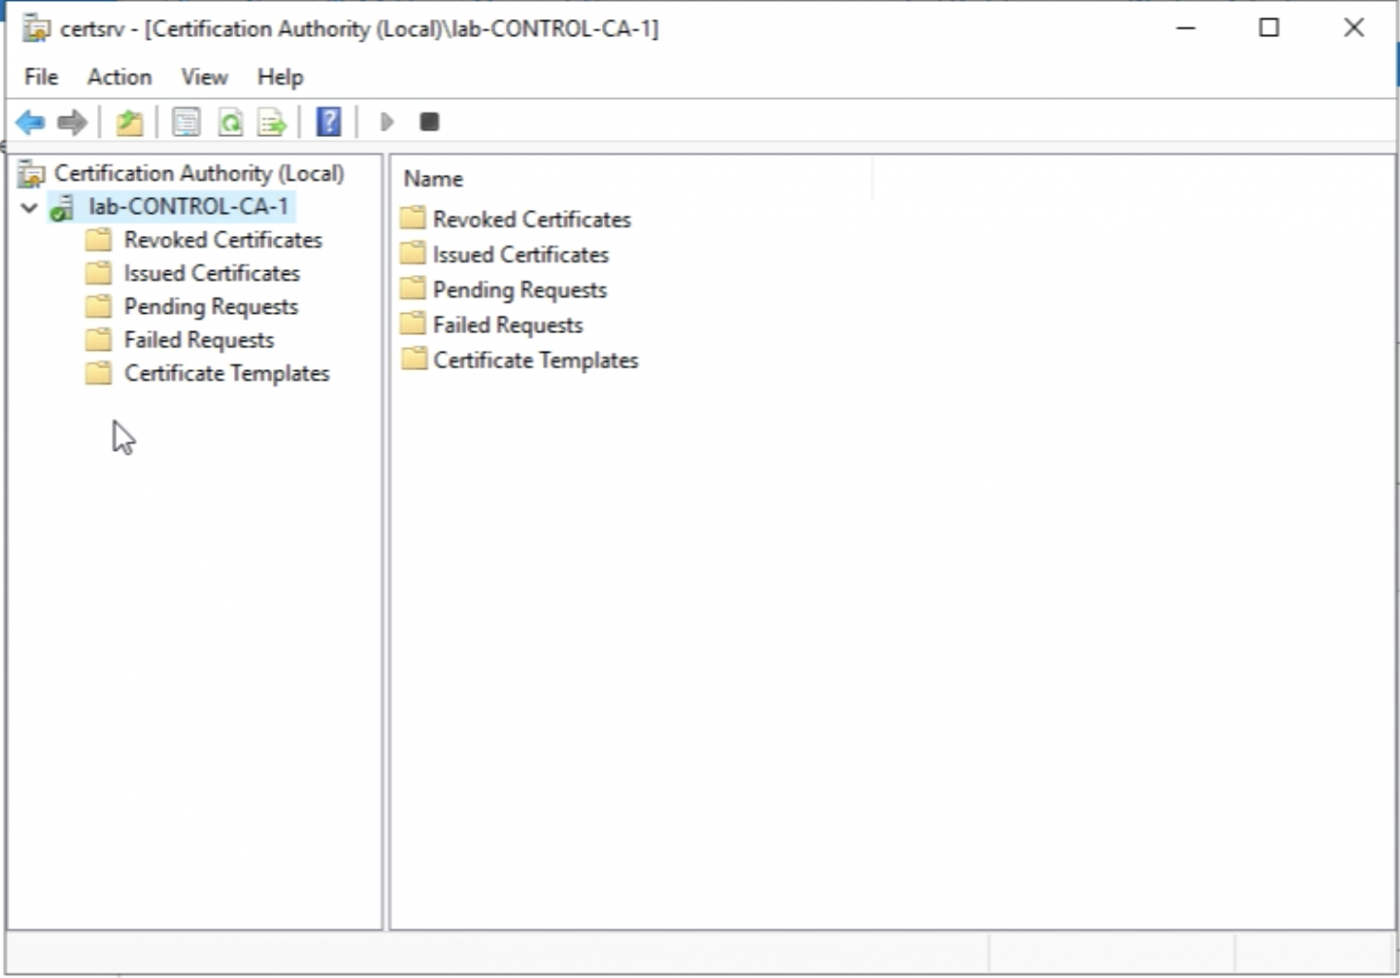
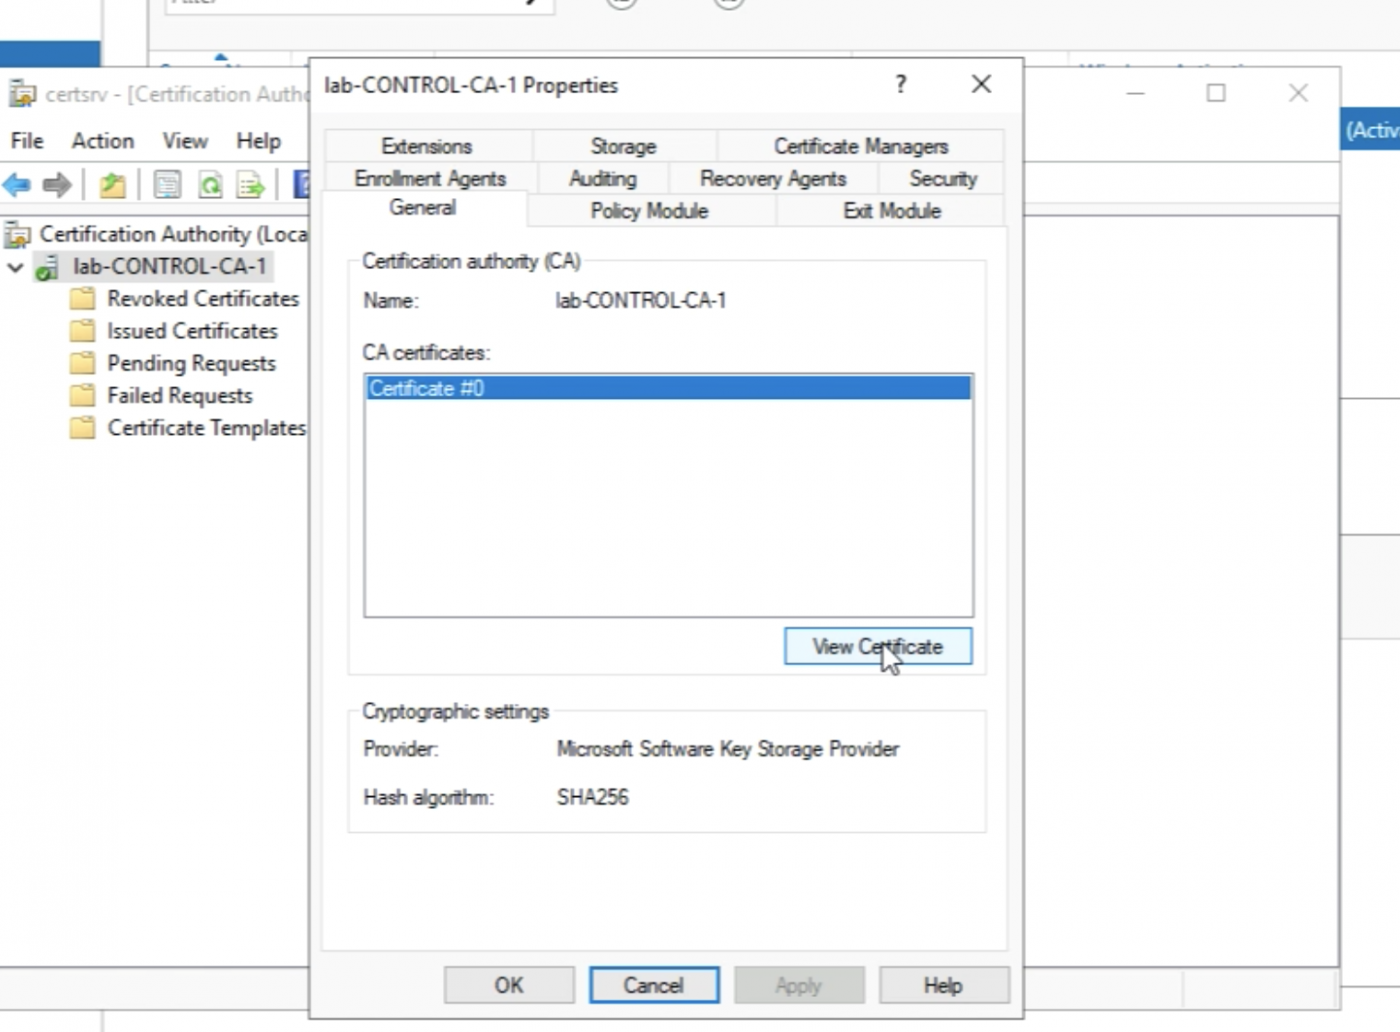
When I have opened the “Certification Authority" Management Console I will see the following screen.
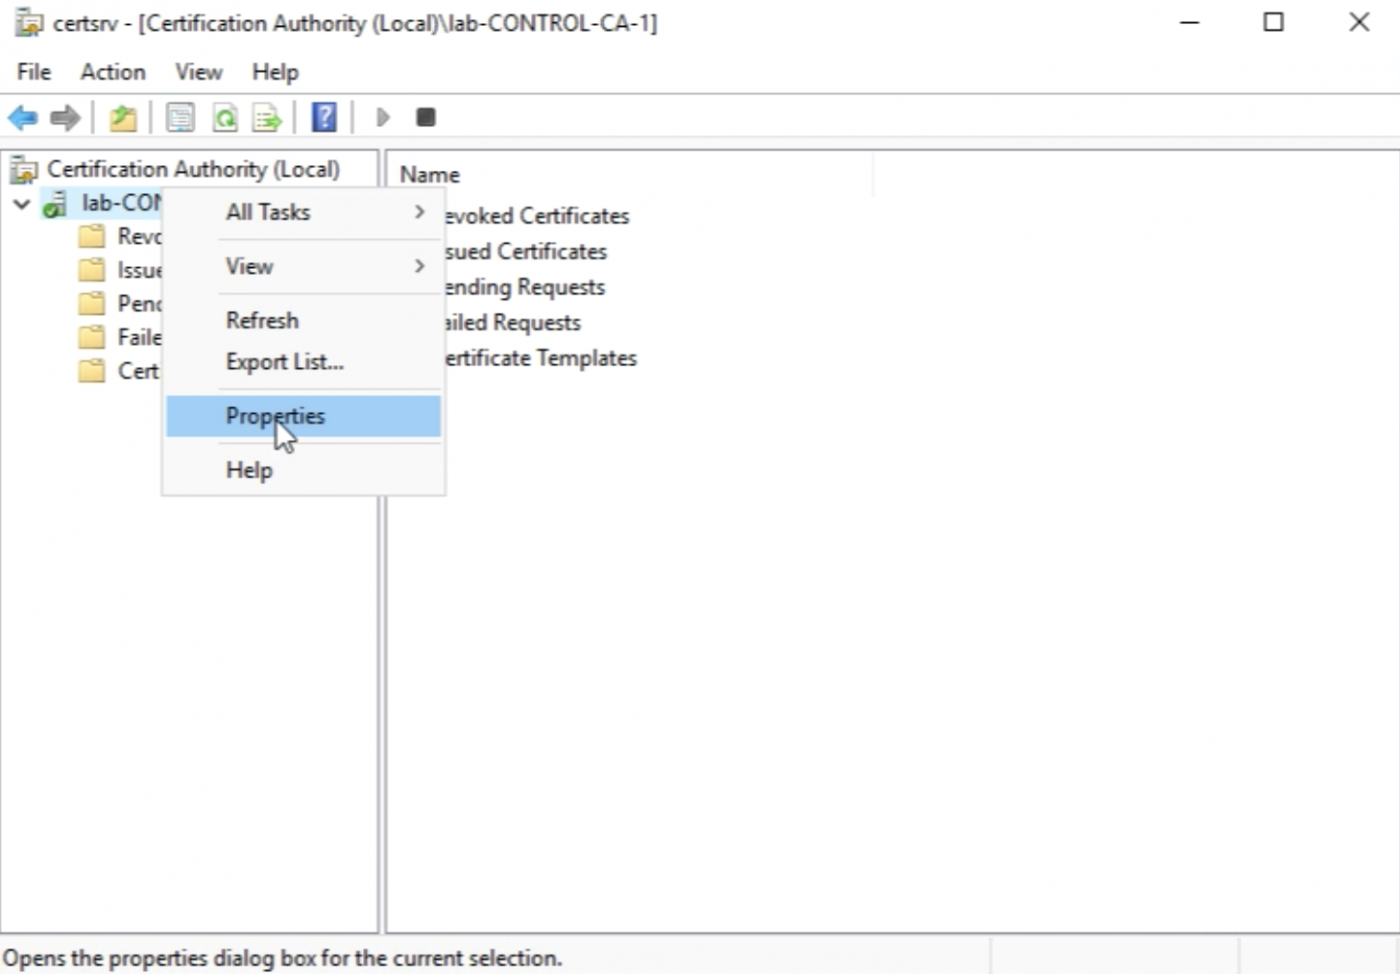
Select the name to right-click and go to the properties.
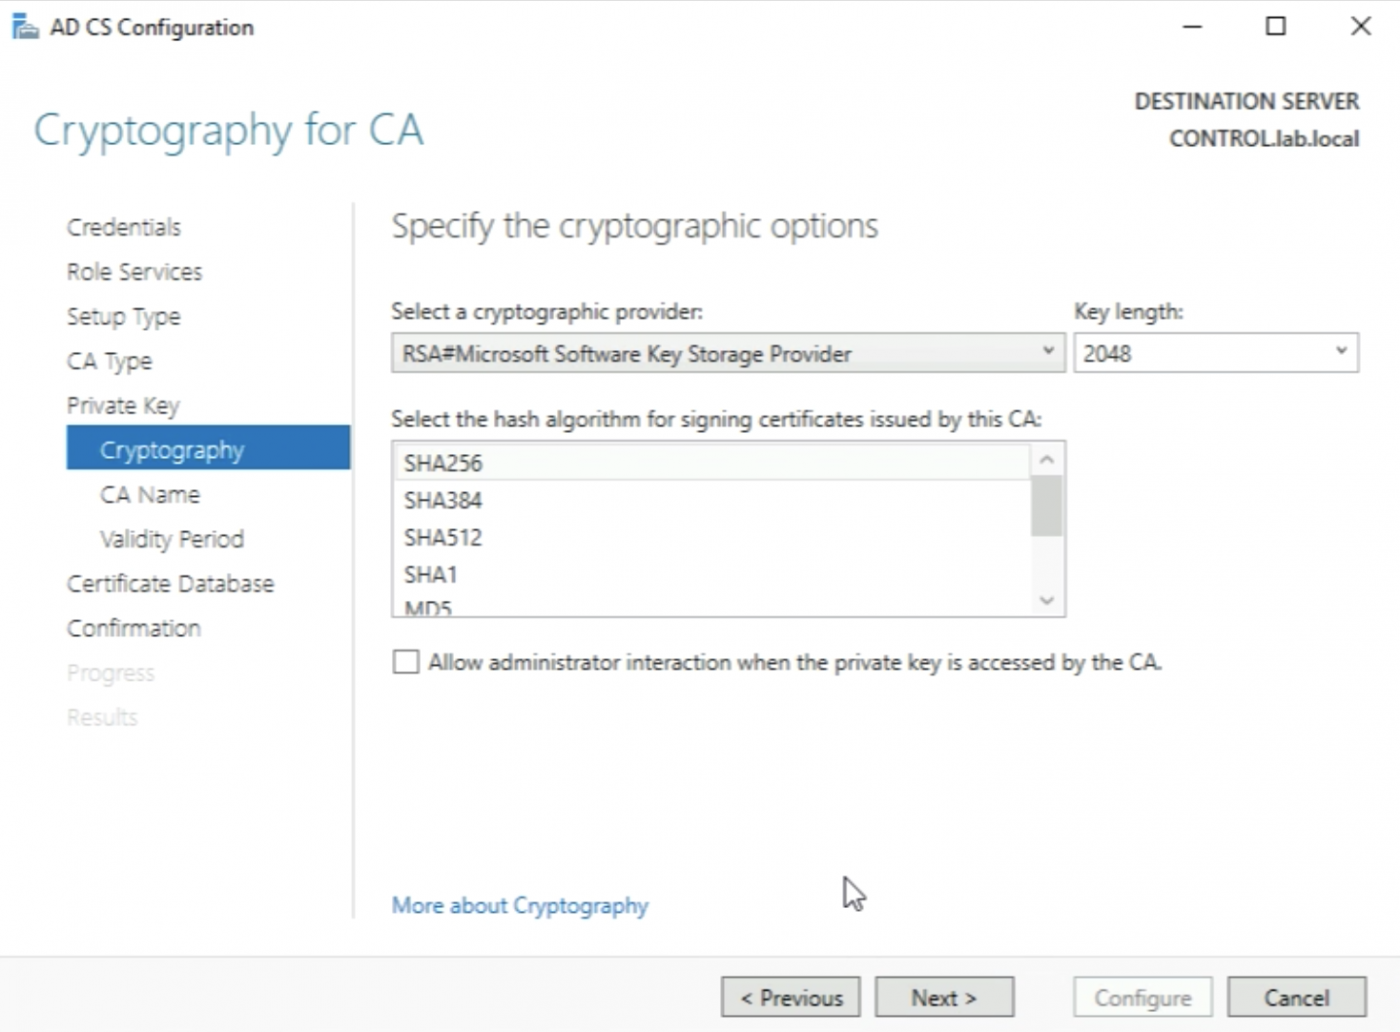
Make sure the hash algorithm is SHA256.

Click on “View Certificate”.
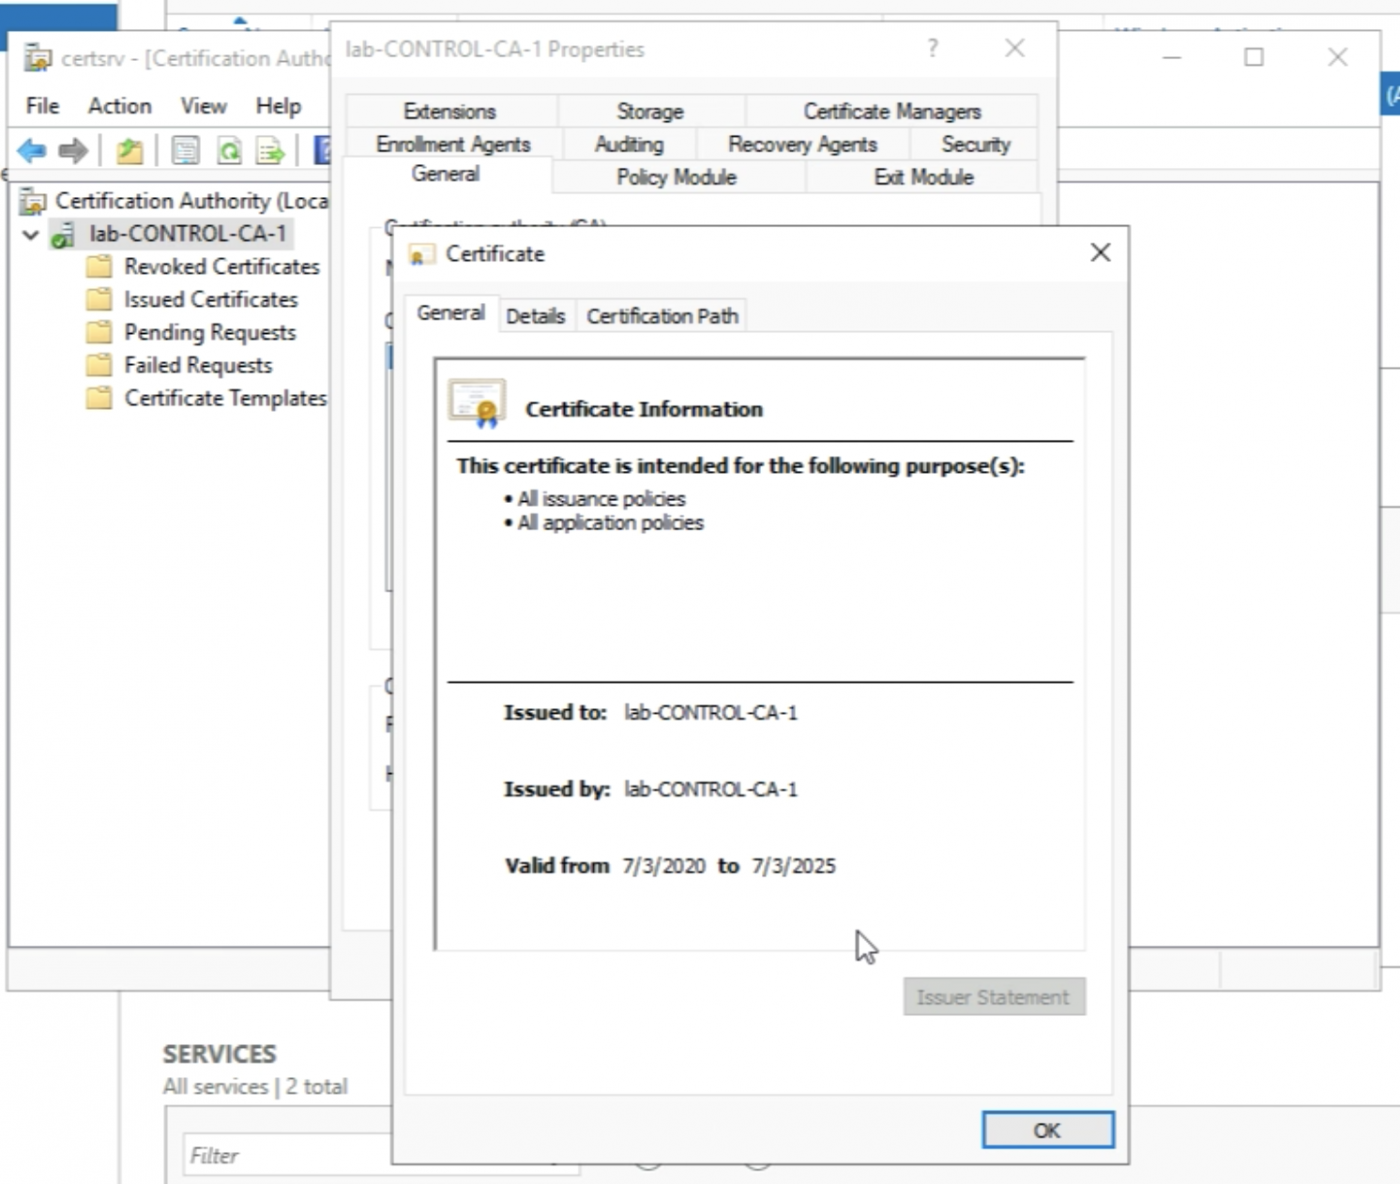
I will see the information on the Root Certificate of this CA Server.
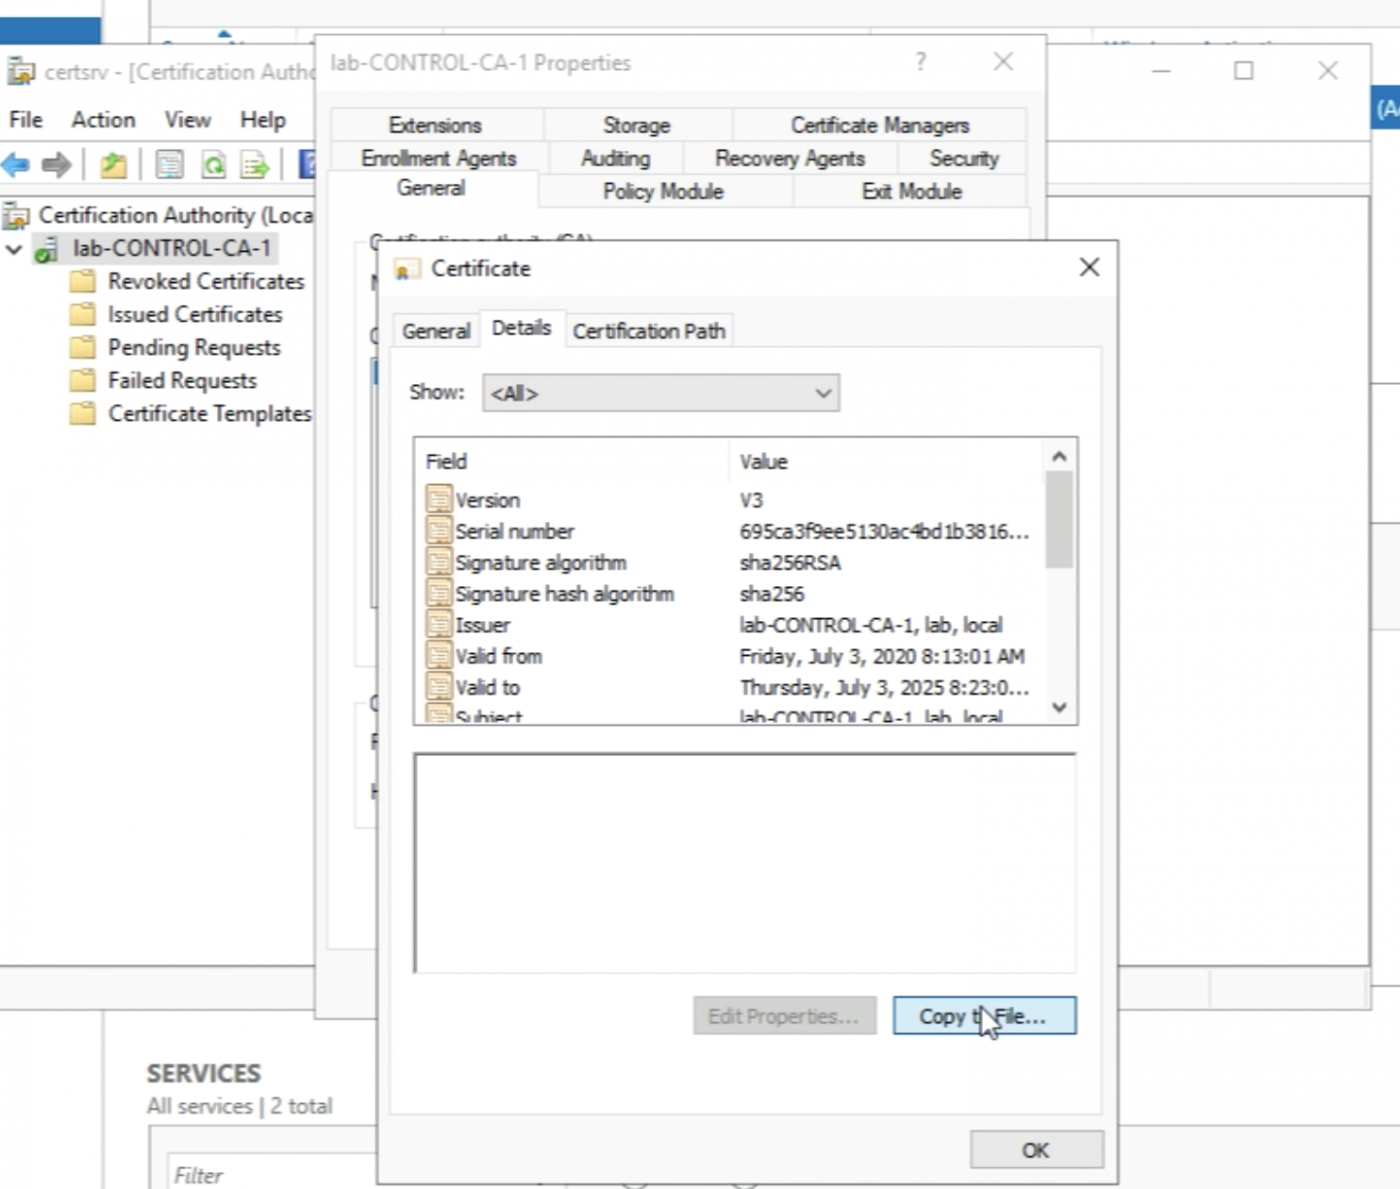
Click on the details. And click on “Copy to File” in order to export the Root Certificate to my Computer.
I will need this later when I import the Root CA certificate and the signed NSX-T node certificates in NSX-T.
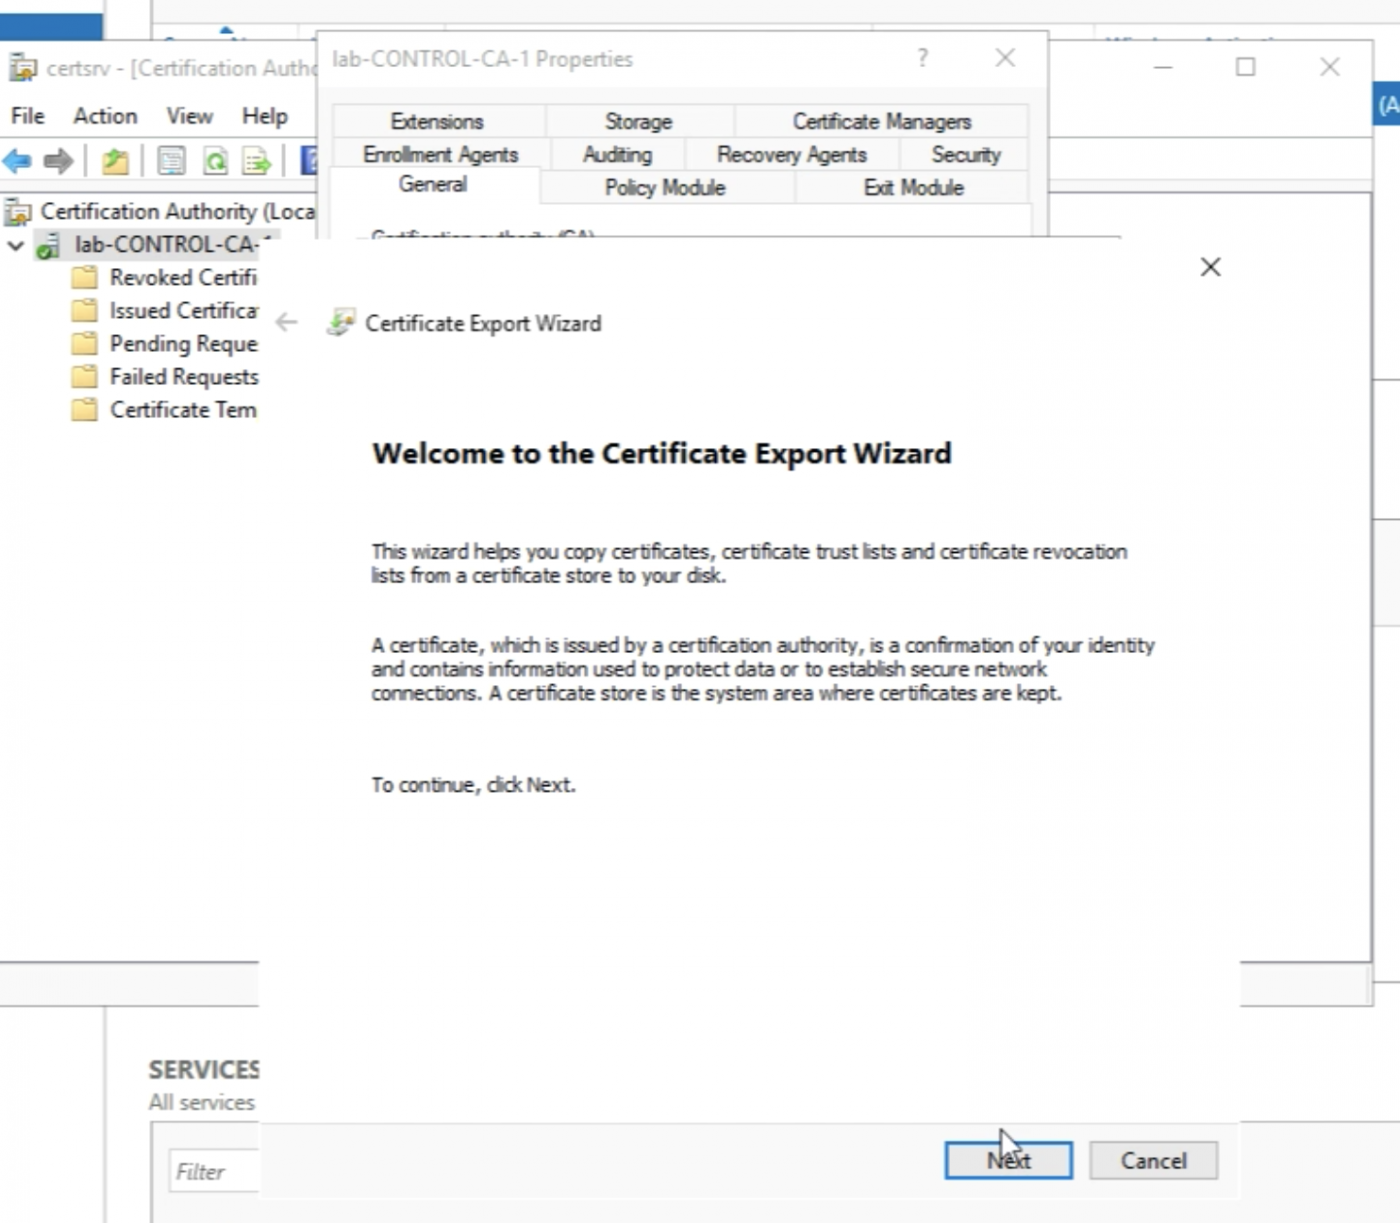
Click on “Next”.
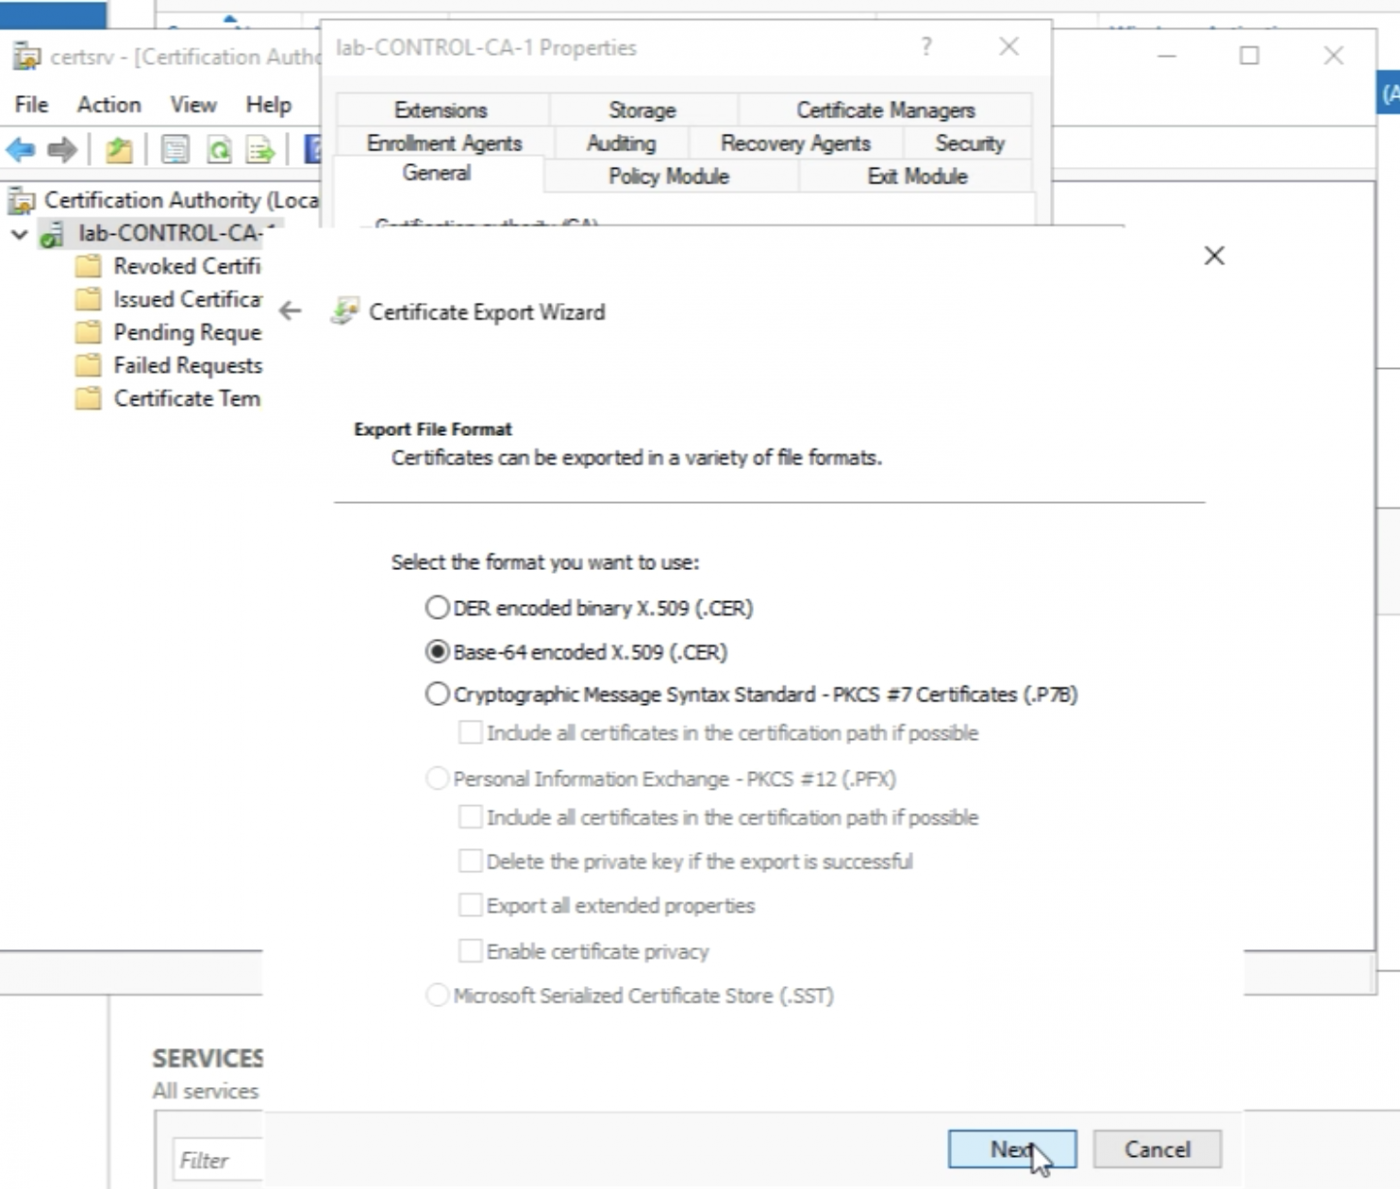
Select the “Base-64 encoded X.509 (.CER)" File Format for the export and click “Next”.
Specify a valid path that I want to export the files.
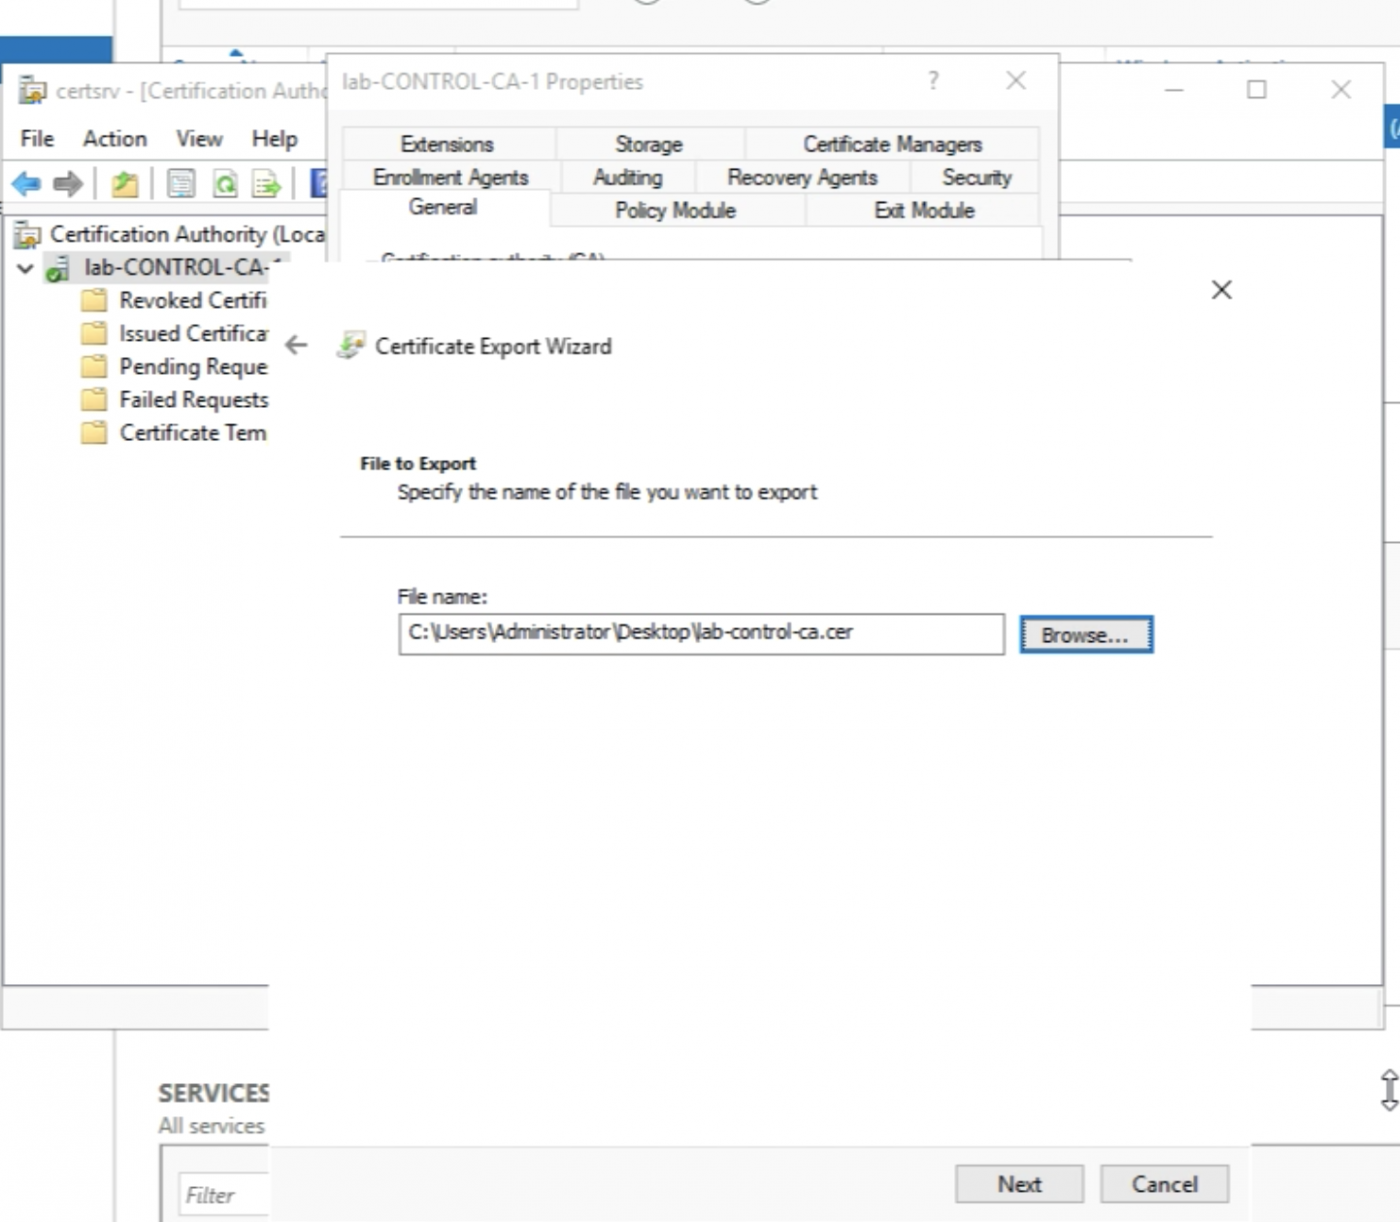
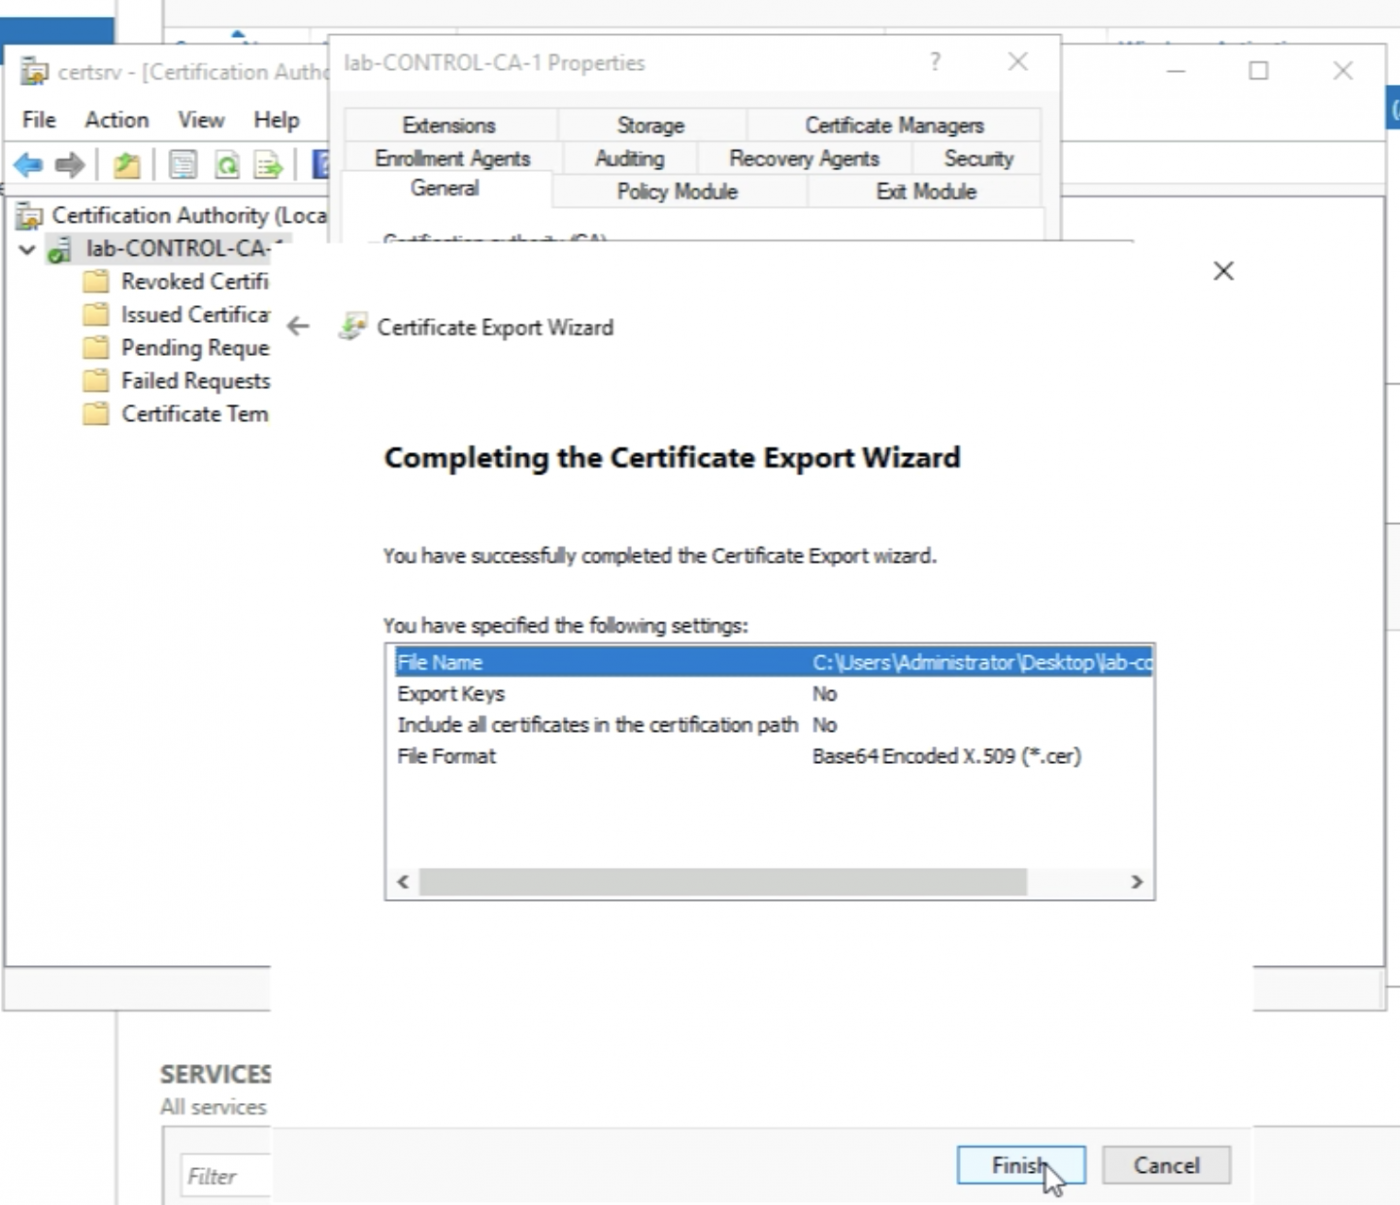
Click on “Finish” to complete the export of the root certificate files.
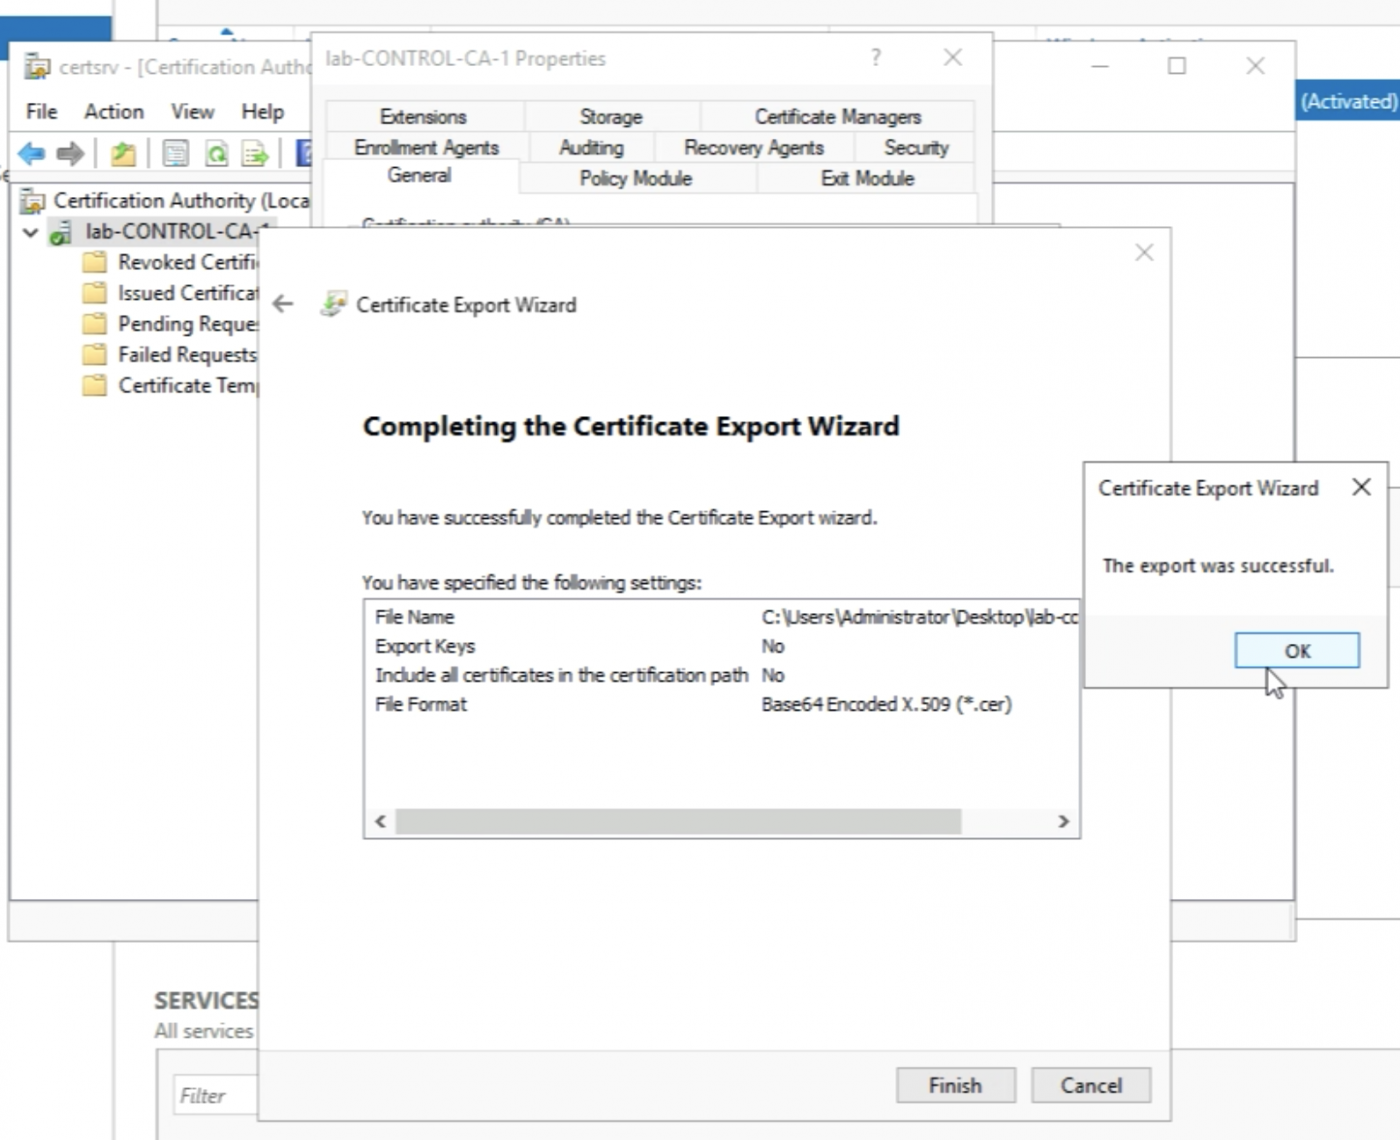
A message should pop up with “that the export was successful”.
Click on OK to close the message.
It’s always good practice to browse to the file and make sure it is really there.
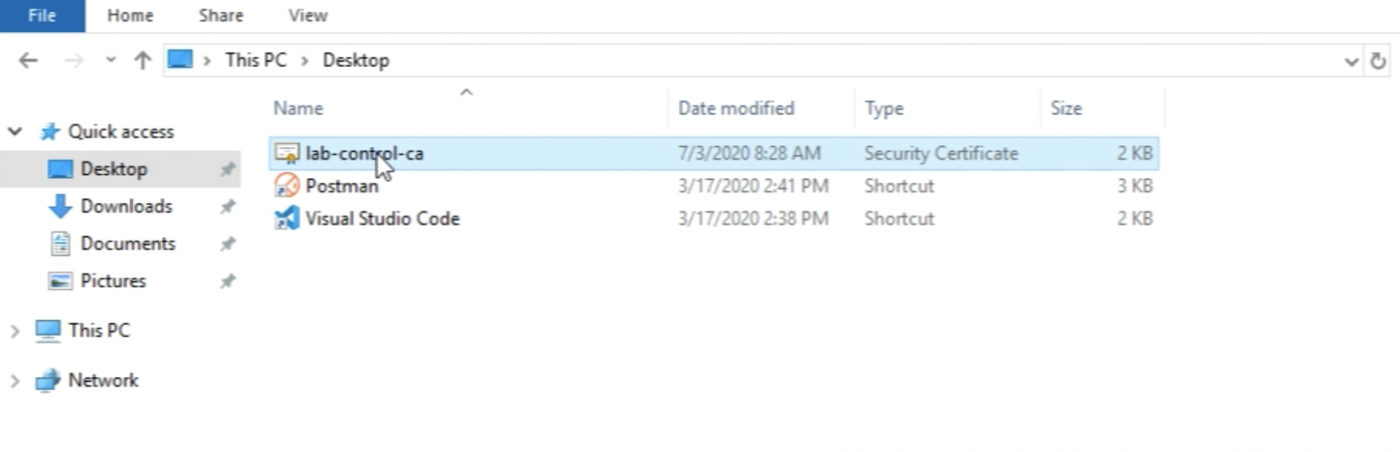
I can view the content as well, as I am doing here with Notepad++.
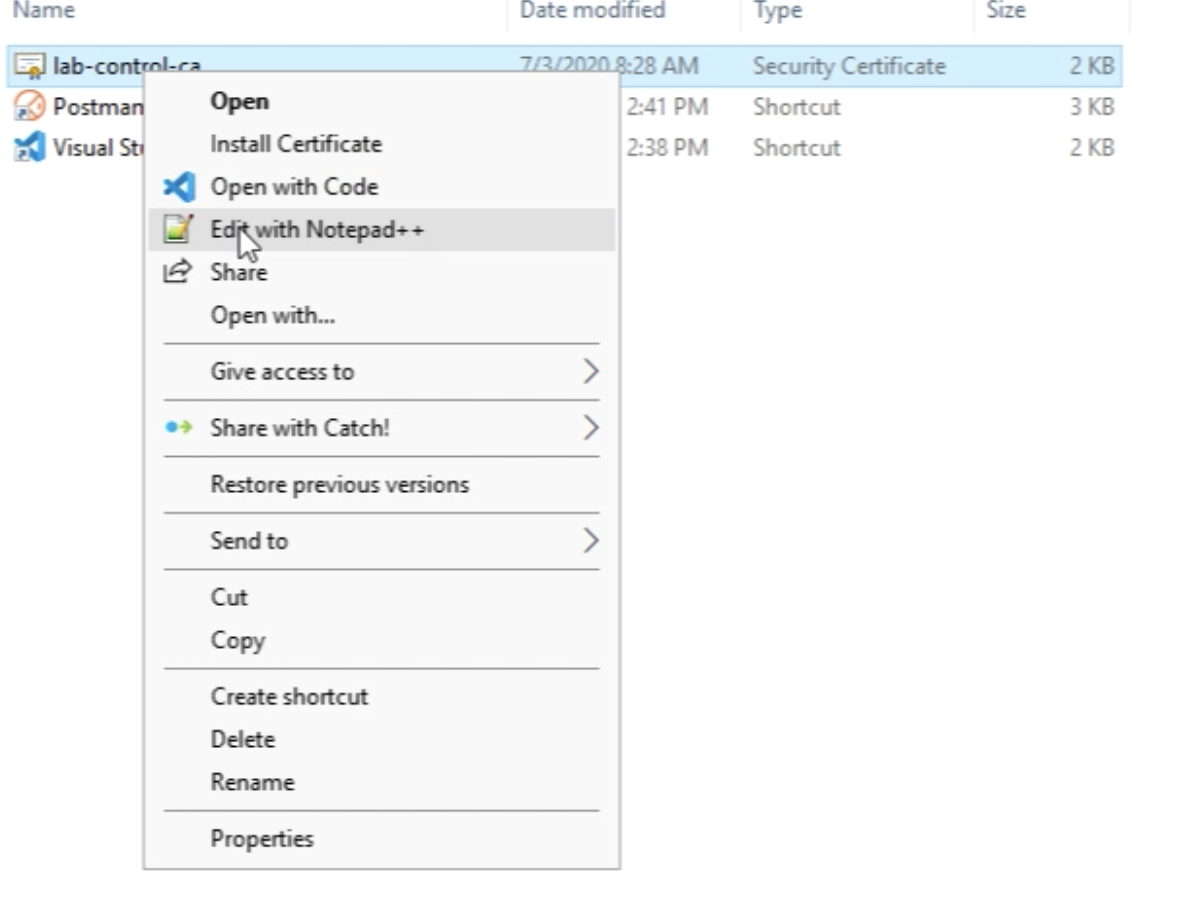
The content of the root certificate authority certificate is displayed below.

So now I have all the prerequisites in place to start with the next step.
STEP 3» Verification on the Microsoft CA Server
Now that the CA Server and its underlying role services I need to use the web browser and browse to the following URL https://localhost//certsrv (from the Microsoft CA itself):
Browse to the URL.
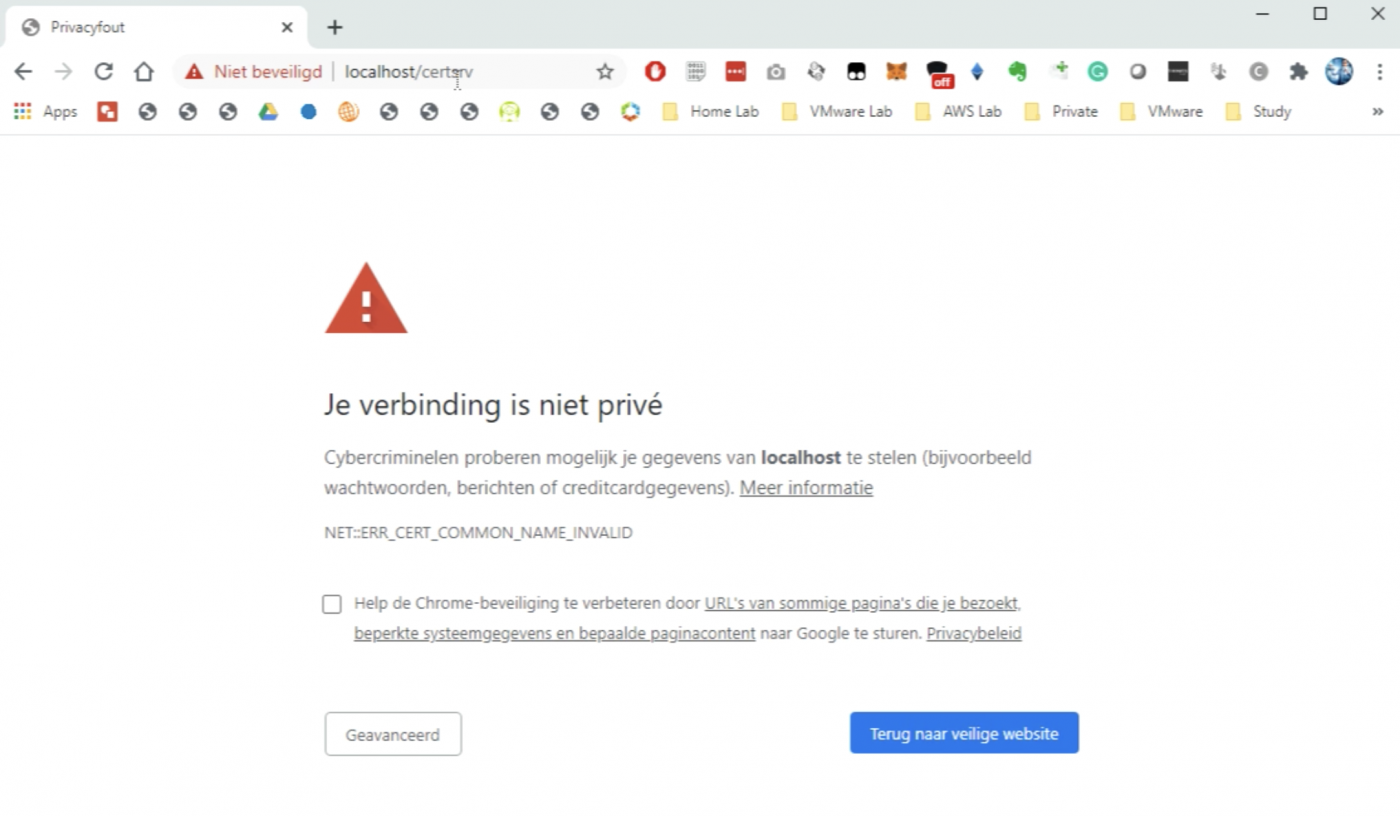
Do the additional actions to access the website, this is browser-specific, I am using Google Chrome here.
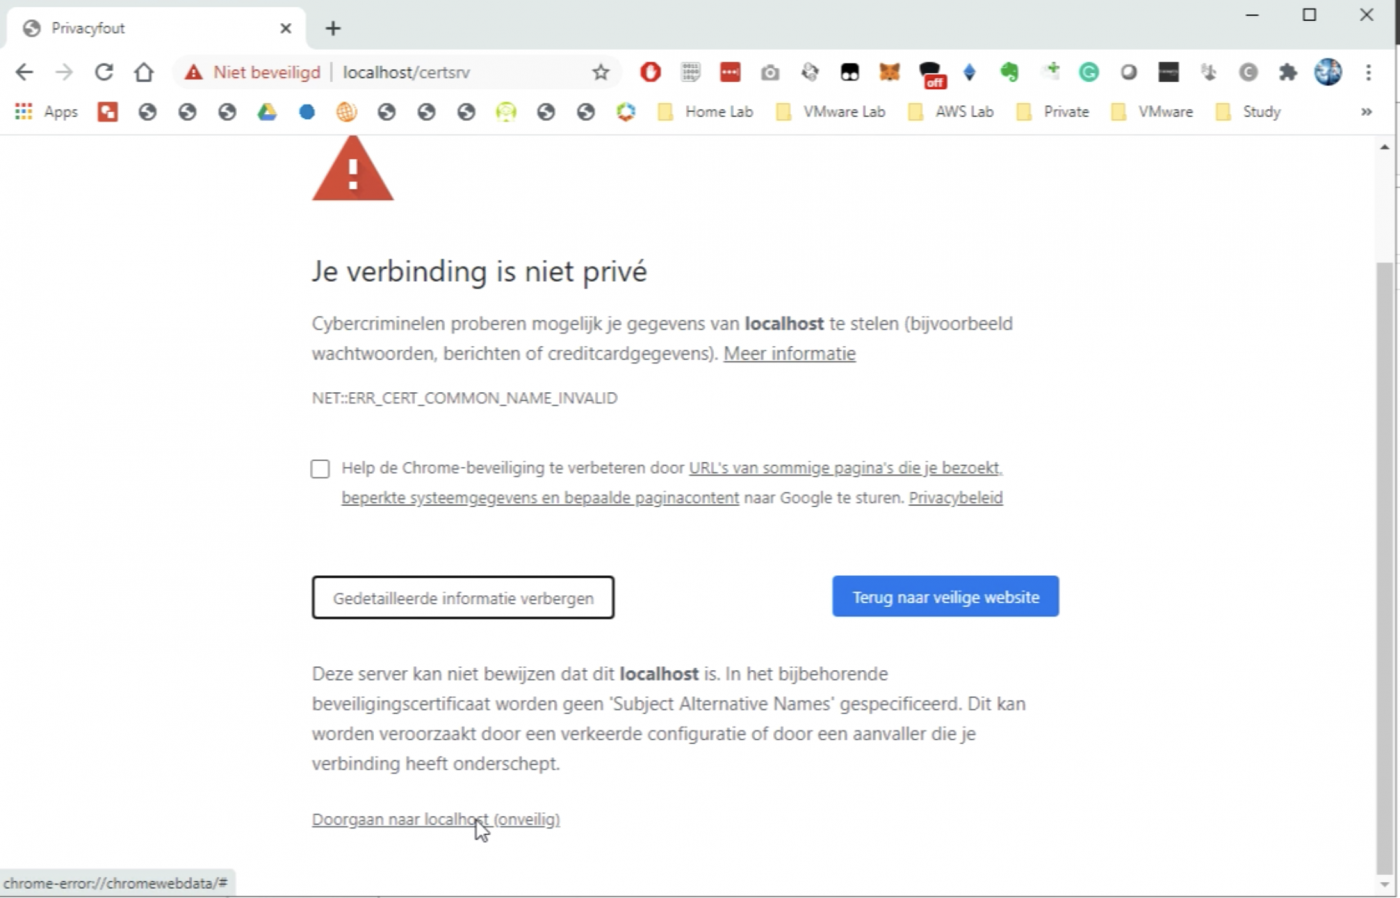
This confirms I can use this (web) server to sign our Certificates with.

STEP 4» Preparing the Microsoft CA Server for NSX–T Certificate Signing
Before I start I need to create a new Certificate Template with some specific settings for the NSX-T Node CA-signed certificates.
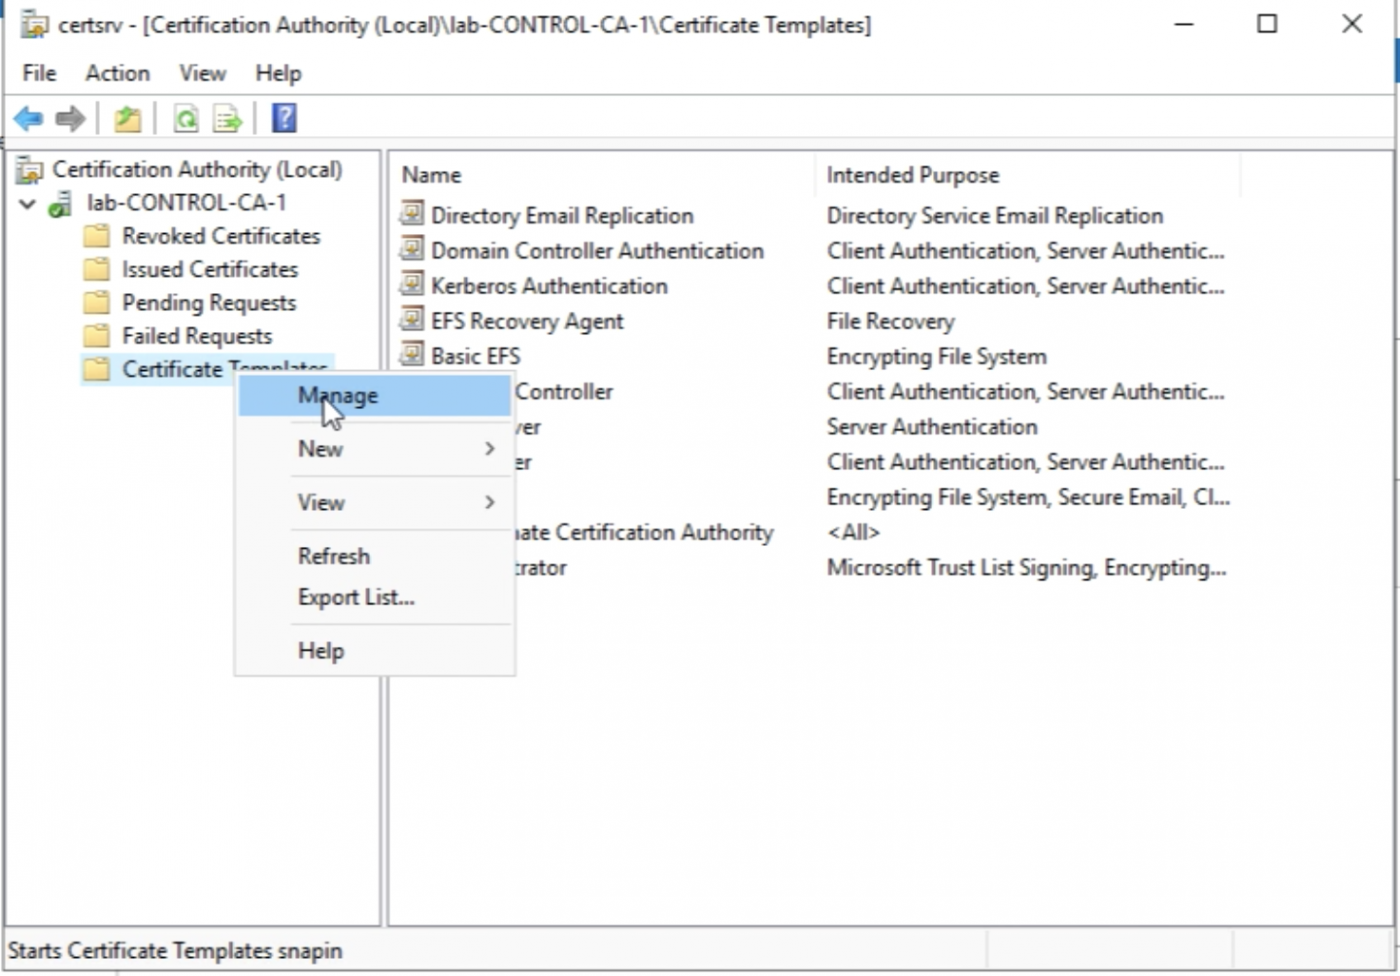
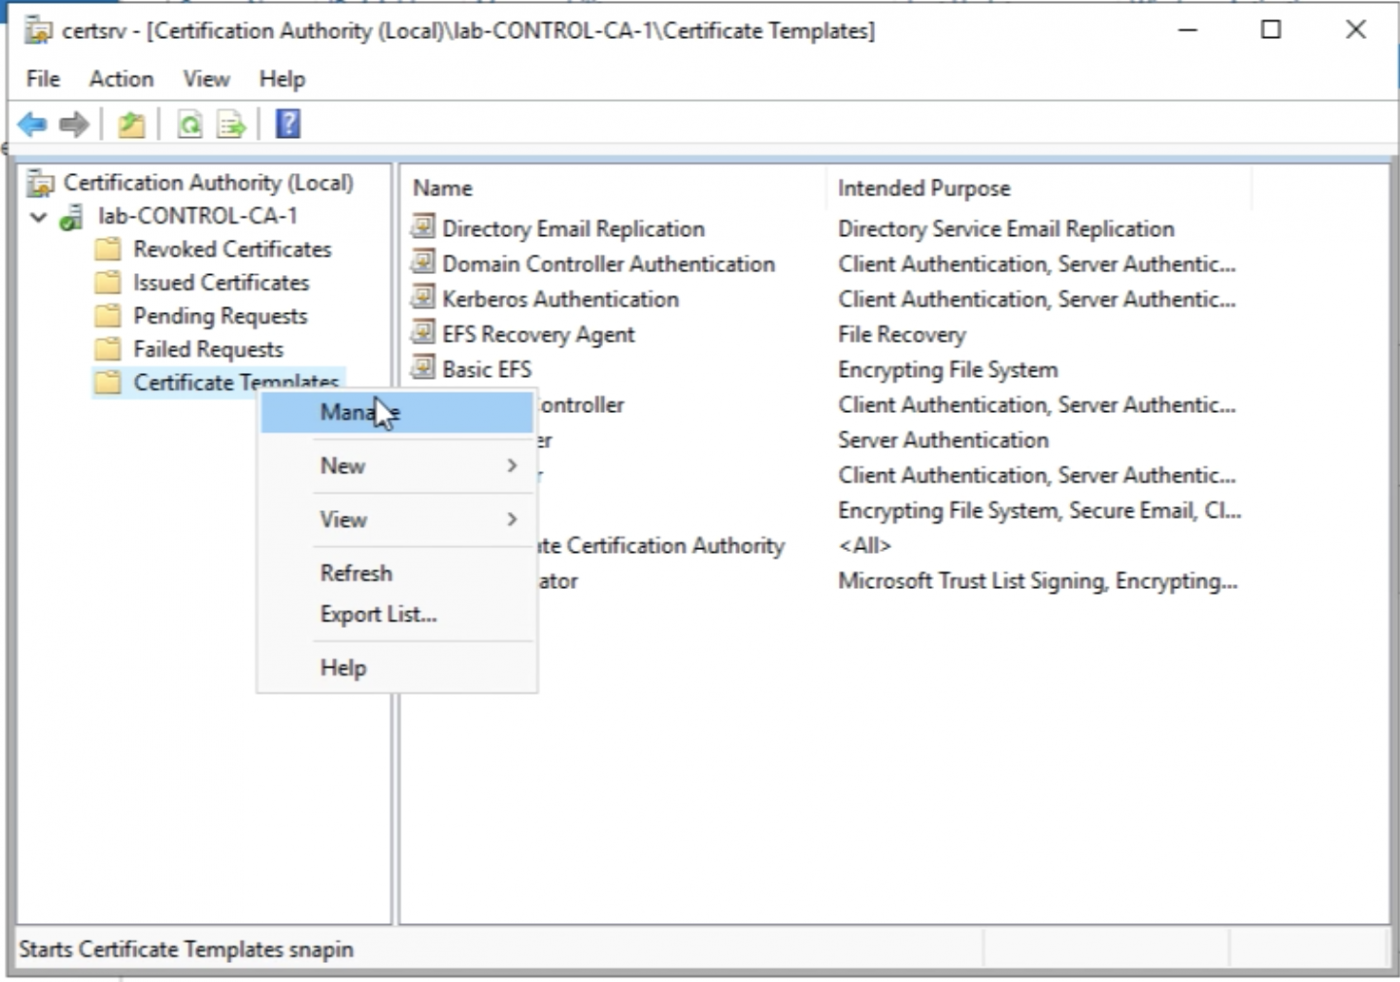
So let's open the Certification Authority Management Console again.
Select Certificate Templates and right-click this and select "Manage".
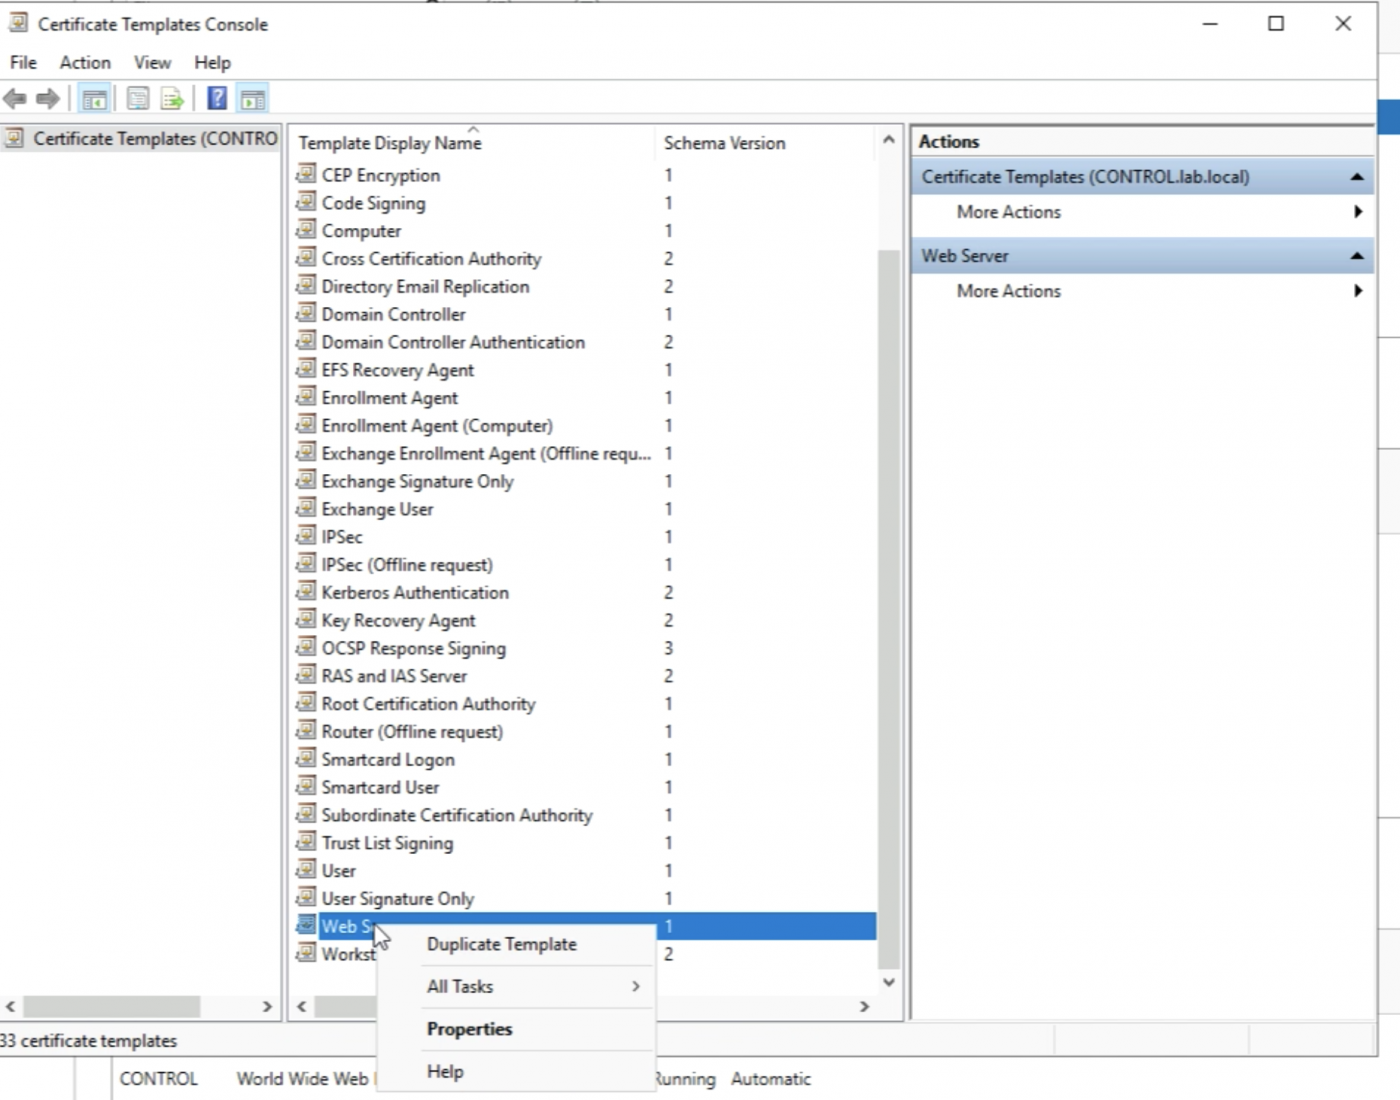
Select the “Web Server” Template and right-click and select "Duplicate Template”.
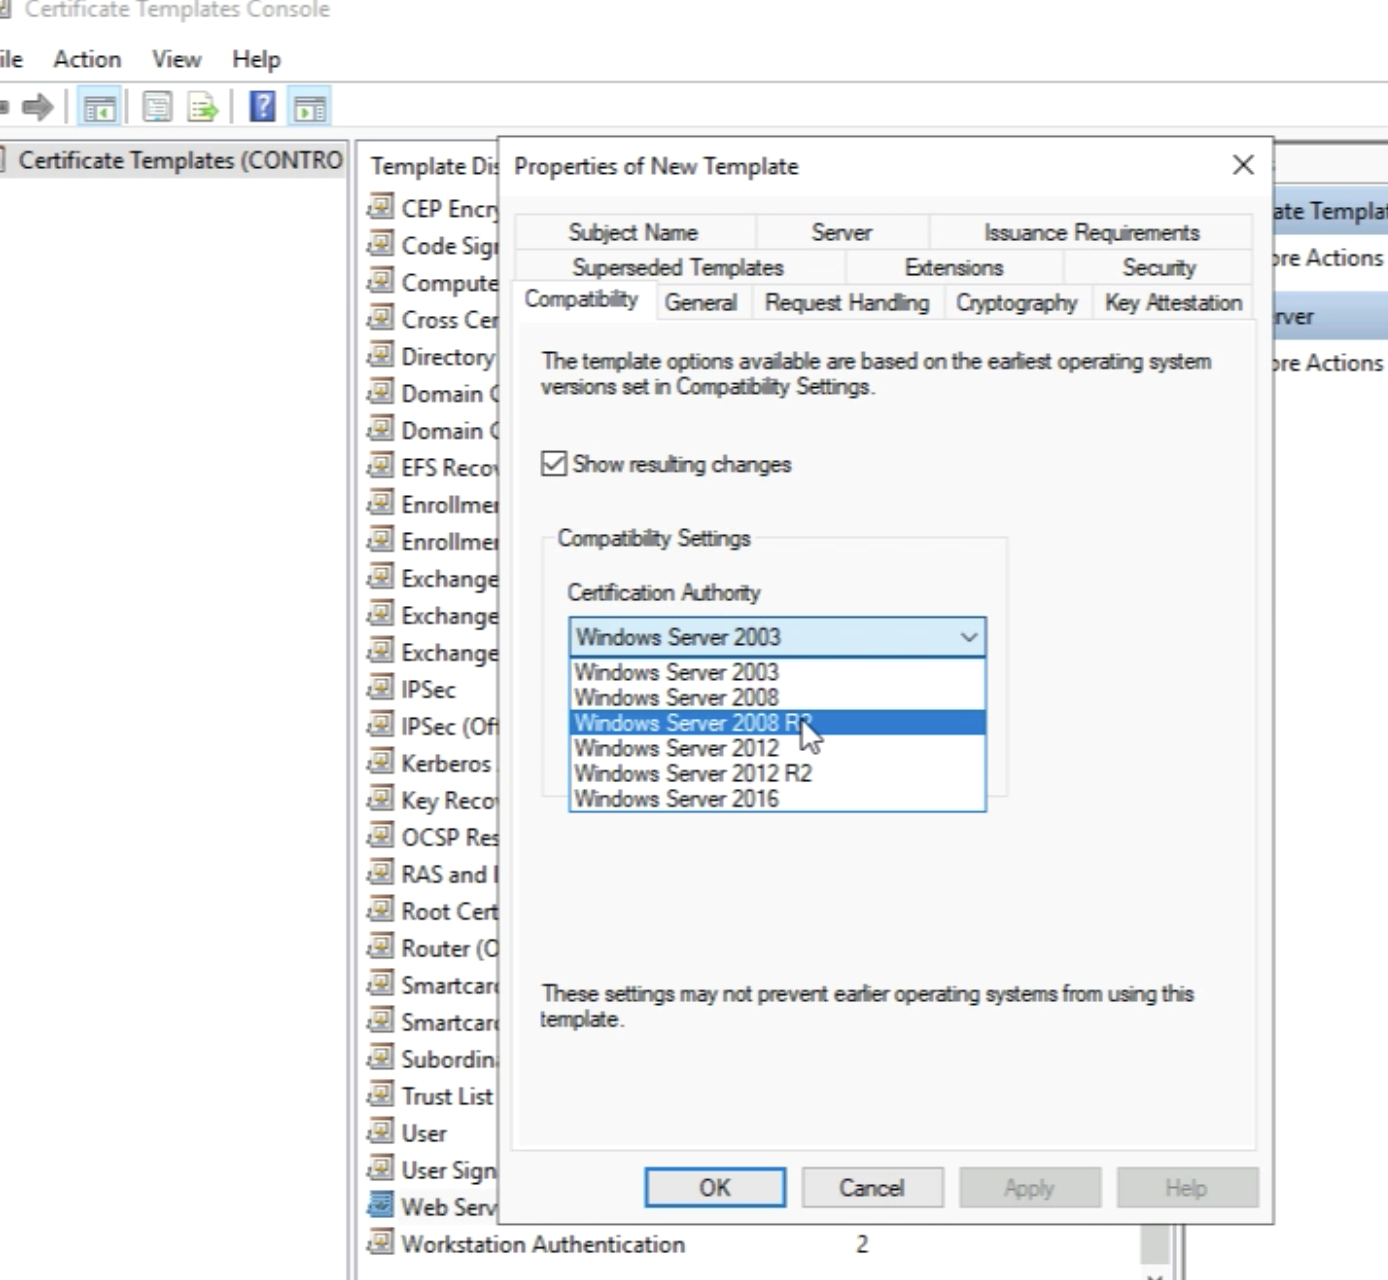
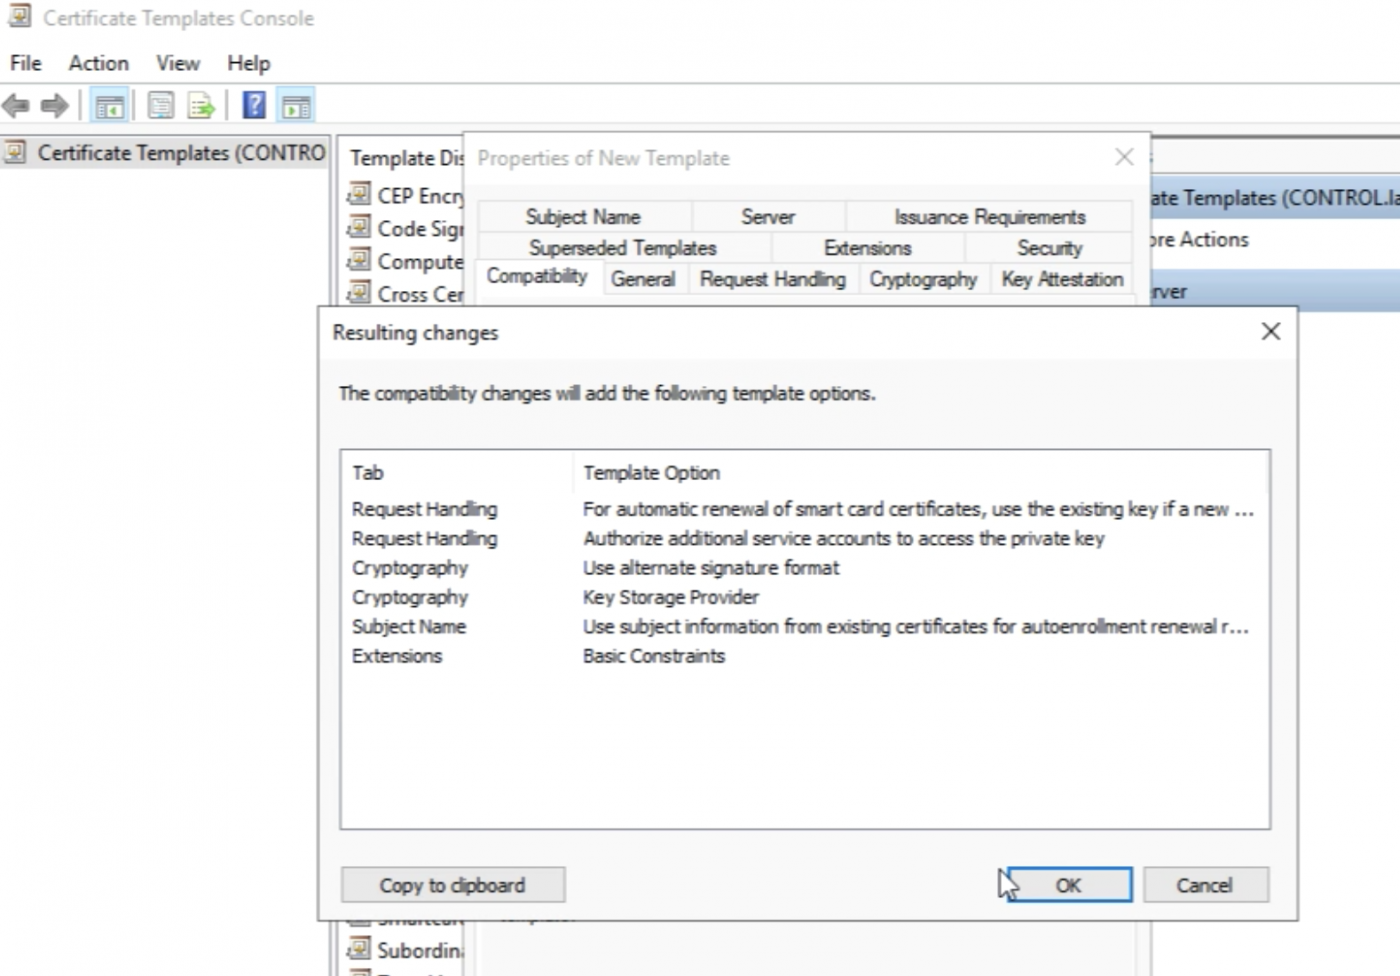
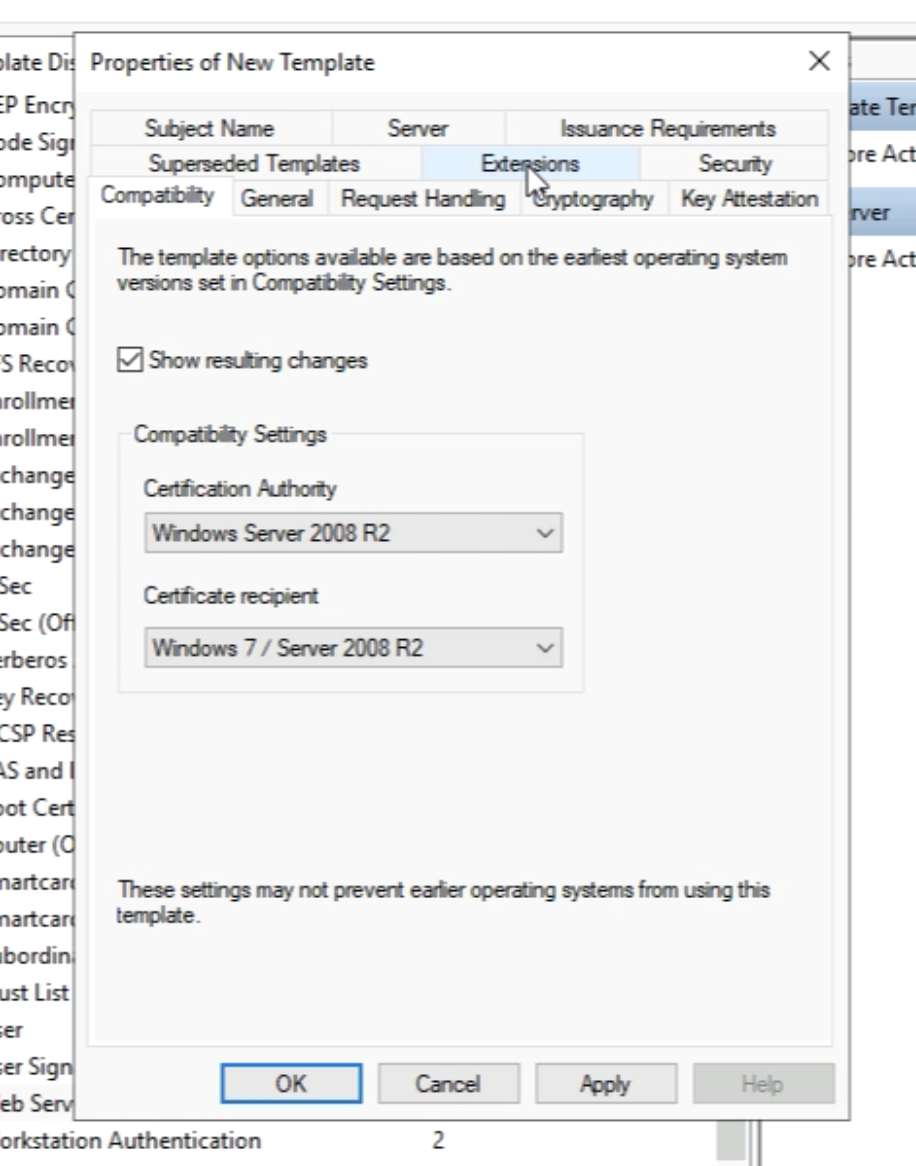
Go to the “Compatibility” tab and select "Windows Server 2008 R2" as the Certificate Authority Compatibility.
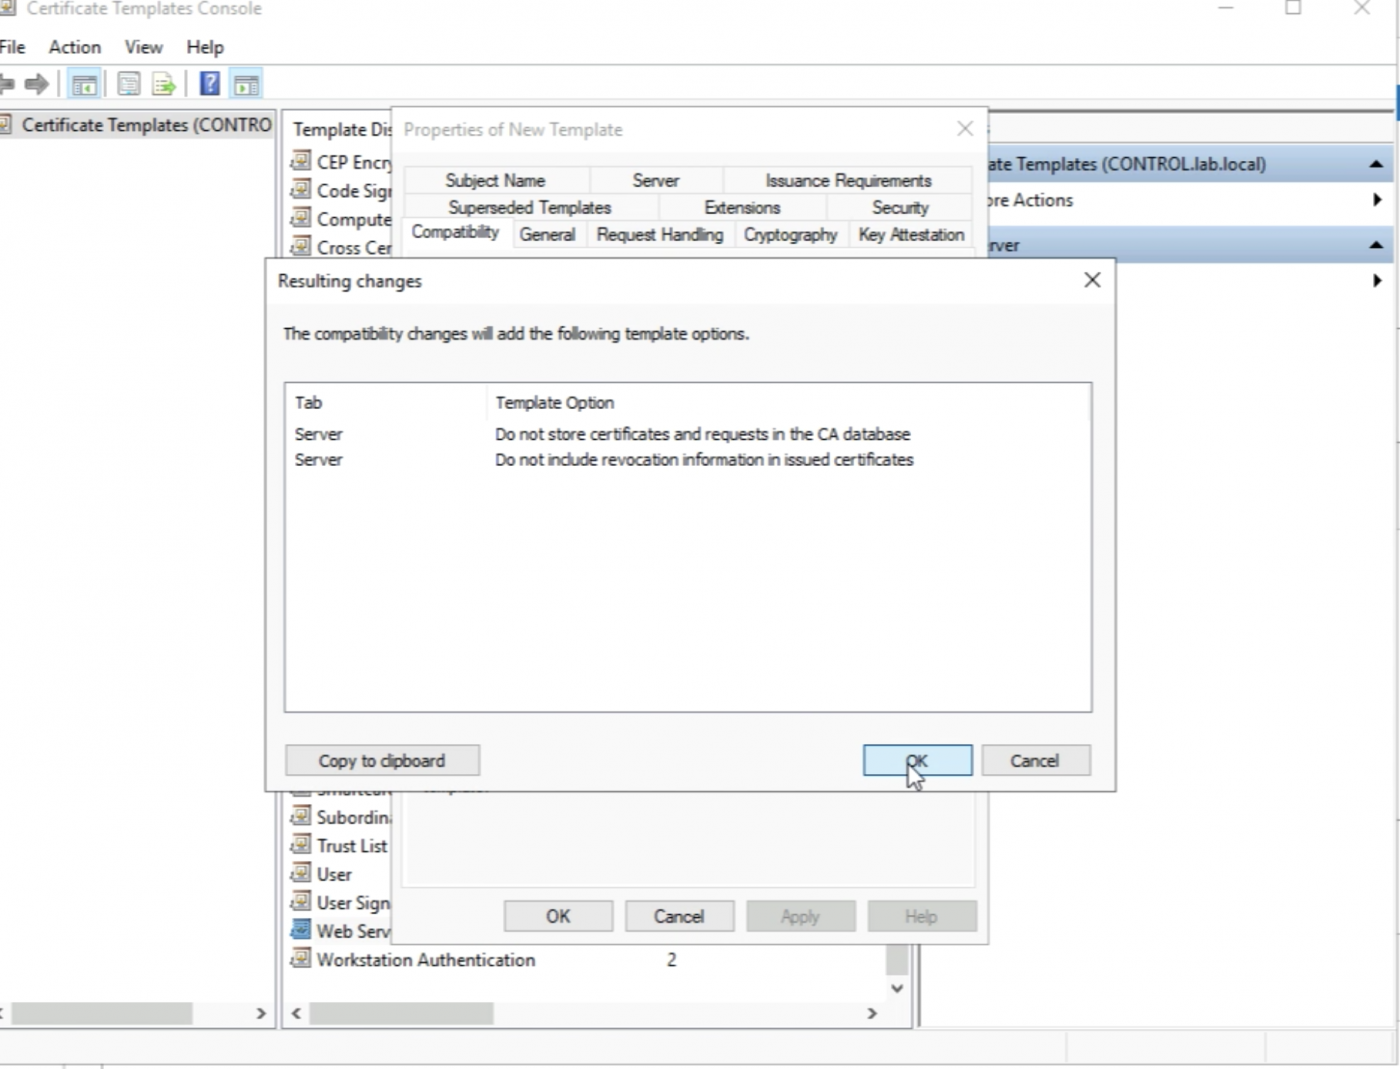
Just click “Ok” on the pop-up window.
Select “Windows 7/Windows 2008 R2" as the "Certificate Recipient".

Just click “Ok” on the pop-up window.
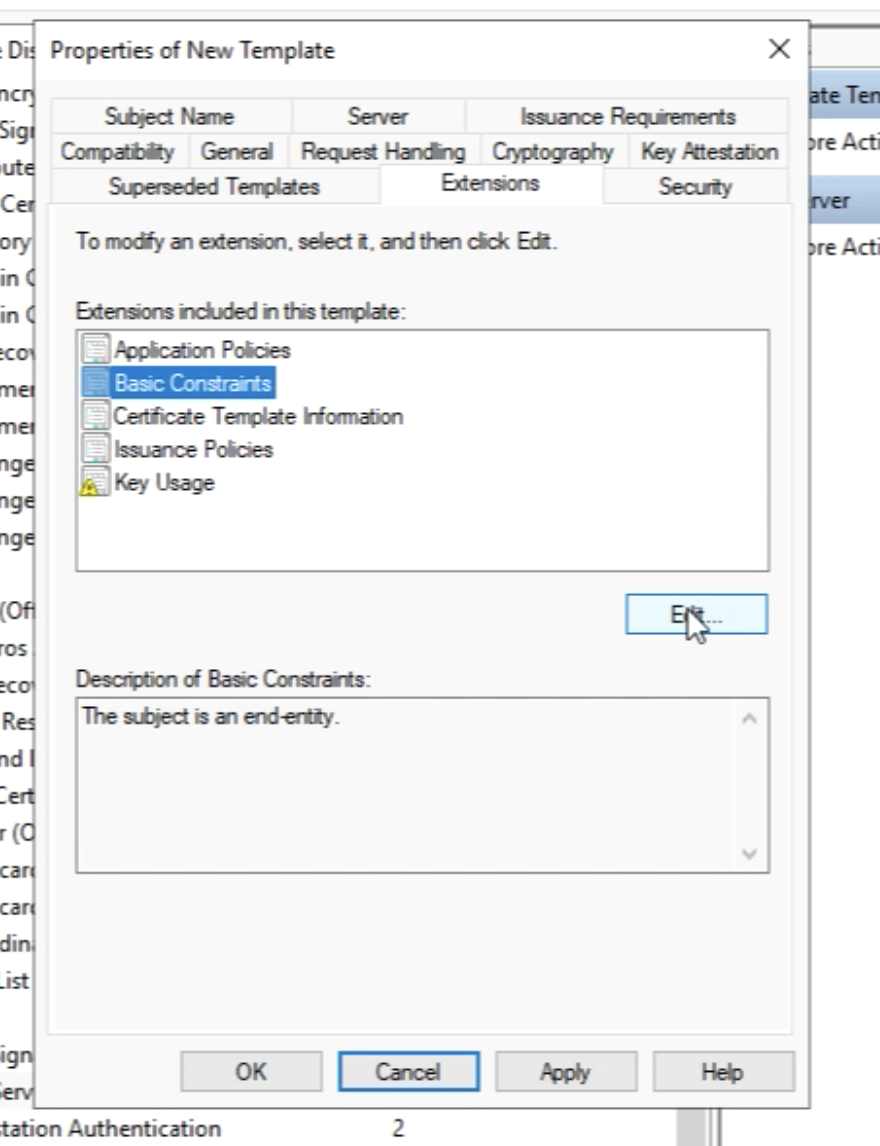
Go to the “Extensions” tab.
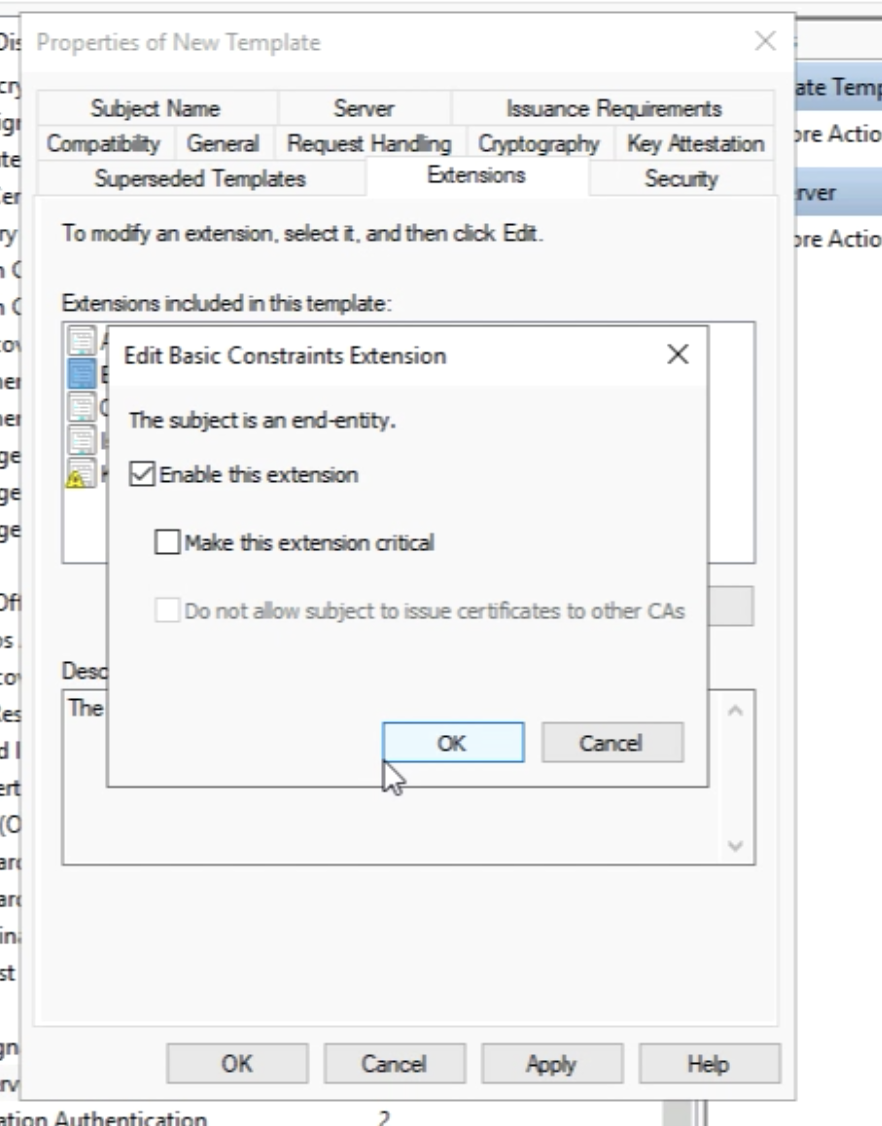
Select “Basic Constraints” and click on "Edit".
Make sure this extension is enabled by checking the box.
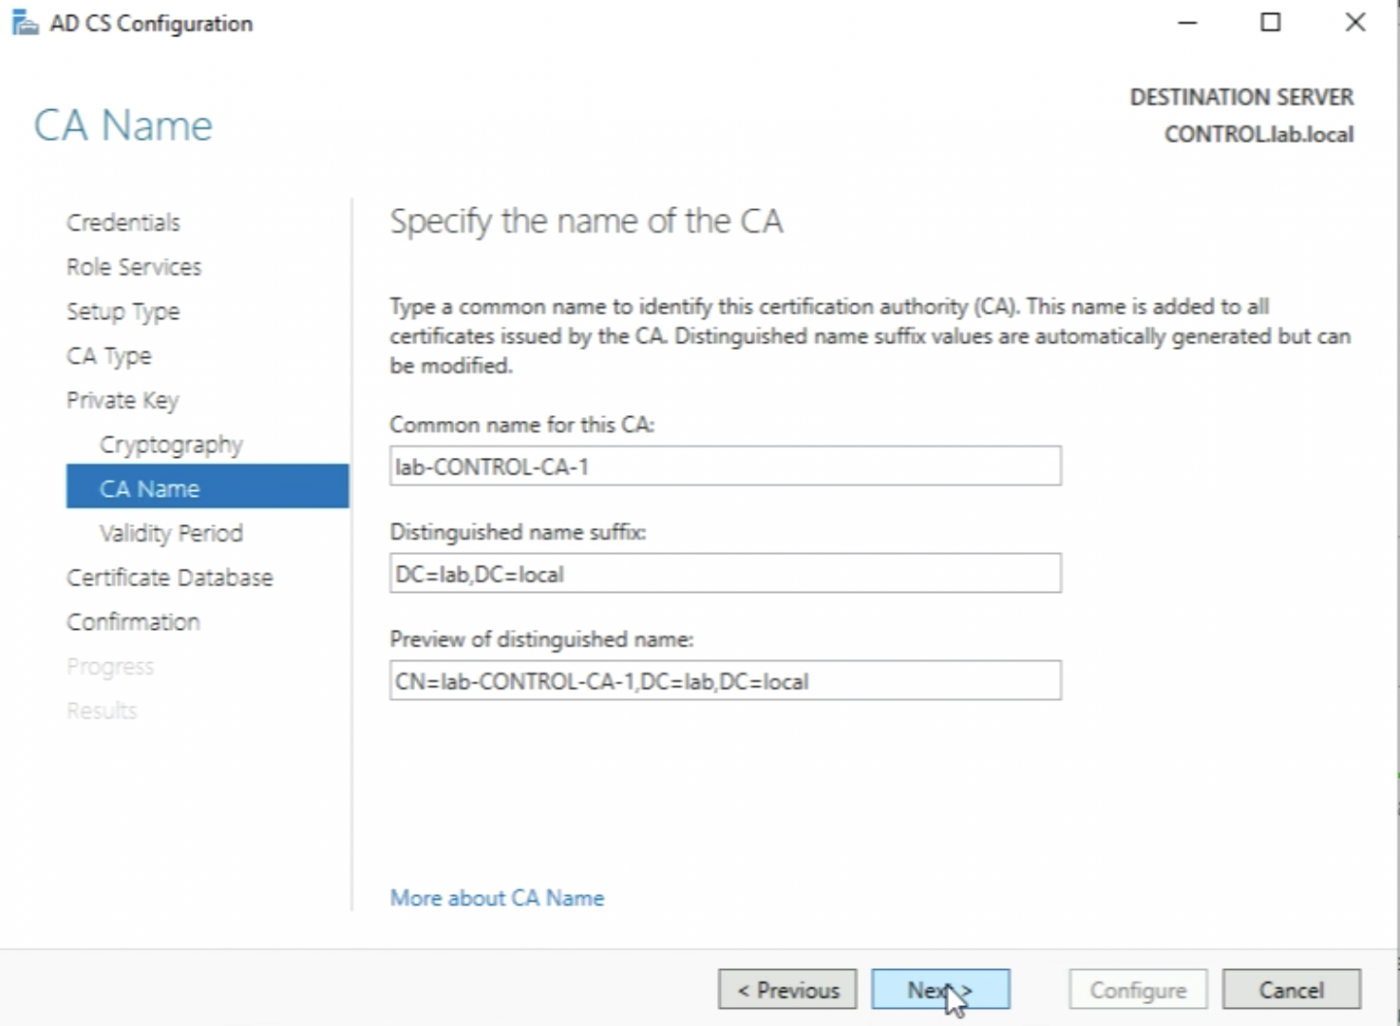
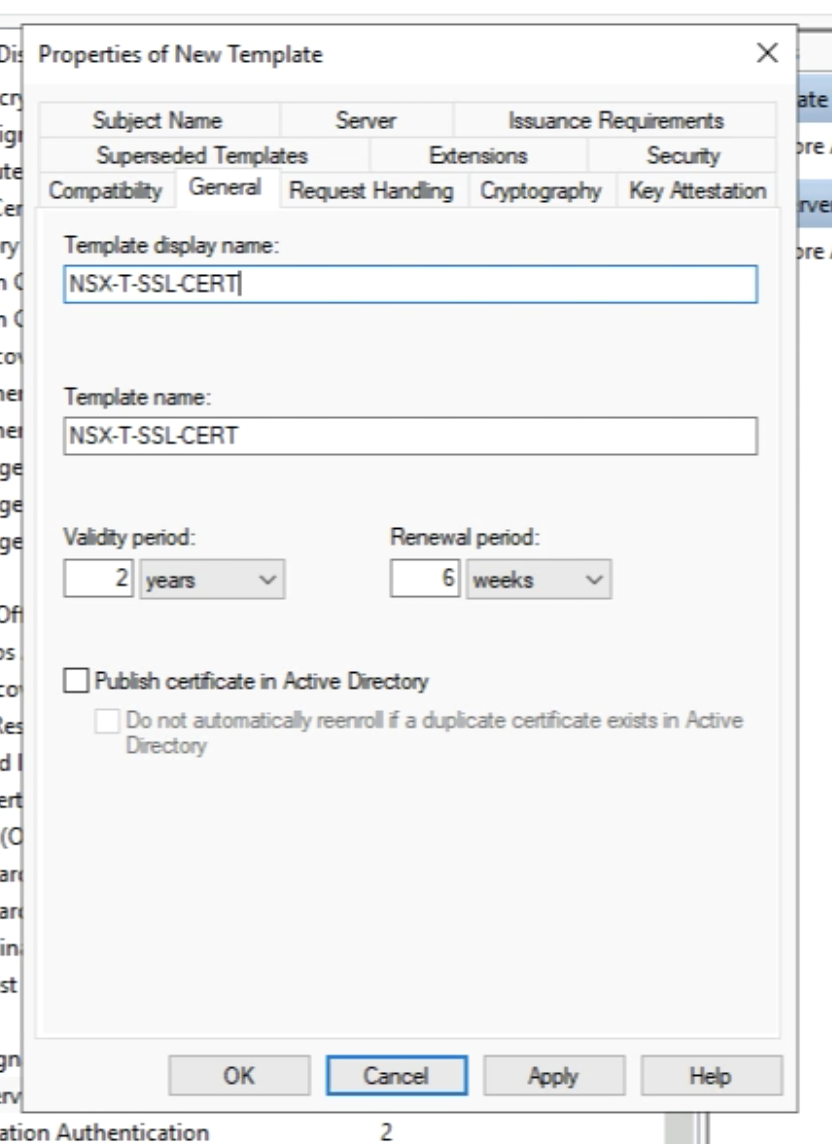
Go to the “General” tab and provide a new name for this cloned template.
My name is NSX-T-SSL-CERT. Close the window with “OK”.
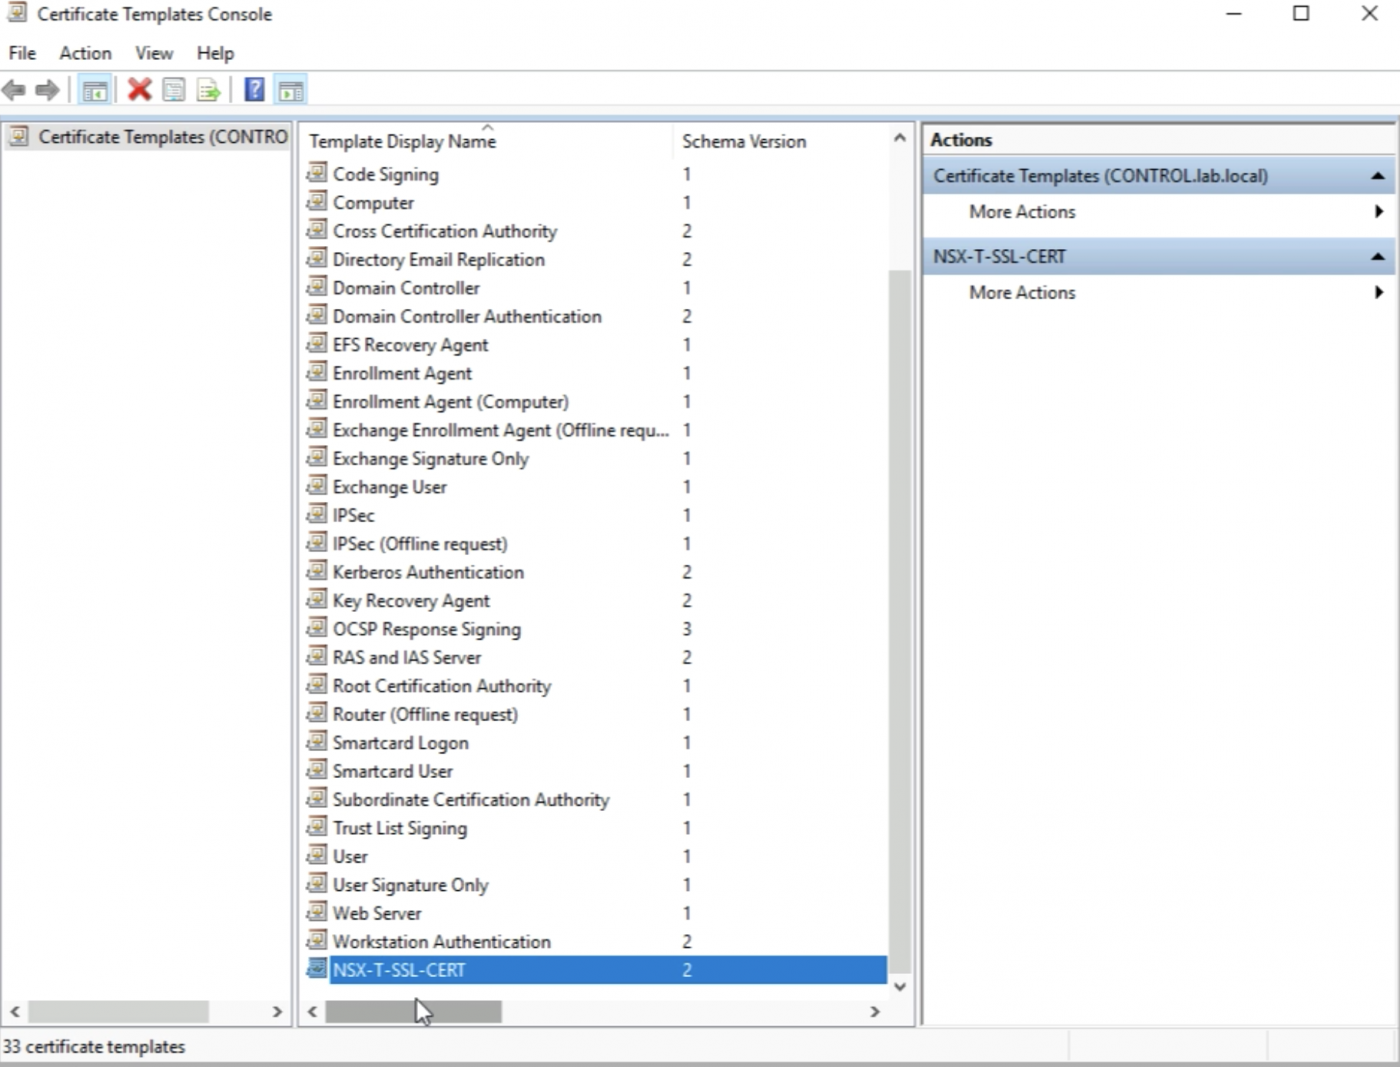
In the list of the Certificates Templates, I now see the new Template.
Right-click the “Certificate Templates” and select “Manage”.
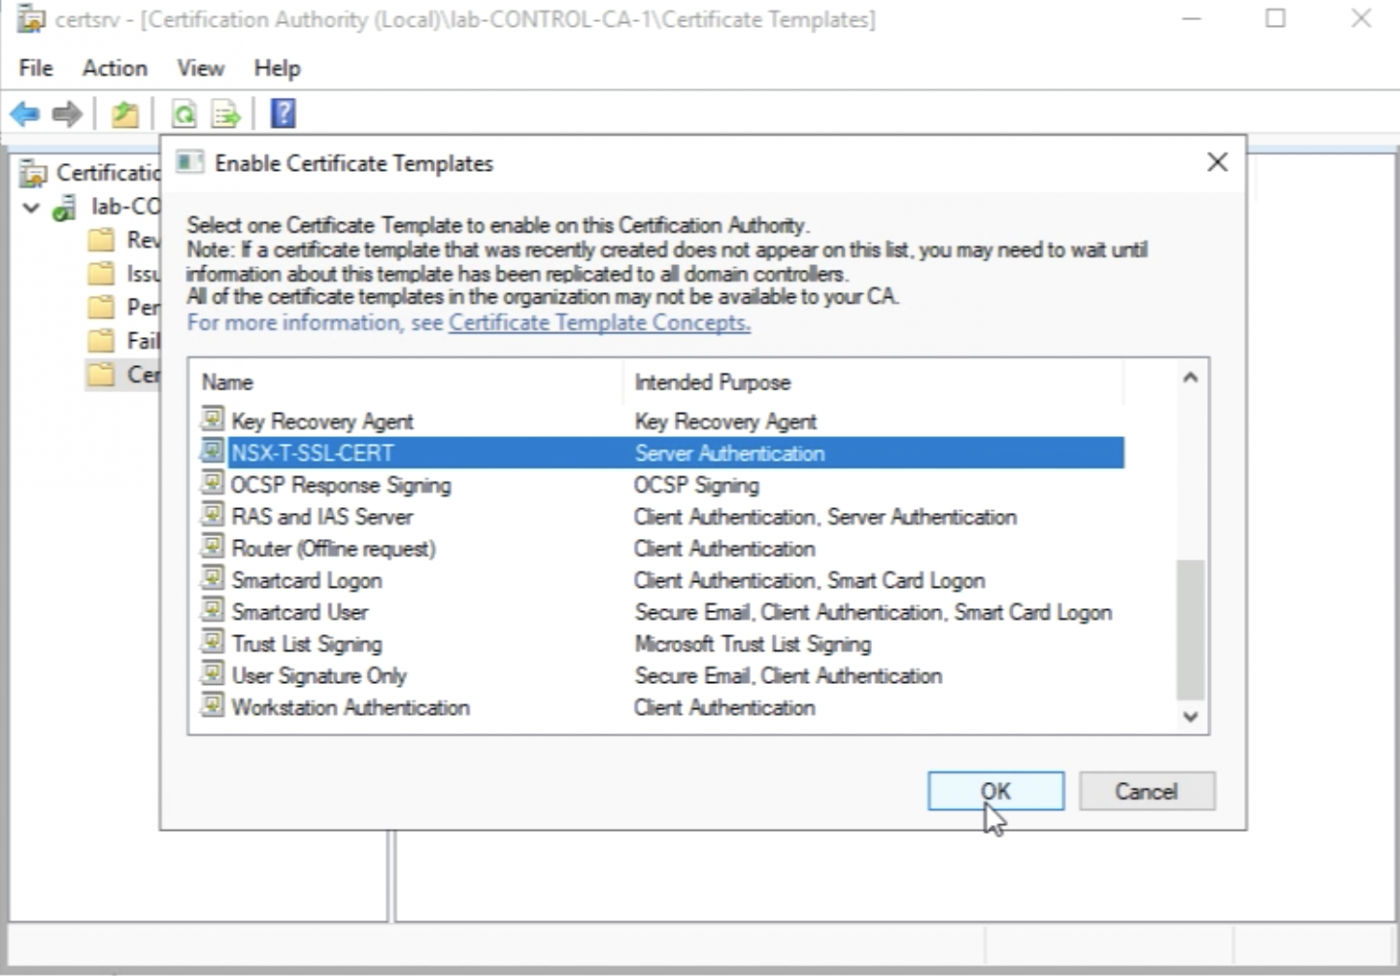
Select the Certificate Templates again and now select "New" and then "Certificate Template to Issue”.
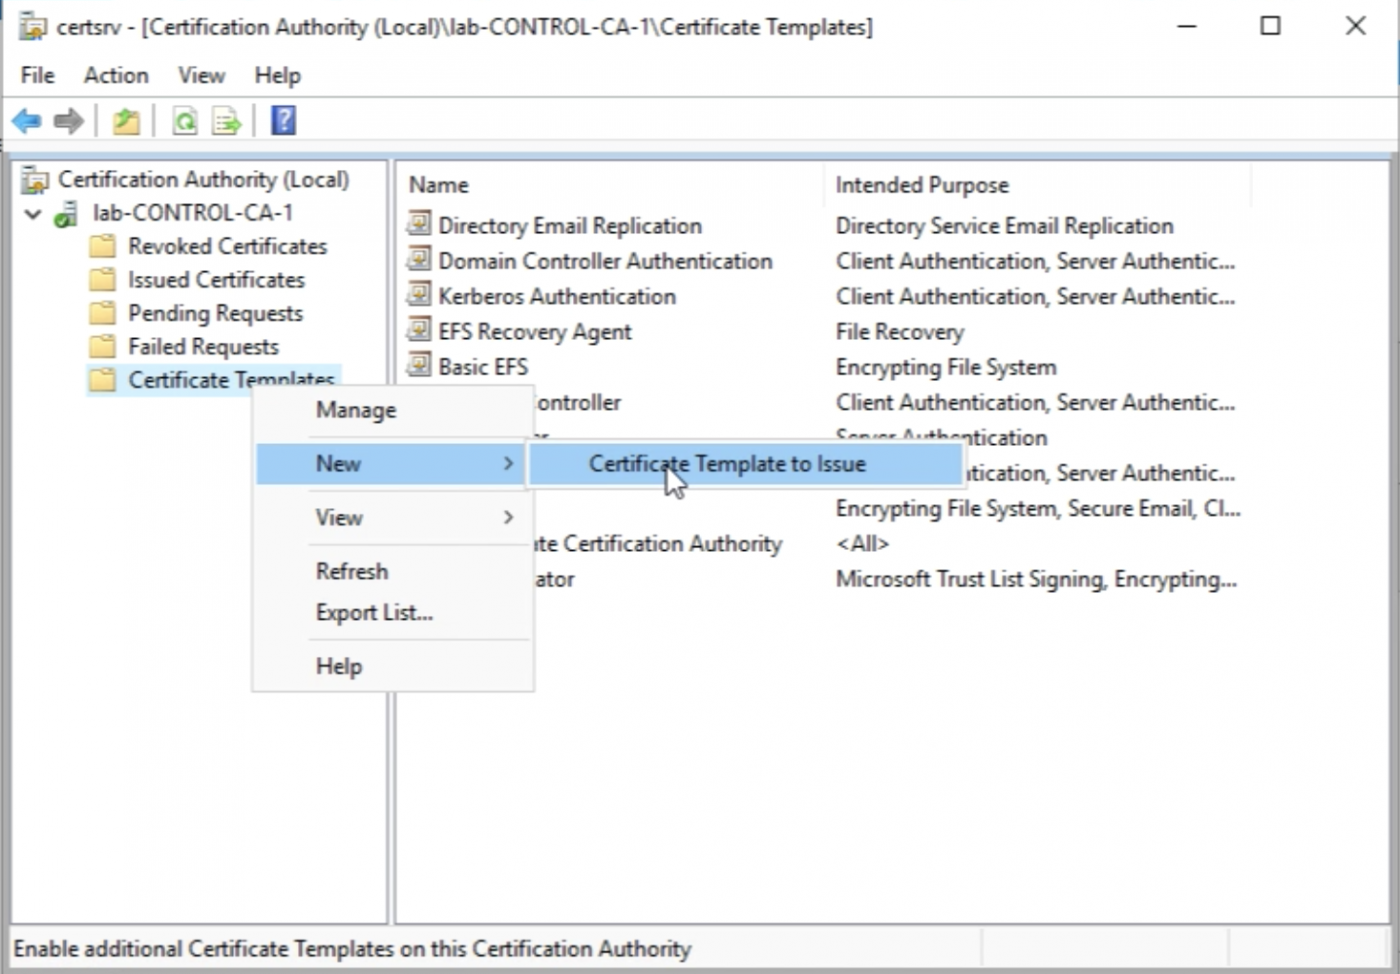
Select the template I just created "NSX-T-SSL-CERT" and click ok "OK".
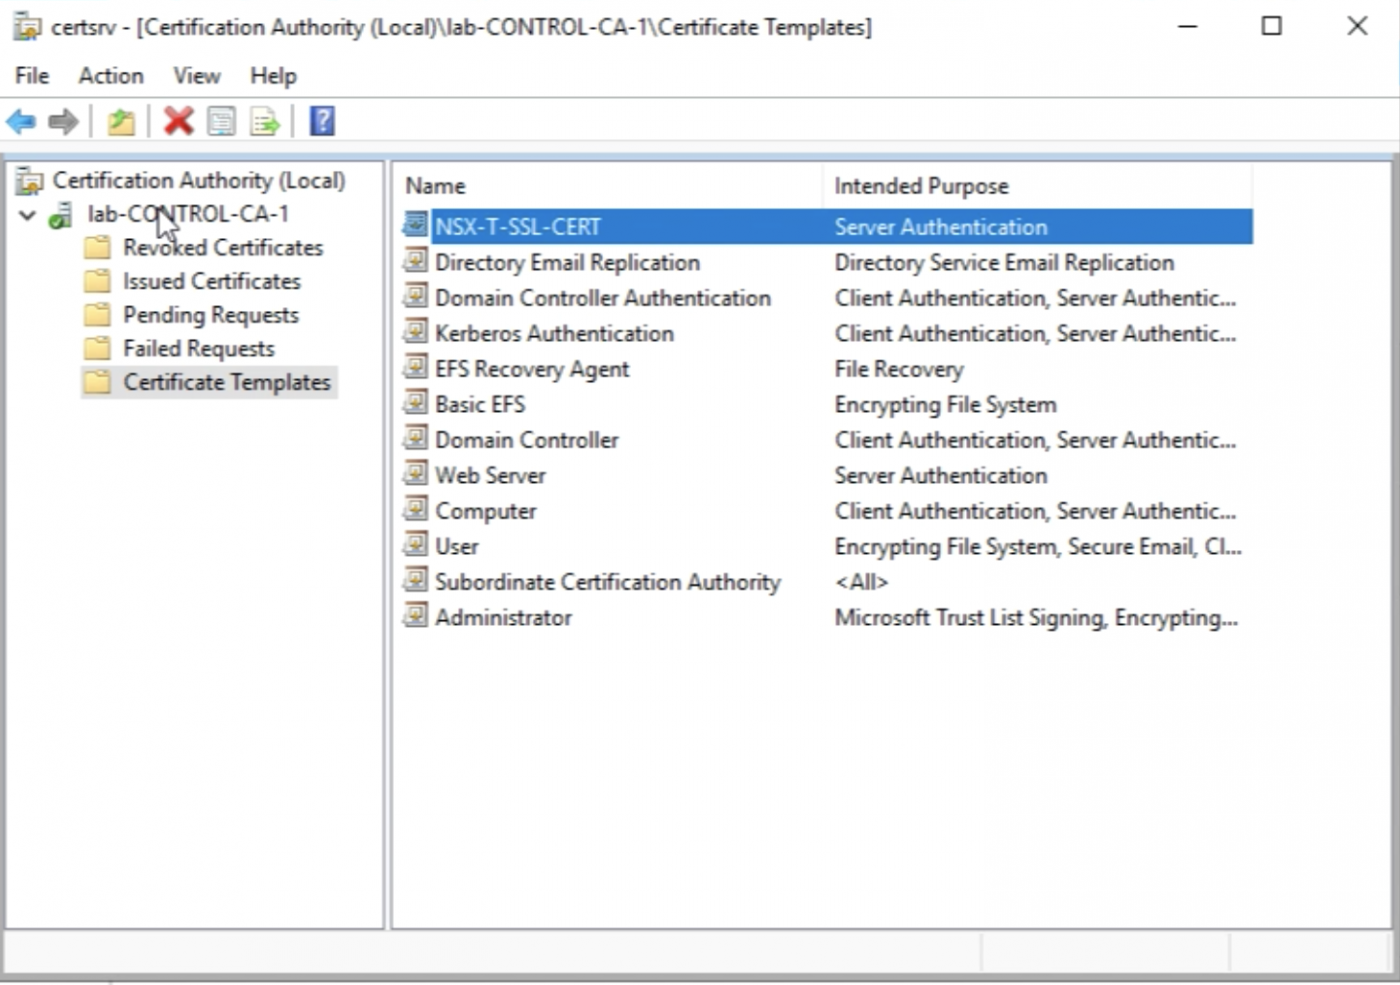
Now I see the new Template listed on the Certificate Templates list.
I need to make sure one more time that the hash algorithm is set to SHA256.
Select the CA server and right-click and select "Properties”
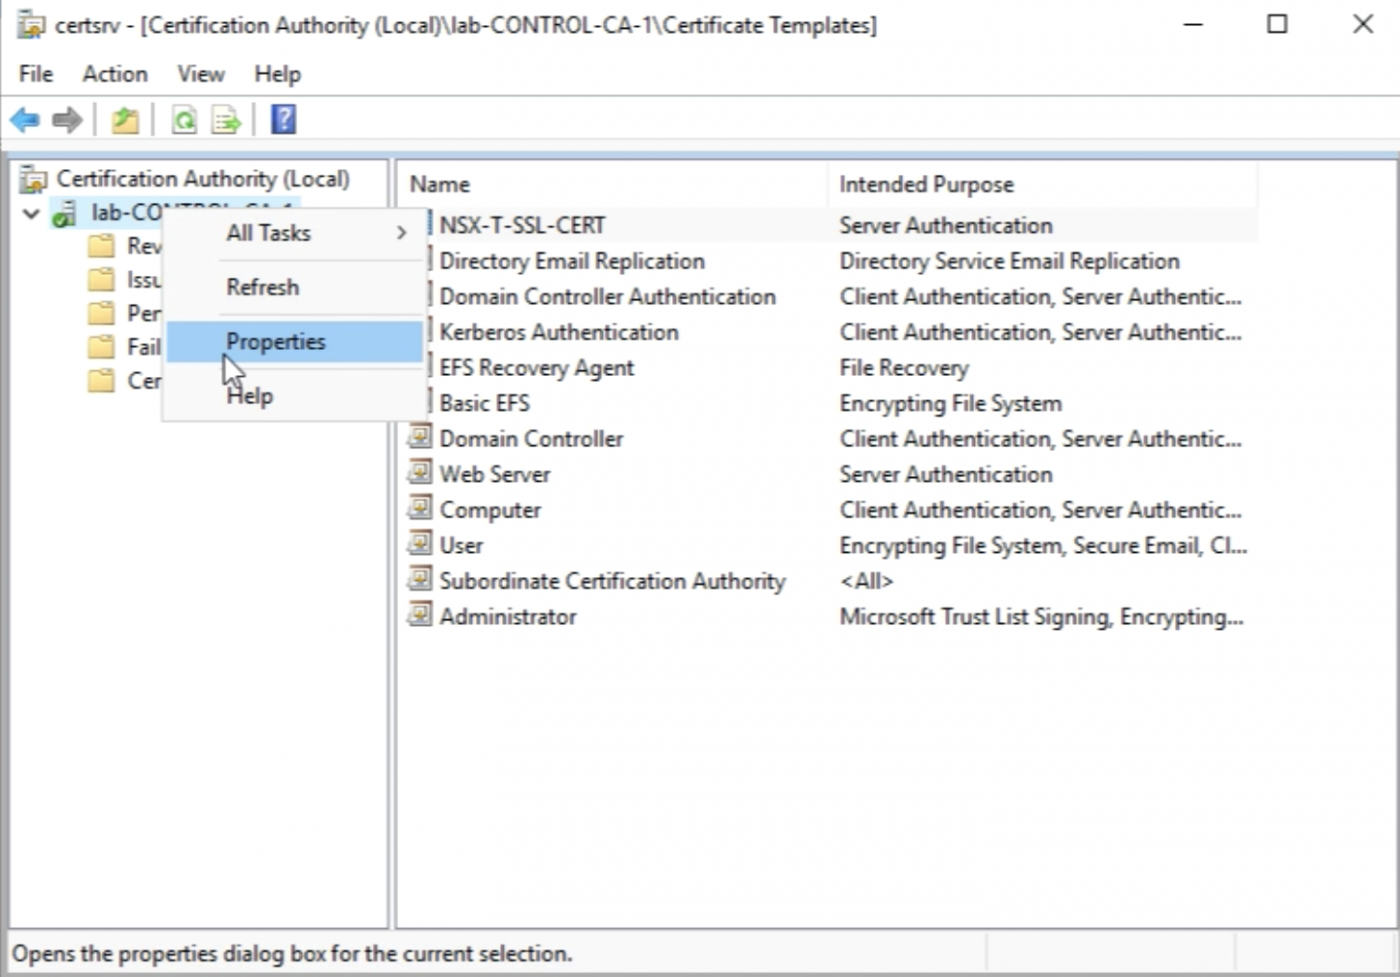
Validate that that the hash algorithm is set to SHA256.

Now I have created a Certificate Template with the correct settings that I can use to sign my CSRs.
Continue with >> Lab: Signing the NSX CSR with a Microsoft (root) CA Server