Scaling out your VNF with TCA
I have shown you how to set up the complete infra with TCA and VCD here.
I have also shown you how to create your first VNF here.
In this article, I will show you how to scale out this VNF using TCA and how to add the scaled out "app VM" to the load balancer using a workflow.
Configuration Steps
- STEP 1: Scale a VNF with a new app VM
- STEP 2: Run workflow to add new app VM to the Load Balancer Pool
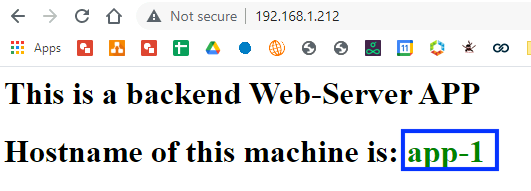
Initially, when you browse to the Load Balancer IP Address you will end up on app-1 and this will always be the case because app-1 is the only application server available.
STEP 1» Scale a VNF with a new app VM
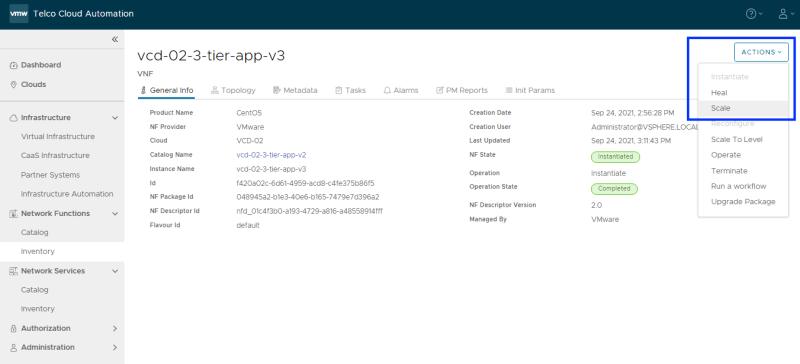
Click on the VNF you want to scale.
Click on "Actions" and select "Scale".
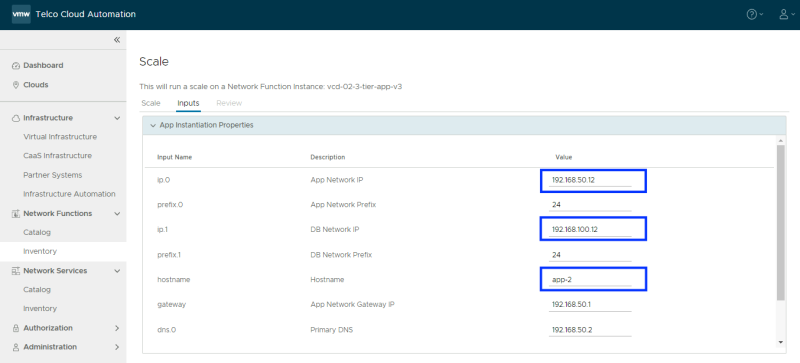
Select the "App" to scale and change the "Number of Steps" to "1".
Make sure you change the IP address of the App and DB Network and the hostname of the new "app" server (app-2) so it will not be the same as the first app Server.
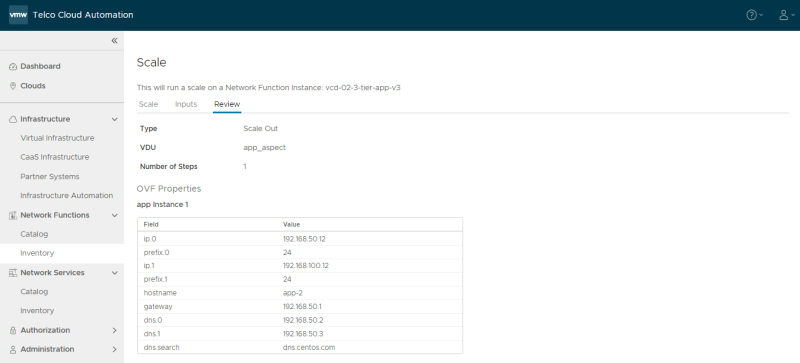
Review the scale settings, and complete the scale.
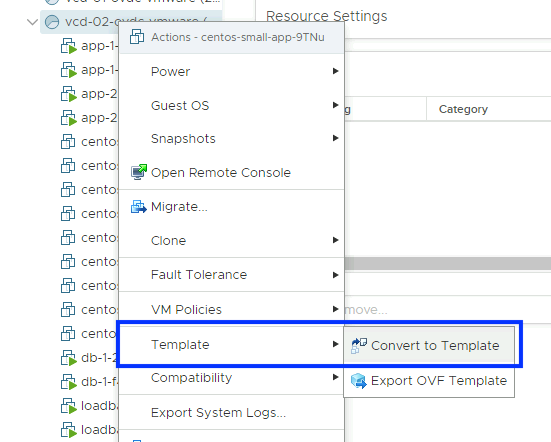
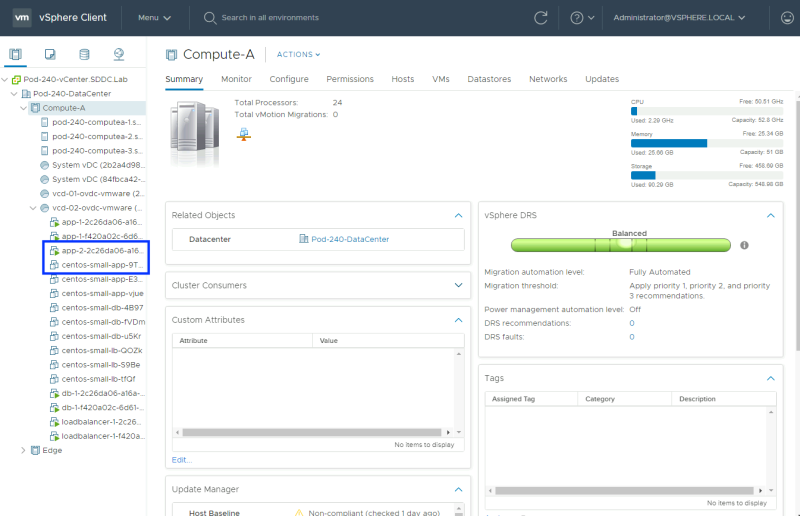
This is a screenshot of the existing VM's in the vCenter Server.
After initiating the "scale" the state will change to "Processing".
And eventually, the state will change to "Completed" with the "Scale" Operation.
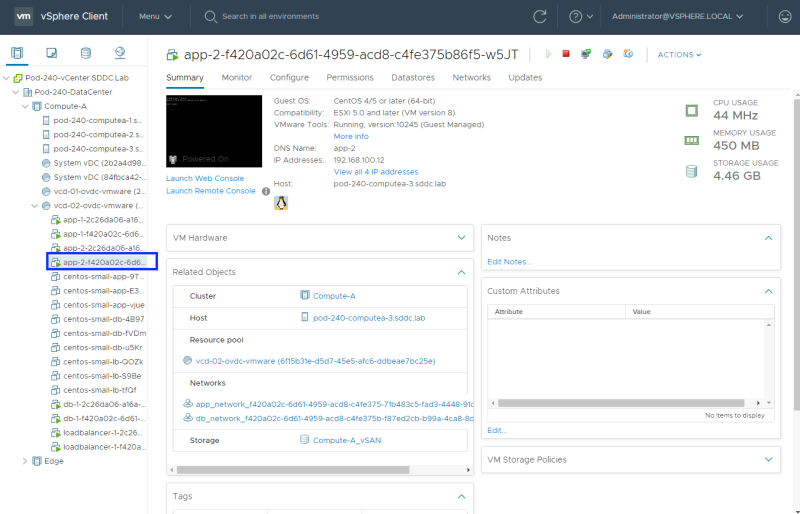
This is a screenshot of the existing VM's in vCenter Server with the added (scaled) application VM.
STEP 2» Run workflow to add new app VM to the Load Balancer Pool
The Load Balancer does not know at this point that there is a new Application Server (App-2) added and you need to tell it that it is there so it can put it in the pool.
You do this by clicking on the VNF again and on the "actions" menu and this time you select "Run a Workflow".
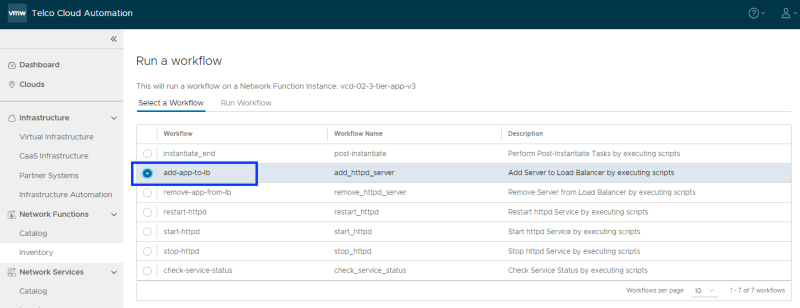
Select the "add-app-to-lb" Workflow.
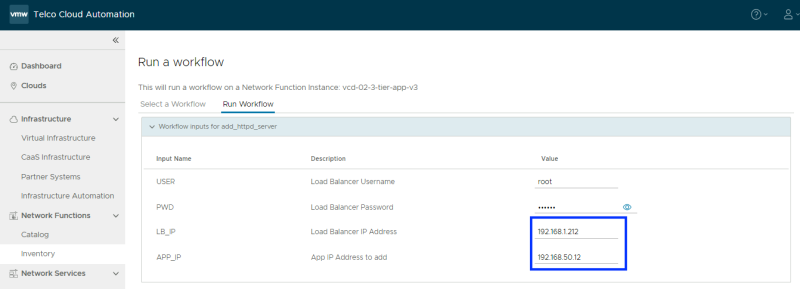
Specify the (existing) LB IP Address and the (new) APP IP Address.
After initiating the "run workflow" the state will change to "Processing".
And eventually, the state will change to "Completed" with the "Workflow" Operation.
Test the application reachability
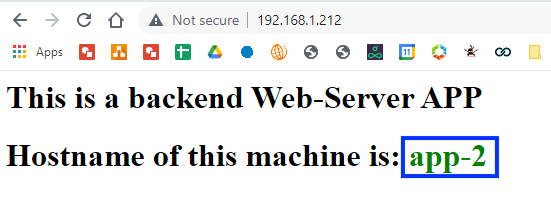
Now that app-2 has been added to the Load Balancer you can test if the Load Balancer takes the new app-2 into consideration.
The initial output when you browse to the Load Balancer IP addres slooks like this:
After refreshing the webpage a few times the app-2 is now receiving the traffic.
